The Yoast SEO plugin is by far the most popular SEO plugin for WordPress. With over 13 million active installations and a 4.8 rating, it practically owns the “WordPress SEO” search term on Google.
But the sheer number of settings can be intimidating, especially if you’re just getting started. I’ve been using Yoast on every WordPress project I’ve worked on, and in this guide I’ll walk you through the plugin from start to finish – global settings, per-page optimization, and whether Premium is worth the money.
1. General
After installing and activating the plugin, a new menu called Yoast SEO appears in the WordPress admin. Click it and you’ll land on the general settings screen with two tabs:

A. Dashboard
Yoast will display optimization messages and issues/notifications that the plugin finds (if any) that you need to address. For example, specific issues preventing search engines from indexing the site. Starting with version 26.7, the Dashboard can also show Google Search Console and Analytics data if you connect Site Kit by Google.
B. First Time Configuration
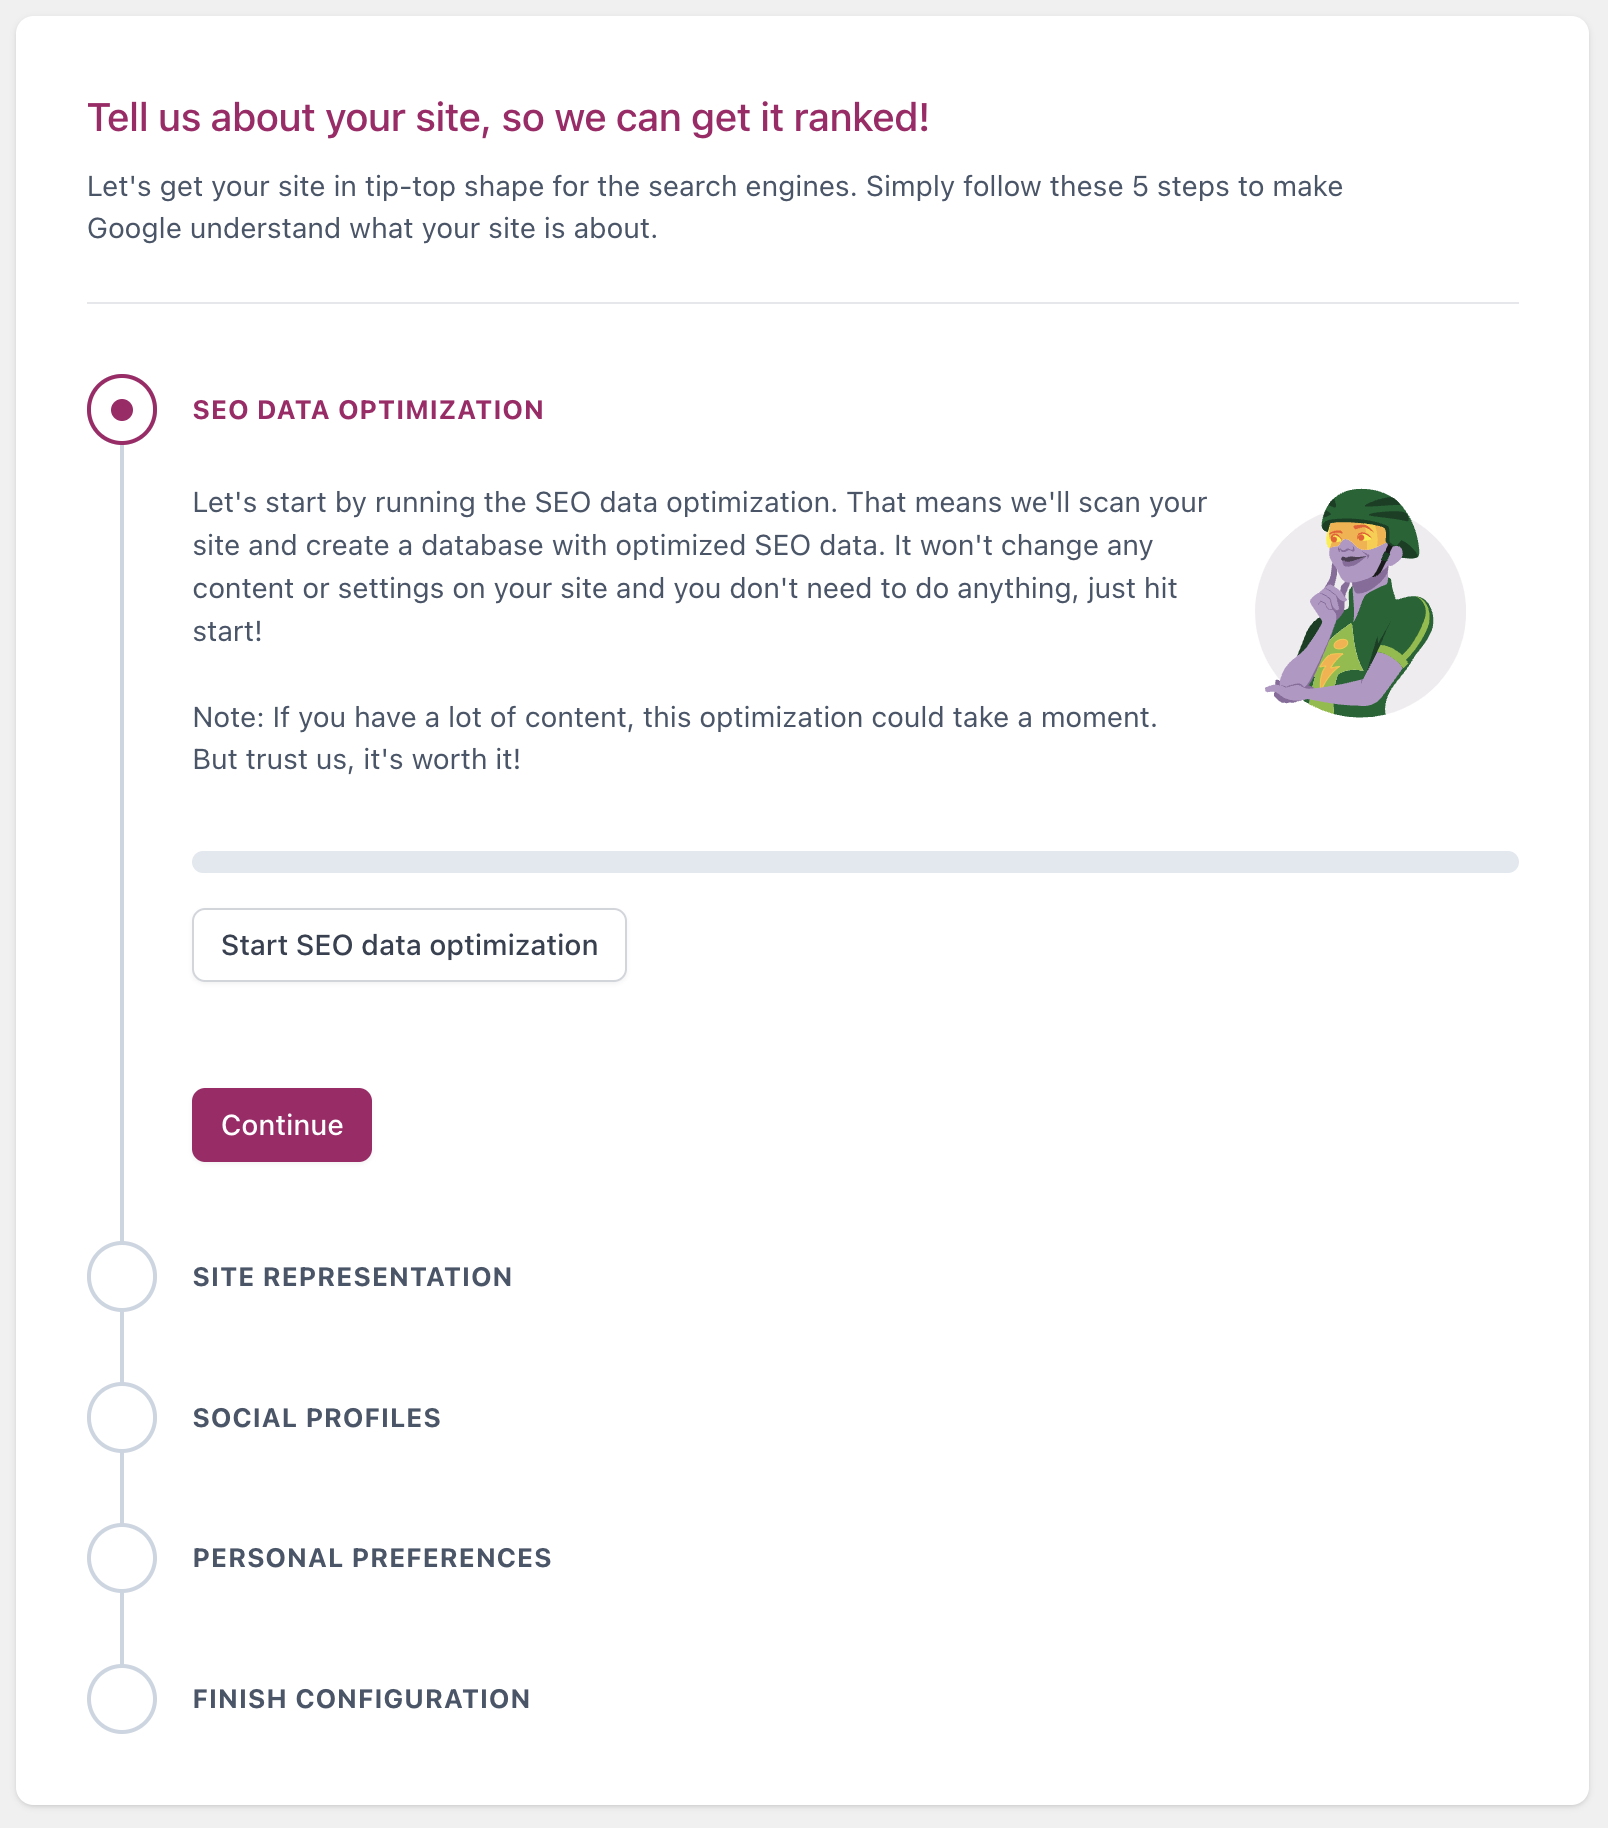
This tab contains a configuration wizard for basic SEO settings like social media links and schema. I won’t cover the wizard step-by-step here, but I’ll explain most of the options Yoast offers so you can configure things properly for your site.
2. Settings
This screen has several tabs, each controlling how your site appears on Google and other search engines. Let’s go through them:
A. Site Features
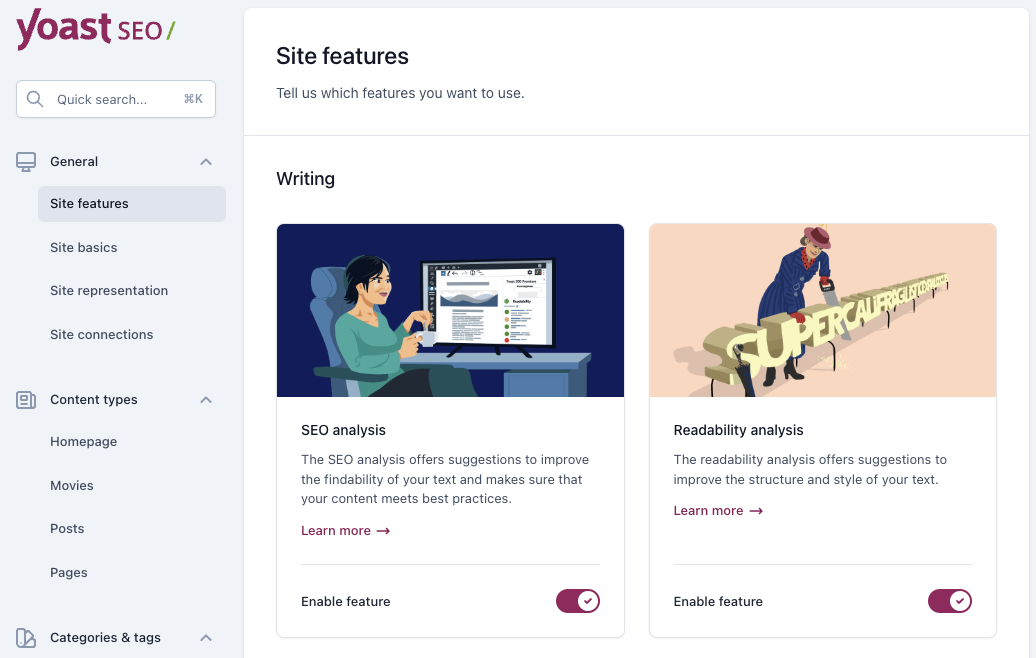
The Yoast SEO plugin comes with several features, some of which can be enabled or disabled on this page (in general, there is not much to dwell on this page except for the Sitemap option):
Let’s explain some of the options on this screen:
1. SEO Analysis – This option is very useful and provides suggestions for improving your content based on the chosen keyword. The SEO Analysis option will appear on the editing screen of each post and page on your site, and we will discuss it in detail later in this guide.
2. Readability Analysis – This option provides suggestions for improving the structure of the post/page and offers insights into its visibility.
For example, you will receive a notification if Yoast detects certain paragraphs that are too long, if there are sentences that are too lengthy, and it will even provide suggestions for possible improvements in terms of link text.
3. XML Sitemaps – Creating a sitemap is part of the optimization process for a WordPress site for search engines. It serves as a kind of “roadmap” for search engines, guiding them to efficiently scan your site.
A sitemap is the simplest way to inform Google and other search engines about changes to your site’s content. Yoast allows you to use XML Sitemaps.
You need to enable this option, but don’t forget to verify the sitemap URL created by Yoast using Google Search Console. You can view the sitemap by clicking the link in this section.
The choice of which types of content will appear in the sitemap is set under the Search Appearance, which we will discuss later. There is also a post written in the past about Sitemap (XML) in detail.
4. Social Sharing (Open Graph) – Allows Facebook and other social networks to display the post’s image and summary when sharing a link to your site. It is recommended to leave this feature enabled.
B. Site Basics
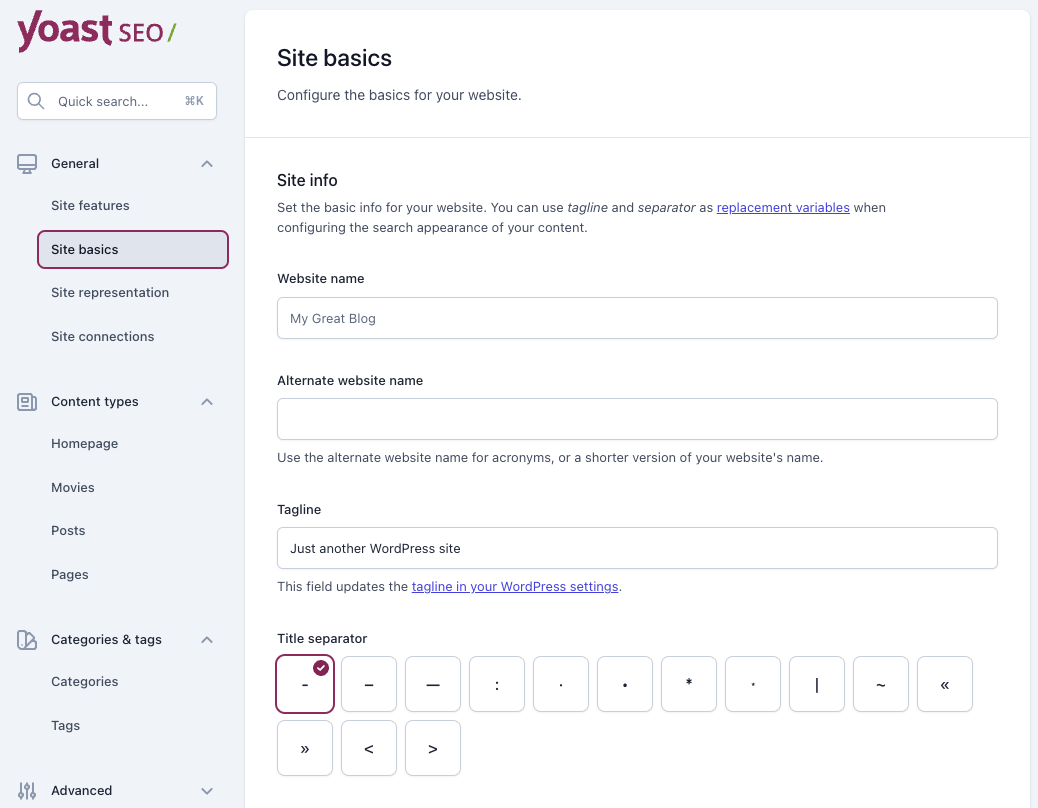
In this section, you’ll find basic settings that you need to configure, such as the site name, tagline, and the choice of title separators. All of these will serve as variables that you can use when evaluating and setting the local SEO settings for your pages and posts.
The title separator determines the type of separator that will appear between the title and the site name in the search results. This is a purely cosmetic setting and is entirely up to your preference.
Additionally, in this section, you can set an image that will be displayed by default when sharing any page on social networks in cases where no specific image is defined for that page.
The option Restrict advanced settings for authors – is primarily intended for sites with multiple writers or contributors.
By default, only users with editor or administrator permissions can remove posts and pages from search engines and change the canonical tag. If you turn off this option, all users will be able to play with these settings.
The Usage Tracking option allows the plugin developers to receive information about your usage of the plugin. I suggest not enabling this option.
C. Site Representation
The settings you define in this section are intended to appear only in the Knowledge Graph displayed in Google search results. That “knowledge graph” is hard to find, but its results are not.
Take, for example, the information block that appears on the right side of the screen after searching for a specific term. This block is the same Knowledge Graph containing relevant and specific information in the context of your search.
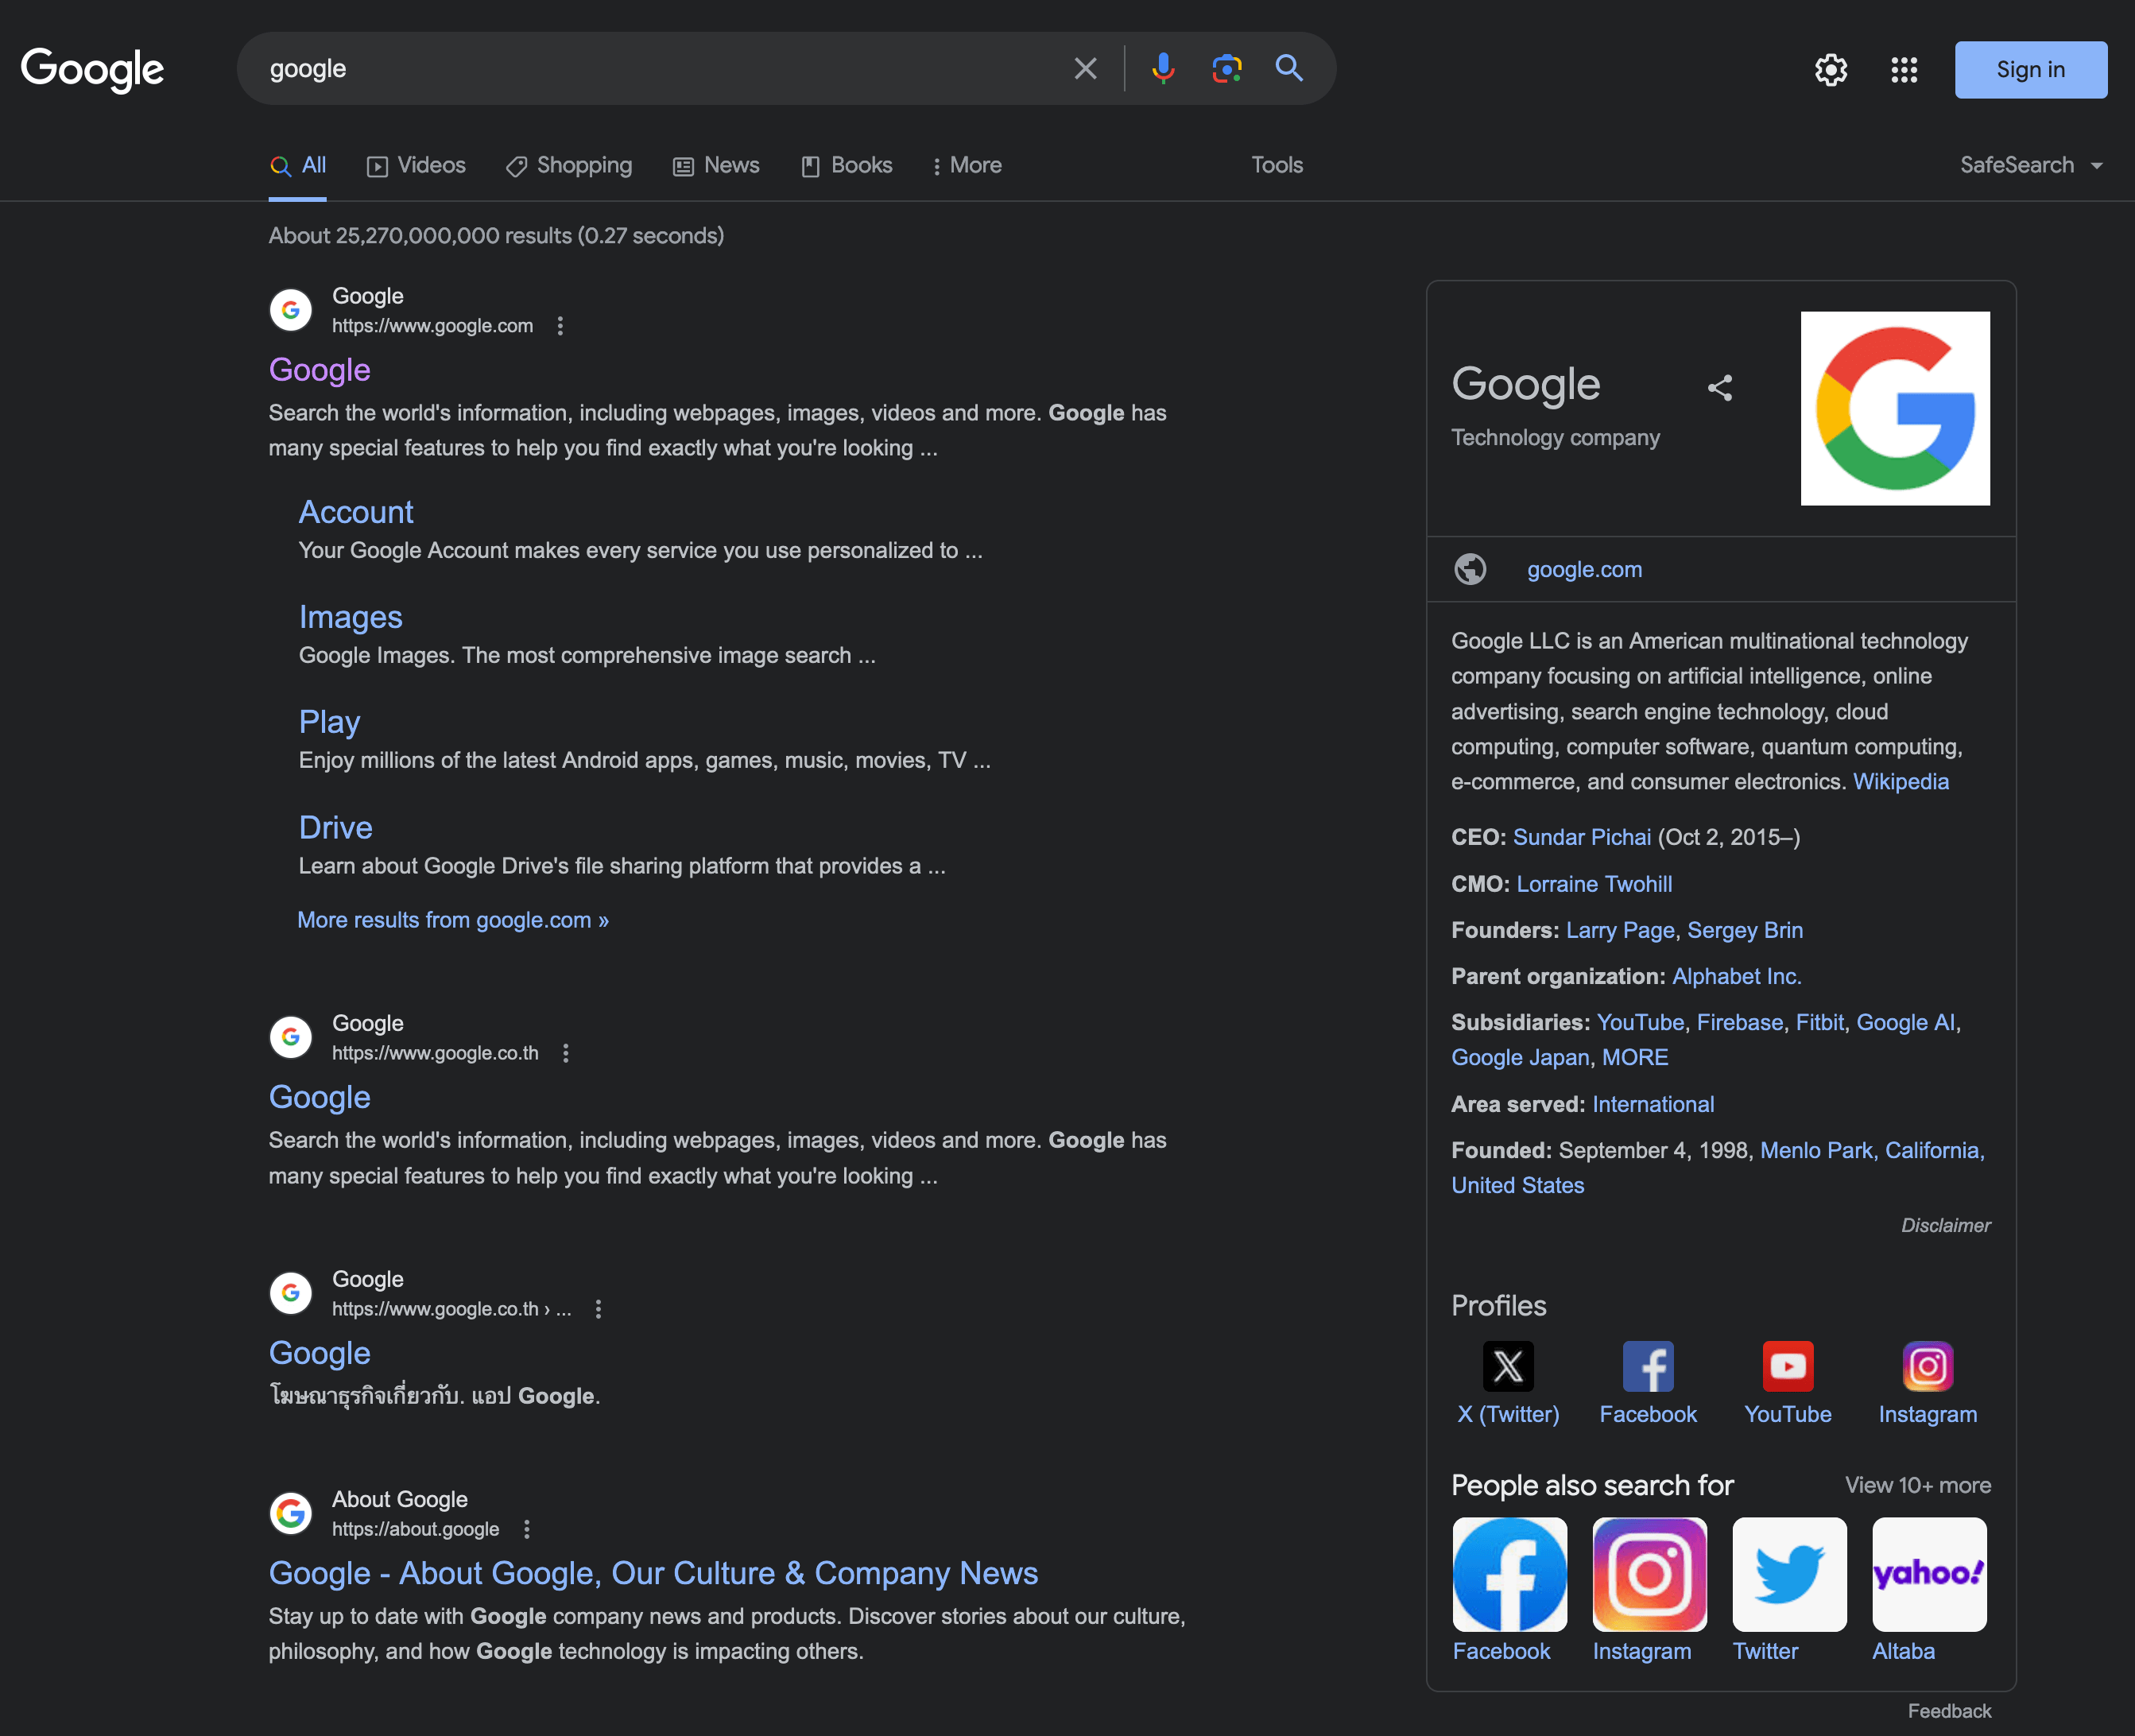
In this section, you can set the name and type of the organization relevant to your site, as well as the company logo and additional settings such as links to social networks. This information will potentially appear alongside search results on Google, as shown in the image above.
If you chose the option “Organization” rather than “Person,” you will find that there is an option called “Other profiles” displayed for you.
If you add links to social networks in this section, they will be added as Schema on your site. This allows search engines to understand which profiles on those social networks are associated with your organization.
In some cases, Google will show these links alongside search results when someone searches for your organization’s name.
D. Site Connections
If you are registered with one or more of those site management tools, you can fill in these fields to verify these tools against your WordPress site. These tools provide information about the traffic on your site from various search engines.
Ignore this section if you have already verified your site through a different method. Additionally, note that it is not mandatory to fill in this section.
3. Content Types
In this section, you will see settings for the homepage as well as settings for all existing content types on your site, including posts, pages, and custom post types (CPTs) if they exist.
So, in this section, you can define how the homepage and those content types will appear in Google search results. The settings for archive pages (if they exist) for those content types will also appear here.
A. Homepage
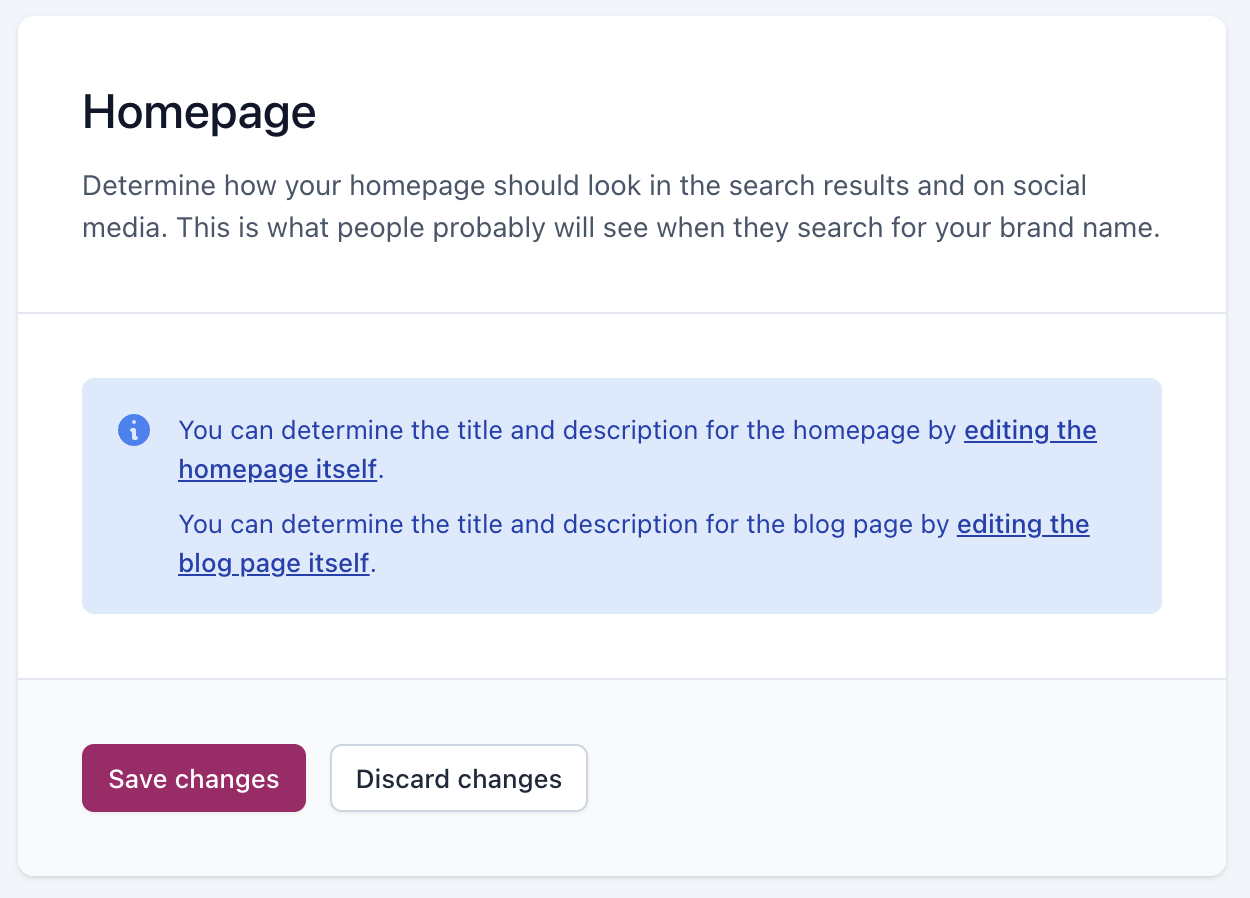
This section pertains to the title and description of the homepage or main page of your site. You cannot set the settings for the homepage through this screen; you need to click on the link and change the settings in the page edit itself.
Nevertheless, here are some important points when choosing the title and description for the homepage, relevant for each page/post on your site:
Choose a short but “strong” title that contains words and expressions summarizing the content of the page in question. You can add the variable called “Site Name” before (or after) the variable called “Page Title,” which will automatically add the site name where you specified.
The mechanism and convenience of using variables have been upgraded in the new versions of Yoast. Instead of writing them manually, you can add these variables by clicking on the “Insert snippet variable” button.
The title should look something like: Site Name | Chosen Strong Words, or vice versa when the site name appears at the end of the title. You should add the title separator between the site name and the short words describing the page’s topic.
Also, make sure that the number of letters in the title does not exceed 60 characters, or else the title will be truncated in Google search results.
For the page’s description, i.e., the meta description, it should also consist of a number of convincing words and expressions that “sell” your homepage to visitors.
Pay attention to the number of letters in the meta description and make sure it does not exceed 155 characters. Any additional characters will simply be cut off in Google search results.
B. Settings for Other Content Types
For each of your custom content types, you will find these settings in this screen. Each content type will have several options:
1. Show content type in search engines – You can choose whether to display it in Google search results. If you choose not to display it, the Yoast plugin will automatically add the noindex tag for that content type, preventing search engines from displaying that page/post.
Also, choosing not to display it will automatically remove that content type from the sitemap without the need for additional intervention on your part.
2. SEO Title & Meta Description – This option allows you to set the structure of the title and description for each content type using variables provided by Yoast. Clicking on “Insert Variable” will display a window containing the same variables mentioned earlier.
3. Schema Settings – In this section, you can set the default schema settings for the respective content type. We won’t go into detail on this part right now; you are welcome to take a look at the Schema and Structured Data post.
Note – You can override the global setting for titles and descriptions that you set in this section by changing the settings locally (in the post/page settings), as we will see later in this guide.
4. Tags and Categories
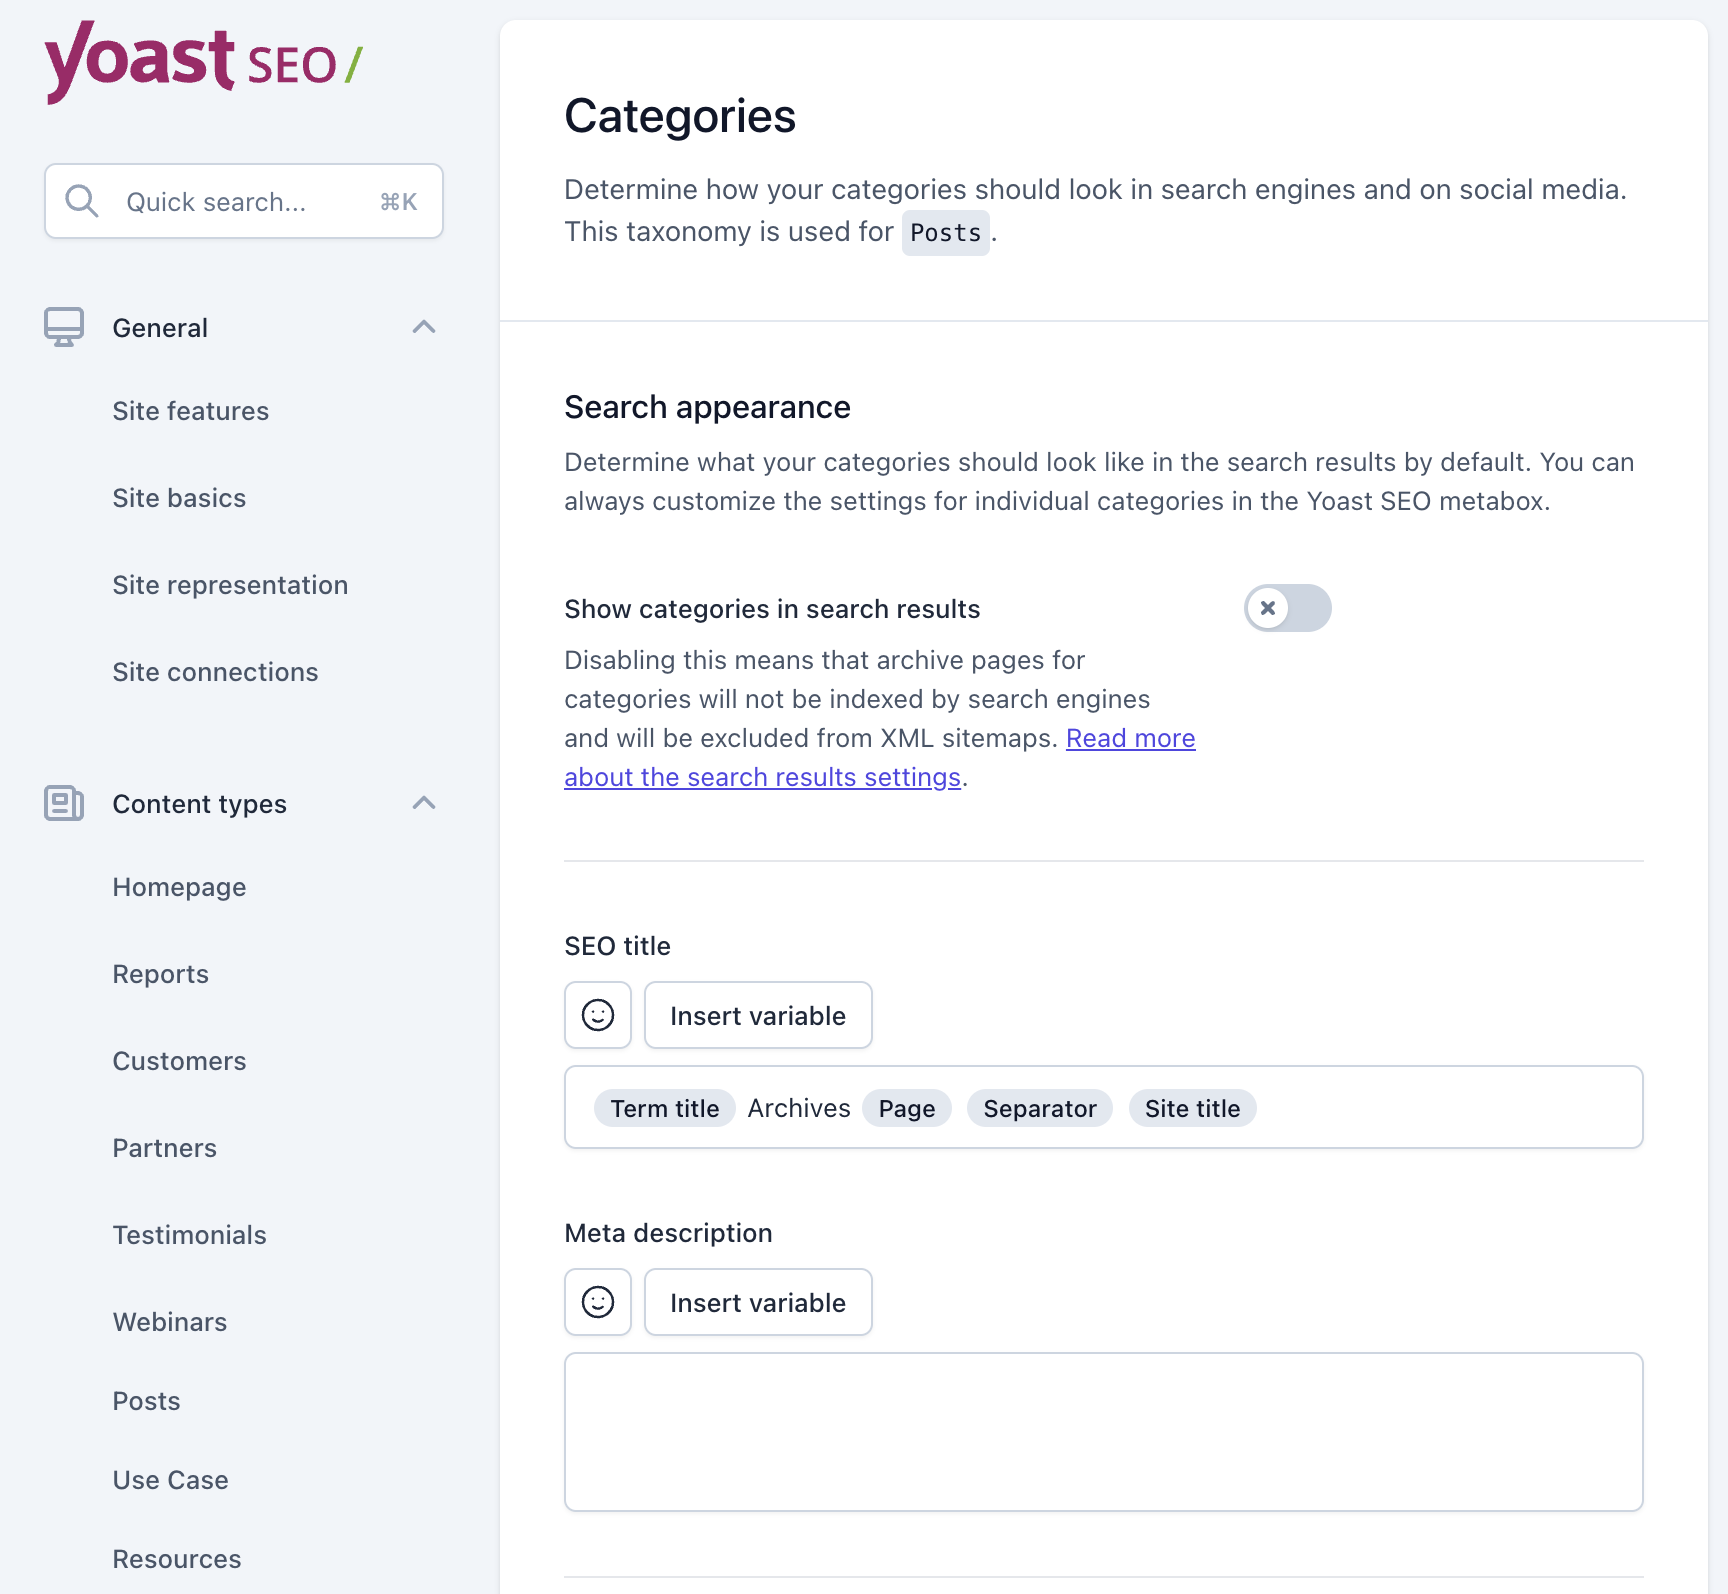
WordPress comes by default with two taxonomies – Categories and Tags, but according to your theme settings, you might find additional taxonomies in this section. Archive pages for taxonomies are the same pages that display all posts under the same taxonomy (same tag or category).
In this section, you will find exactly the same options that appeared for content types, this time for taxonomies on your site.
Additional Settings
If you don’t know, the URL of category archive pages automatically gets a prefix by default. You can set this prefix under WordPress Dashboard > Settings > Permalinks Structure. Yoast allows you to remove this prefix by unchecking the option “Show the categories prefix in the slug”.
It’s your choice whether to remove this prefix or not. Additional information on this topic can be found in the post talking about Permanent Link Structure in WordPress. Either way, do not perform this action on a live site where categories are already indexed by Google.
By the way, if you decide to display the archive pages of a specific taxonomy, consider treating it seriously just like any other page in terms of SEO. For more details, take a look at the post on Optimizing WordPress Categories for SEO.
5. Advanced
In this screen, you will find more advanced settings for the Yoast SEO plugin.
A. Crawl Optimization
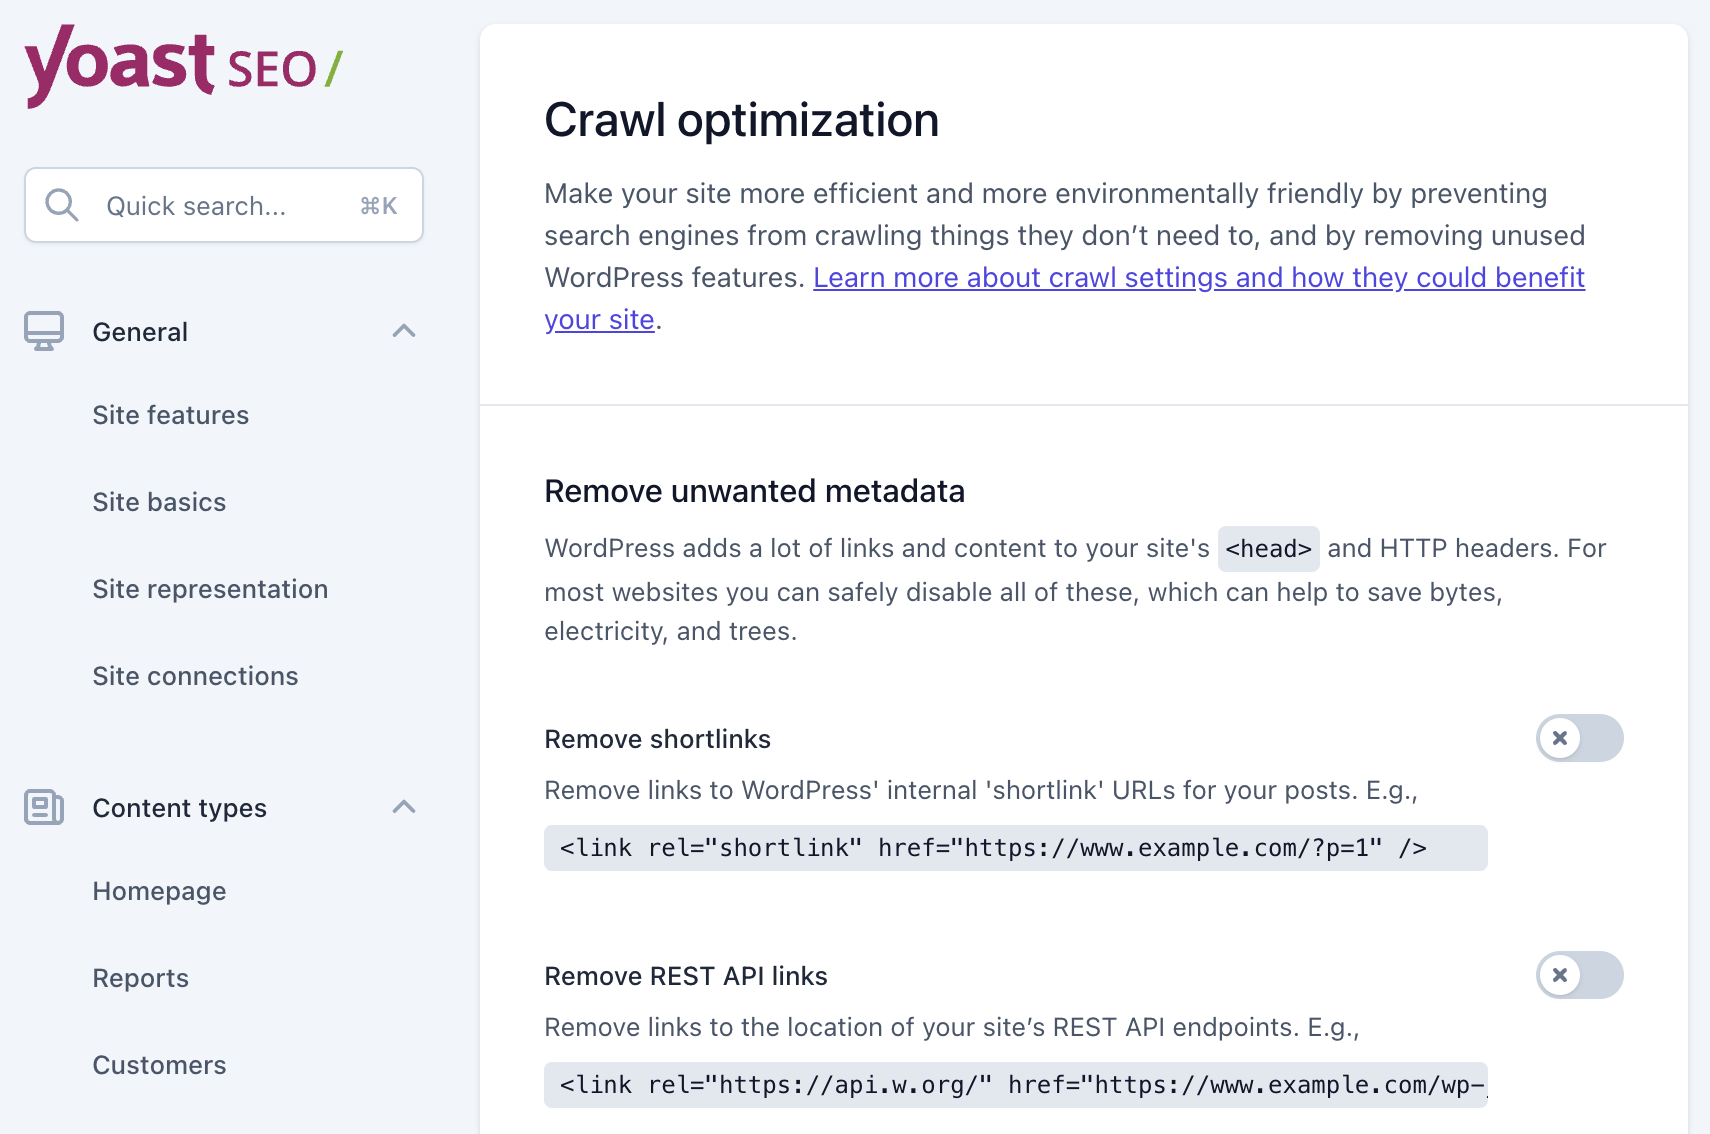
In this part, you can remove links that WordPress automatically adds to optimize your site’s crawling process so that your crawl budget is not “wasted.”
If you are not familiar with these settings, I suggest not to touch them. You are invited to read about Crawl Budget in the post I wrote on What Crawl Budget Means for Googlebot in the context of SEO.
B. Breadcrumbs
Navigation or Breadcrumbs display the path or hierarchy of the content a user is currently viewing. Besides serving as an additional navigation tool for site visitors, it also helps Google and search engines better understand the structure of your site.
This path may appear in search results instead of the URL itself if configured properly (and at Google’s discretion).
So in this tab, you can also determine the visibility of those breadcrumbs, meaning the navigation paths. Enabling breadcrumbs is optional, and activating this option at the bottom of the screen does not automatically add breadcrumbs to your site.
If you decide to use this functionality, you need to add the navigation path through code in the relevant location by editing your theme files or using such a hook or another.
Here’s a detailed article explaining why you should use breadcrumbs and how to add them to WordPress sites. However, we will present the function that allows you to display Yoast breadcrumbs:
if ( function_exists( 'yoast_breadcrumb' ) ) {
	yoast_breadcrumb();
}
If you are using any taxonomies, and your posts are categorized based on those taxonomies rather than categories, you can set those breadcrumbs to work according to those taxonomies.
C. Archives
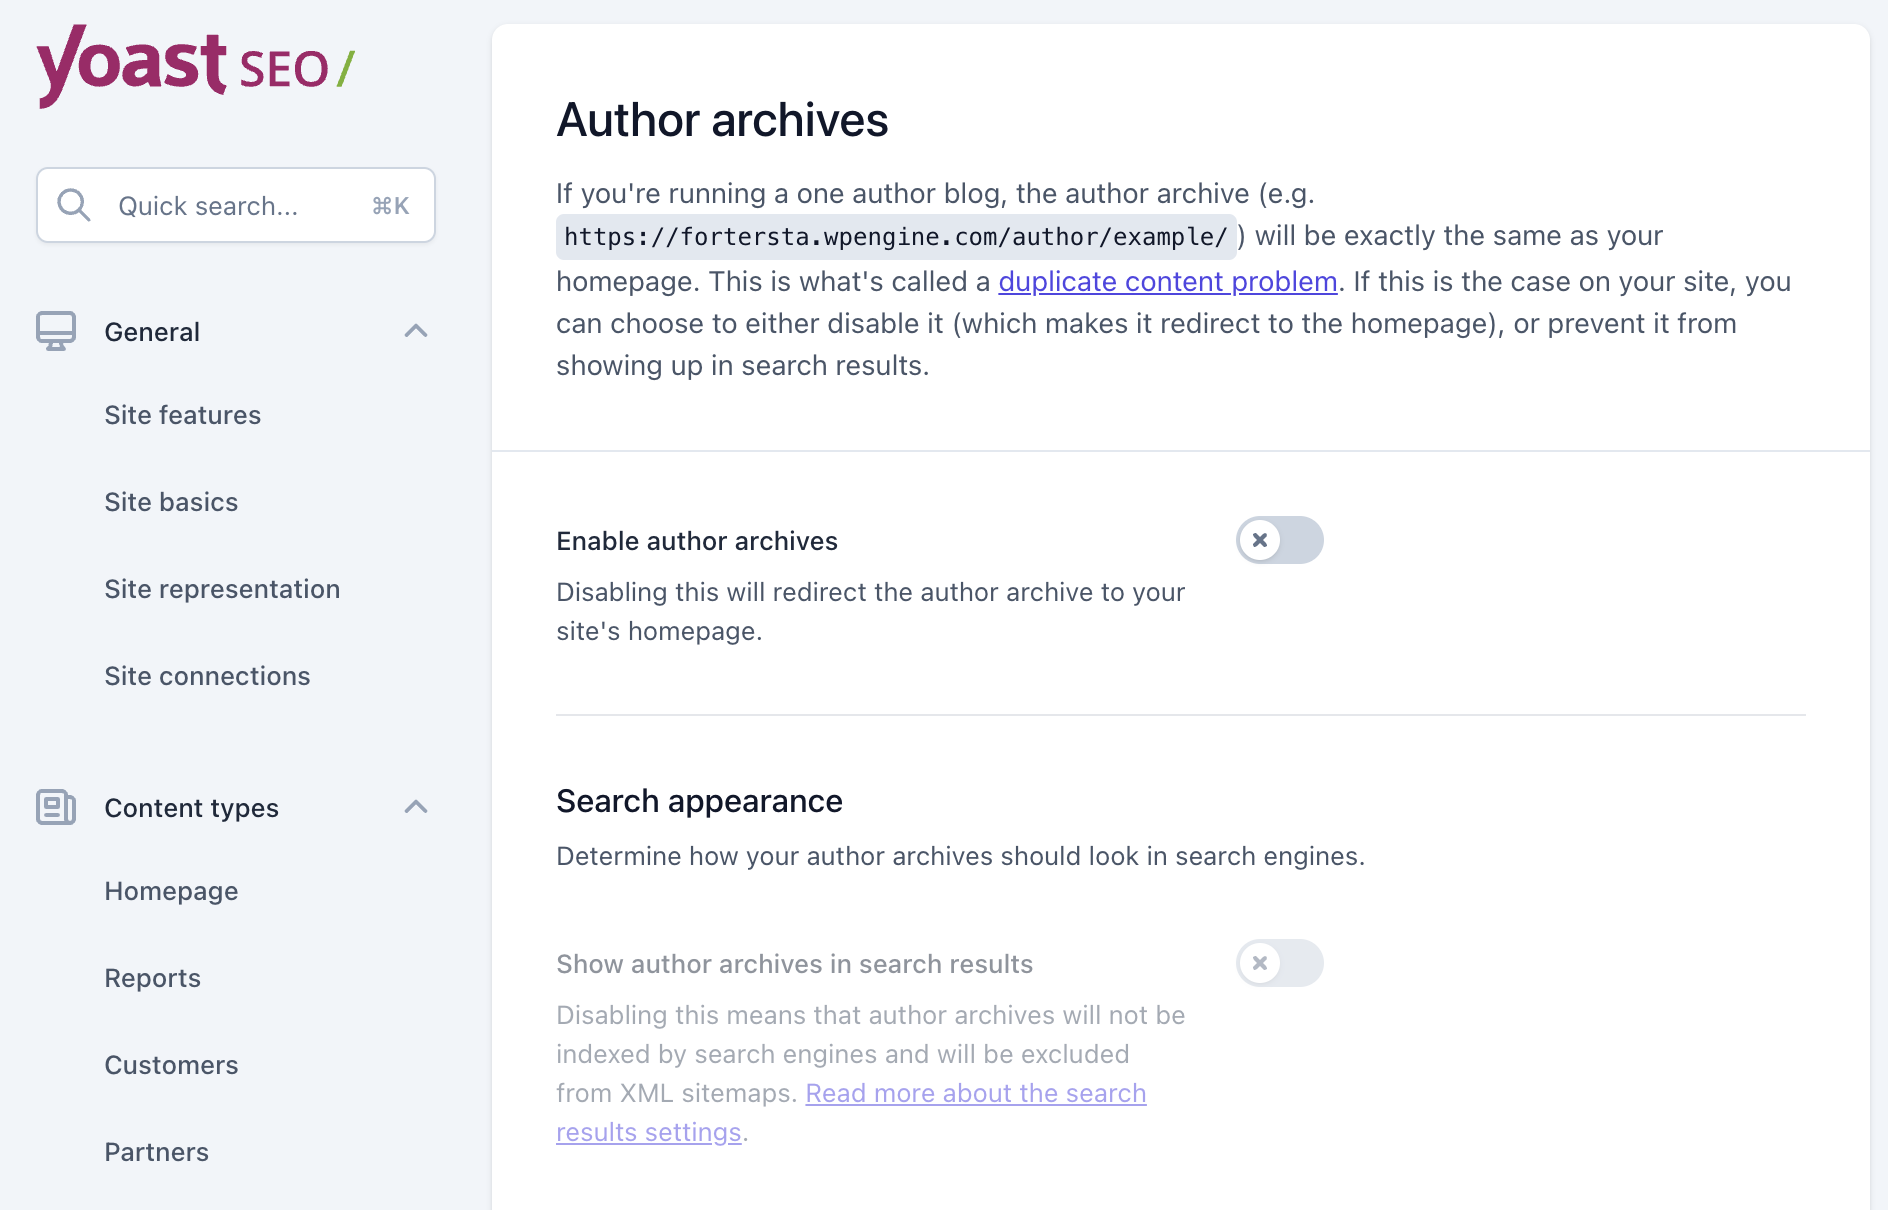
In this section, you can determine the appearance of various archive pages on your site. Besides setting the titles for different archive pages, you can choose which archive pages you want to appear in Google’s index and which ones not.
WordPress comes with several default archive pages, but not all of them are supposed to be indexed.
Disabling the option of such an archive page by the “Enable (Archive Type) archives” option will automatically redirect that page to the homepage. Here are some points in this context:
- Author Archives Setting – If your site has only one author, it’s recommended to turn off this option.
- Date Archives Setting – This setting doesn’t provide essential information for search engines, and you may turn it off.
- Search Pages and 404 Pages – These pages won’t appear in search engines by default, but define the titles for these fields anyway.
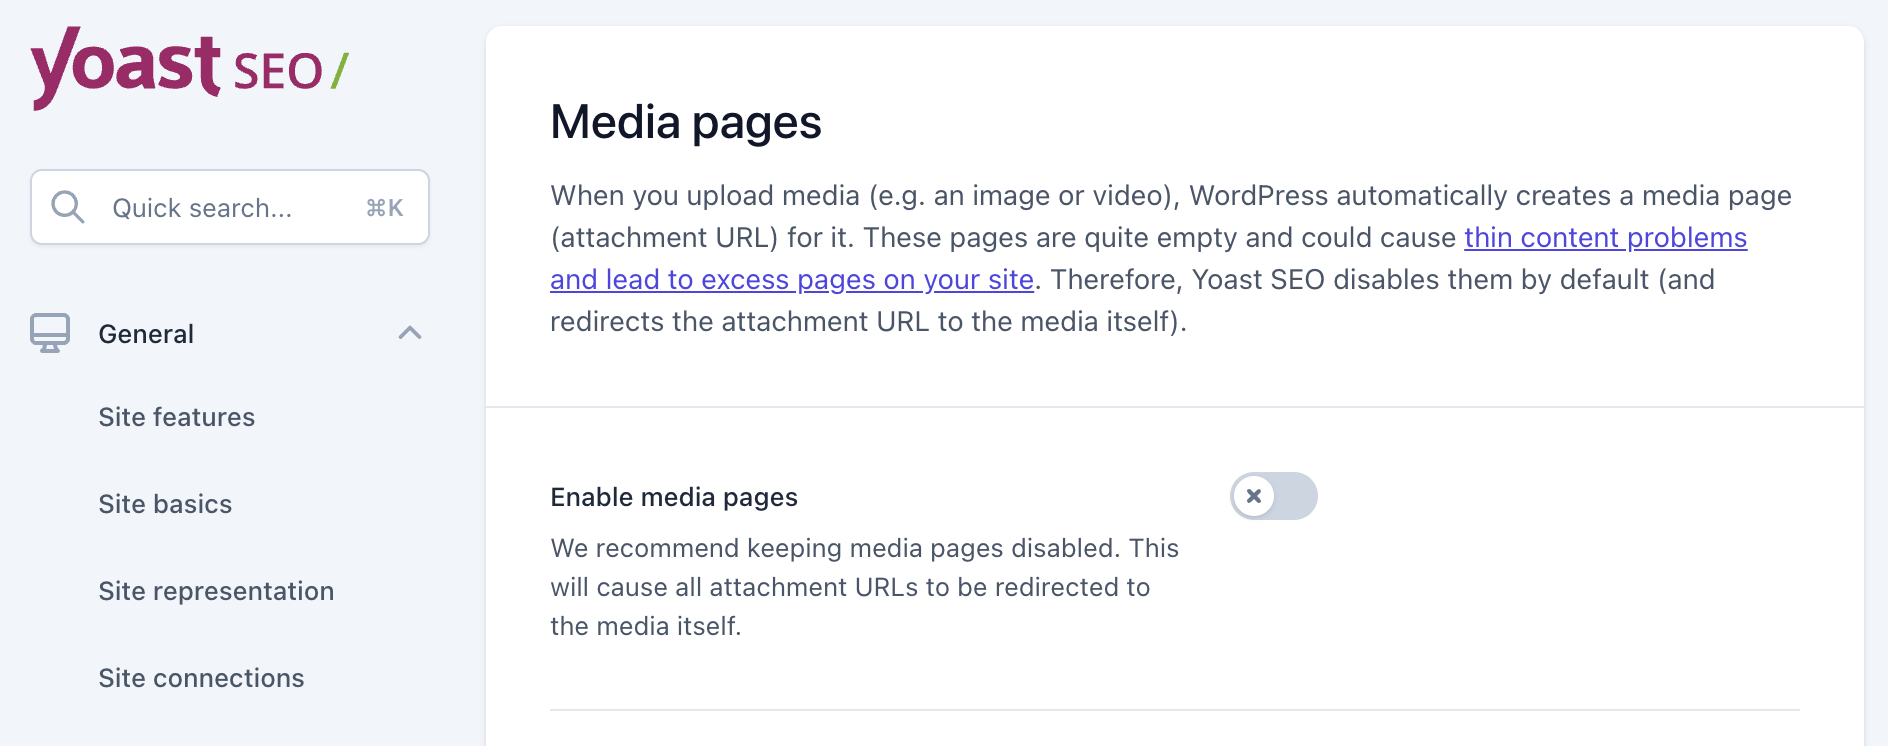
D. Media Pages
When you upload an image or video to your site, WordPress creates an attachment URL, a unique URL for each media item you upload. If you visit these addresses, you’ll likely find pages with little meaningful content for the visitor.
In most cases, if you’re not using these addresses, you should redirect them to the original post or page containing those images. In the case of Yoast, simply leave the “Enable Media Pages” option turned off.
E. RSS Feed
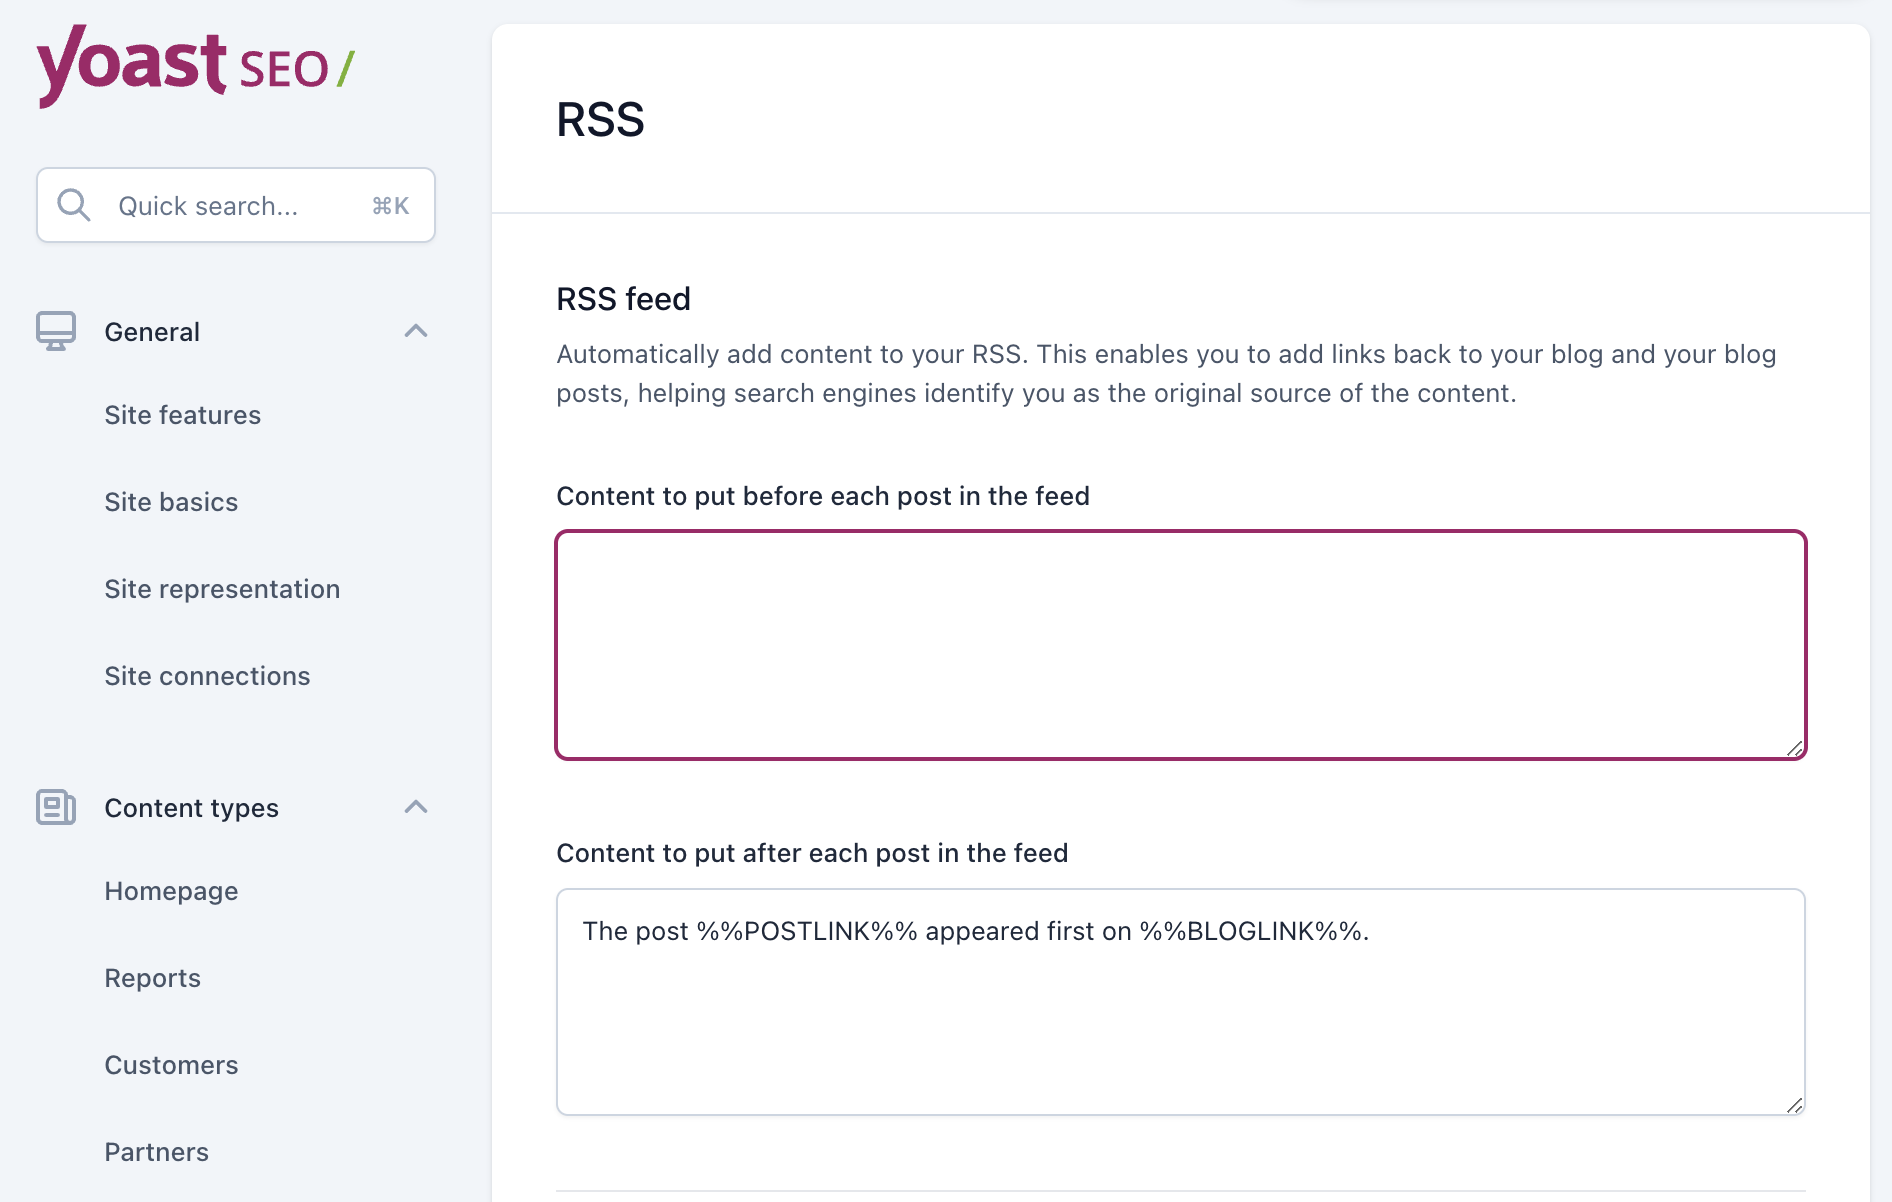
In this section, you can add content that will appear at the beginning and end of the post when it comes through RSS. You can use variables as you wish, but the default settings are usually sufficient.
6. Tools
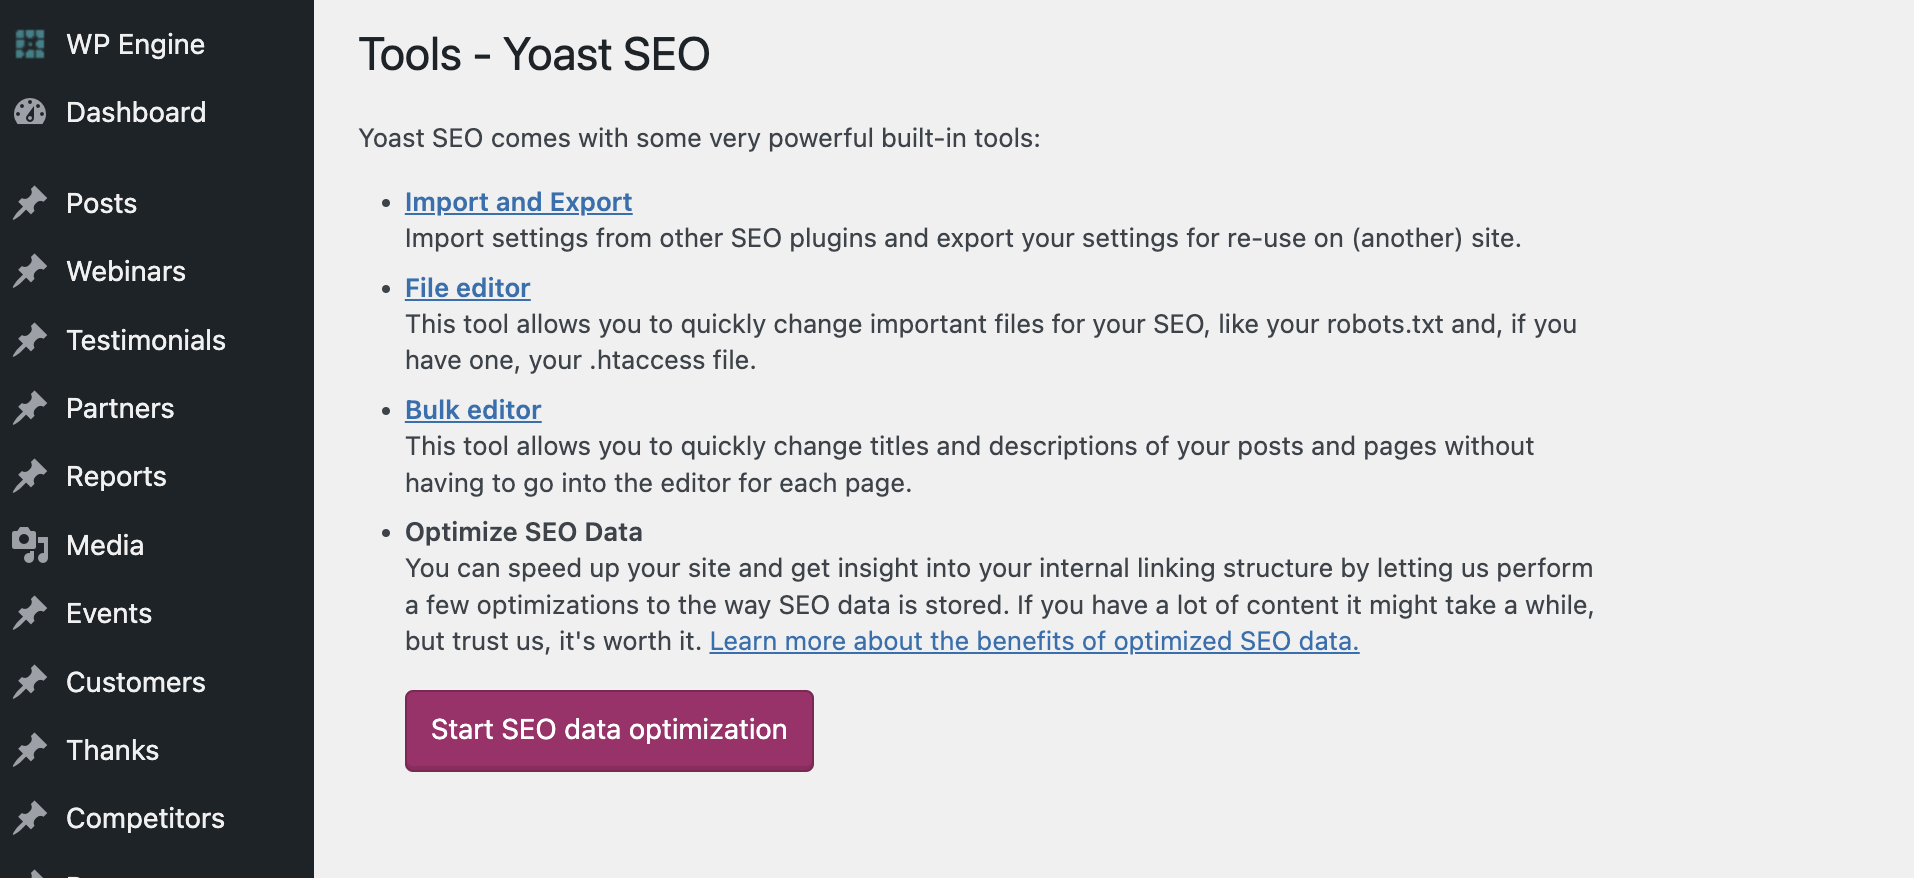
There are several tools that can make it easier for you to switch to Yoast SEO from another plugin and help with content editing:
- Import and Export – Allows you to import settings from another SEO plugin if you are transitioning from that plugin to Yoast. You can also export the plugin’s settings to another WordPress site or simply back up the plugin’s settings.
- File Editor – Allows editing important files such as robots.txt and htaccess. Do not touch these files if you don’t know exactly what you are doing; incorrect settings can affect your site or even remove it entirely from search results.
- Bulk Editor – Allows you to edit the titles and descriptions of posts as a group rather than individually. Very convenient and useful when installing the plugin on a site with existing content.
7. Using Yoast on Individual Pages
That covers the global settings. Now for the part you’ll use every day – the Yoast panel on individual posts and pages.
This is where On-Page SEO happens: optimizing individual pages so they rank higher and bring in more relevant traffic. Yoast gives you the tools to do this right from the WordPress editor, no code required. It also analyzes your content and flags areas for improvement.
The Yoast interface on individual pages contains four tabs: SEO, Readability, Schema, and Social. These tabs allow us to set specific SEO settings that will affect this post, and this post only. Let’s take a closer look at each of these tabs…
Note: Any setting at the page level will override any global setting defined in the plugin’s global settings that we set earlier in this guide.
A. Search Engine Optimization – SEO
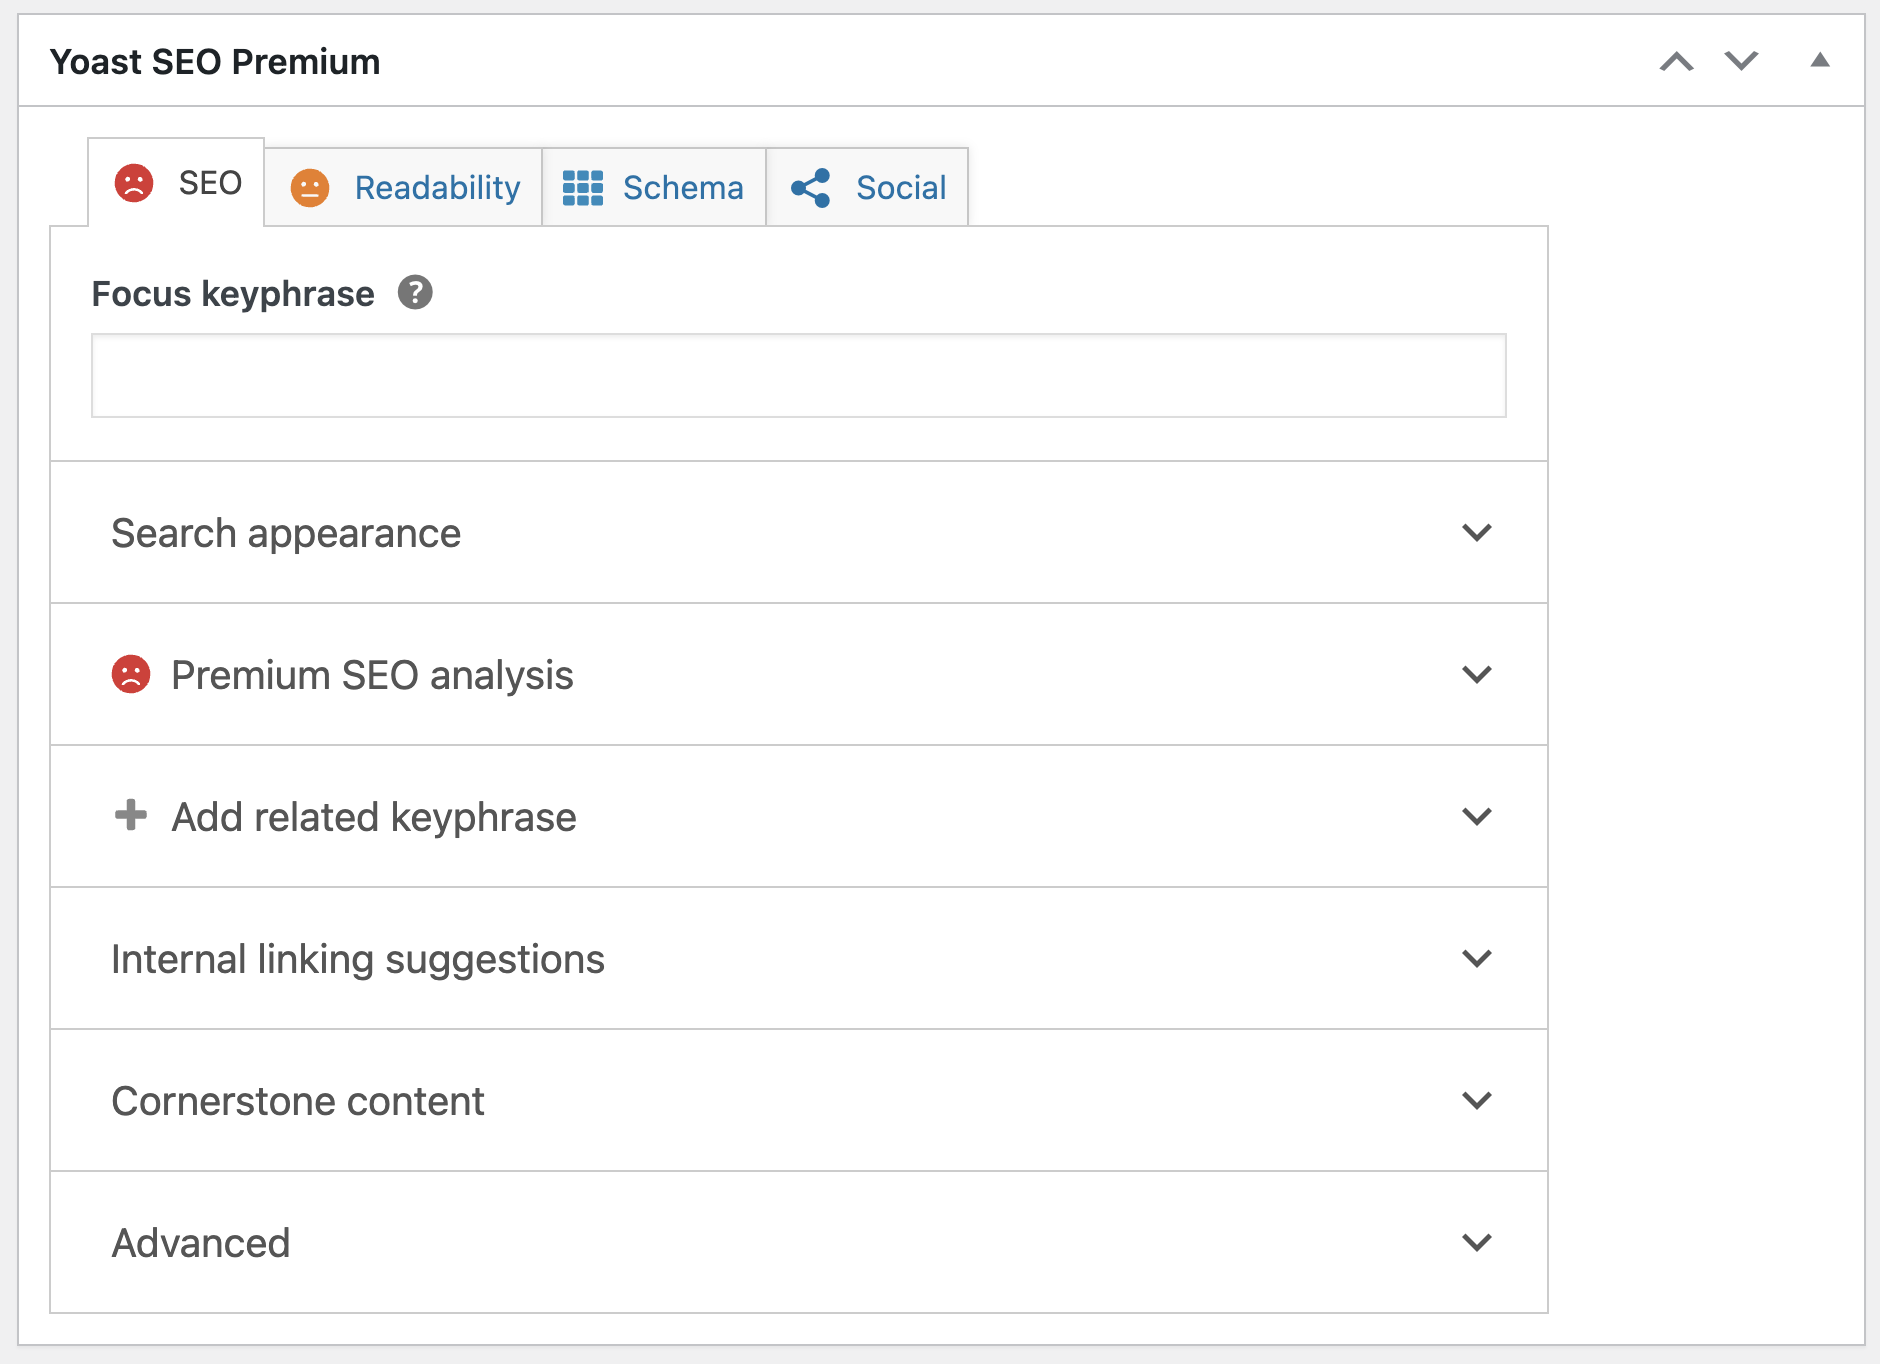
In the Search Engine Optimization tab, you will find several interesting and important settings:
- Focus Keyphrase
- Google Preview
- SEO Analysis
- Add related keyphrase
- Advanced
Focus Keyphrase
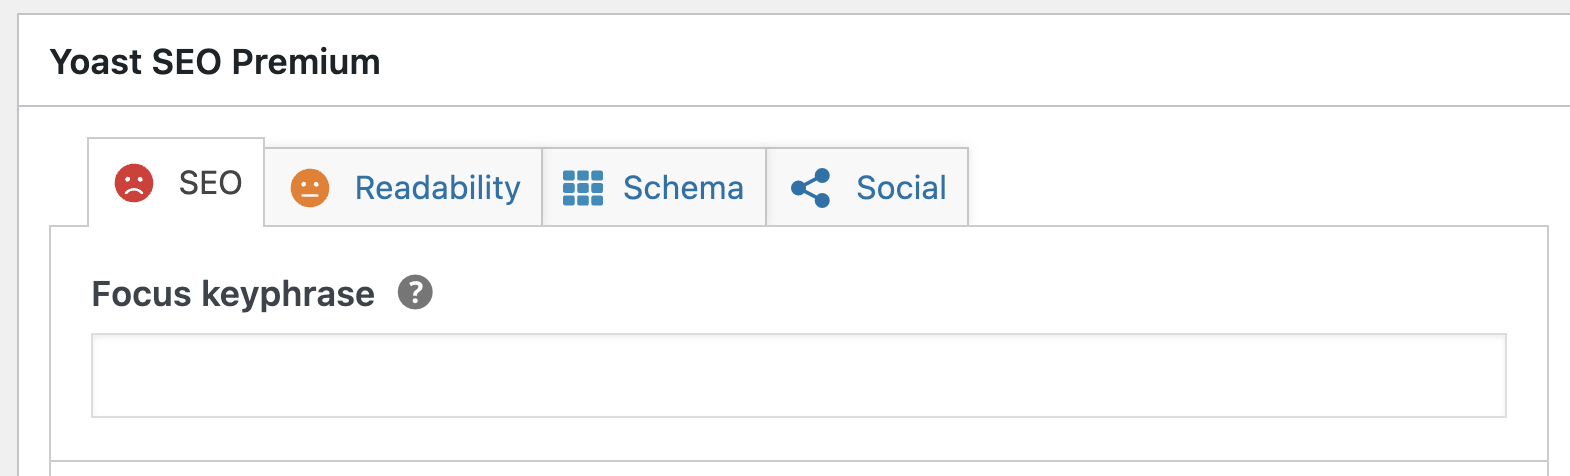
In the Focus Keyphrase field, you need to enter a specific word or phrase that best describes the content of the page. This is essentially the keyword for which you want the page to be ranked, and it’s what a user might type or search for in Google, leading the page to appear in the search results.
The Yoast SEO plugin will analyze the page content and provide recommendations for improving the content based on the chosen focus keyphrase (as you will see later under the “SEO Analysis” section and its results).
After adding a focus keyphrase, you will see an indication, a kind of score describing the state of the content in terms of SEO. The score is determined based on the number of improvements or issues that Yoast identifies in the content and believes need fixing.
Google Preview
This tab is divided into two parts: Preview and Snippet Editor, i.e., editing the data of the post that Google will see and what will ultimately be displayed to the user in the search results.
In the Preview, you can see how the page will be displayed to the user in Google search results. This allows you to understand exactly how the result will be presented to the user, both on mobile and desktop.
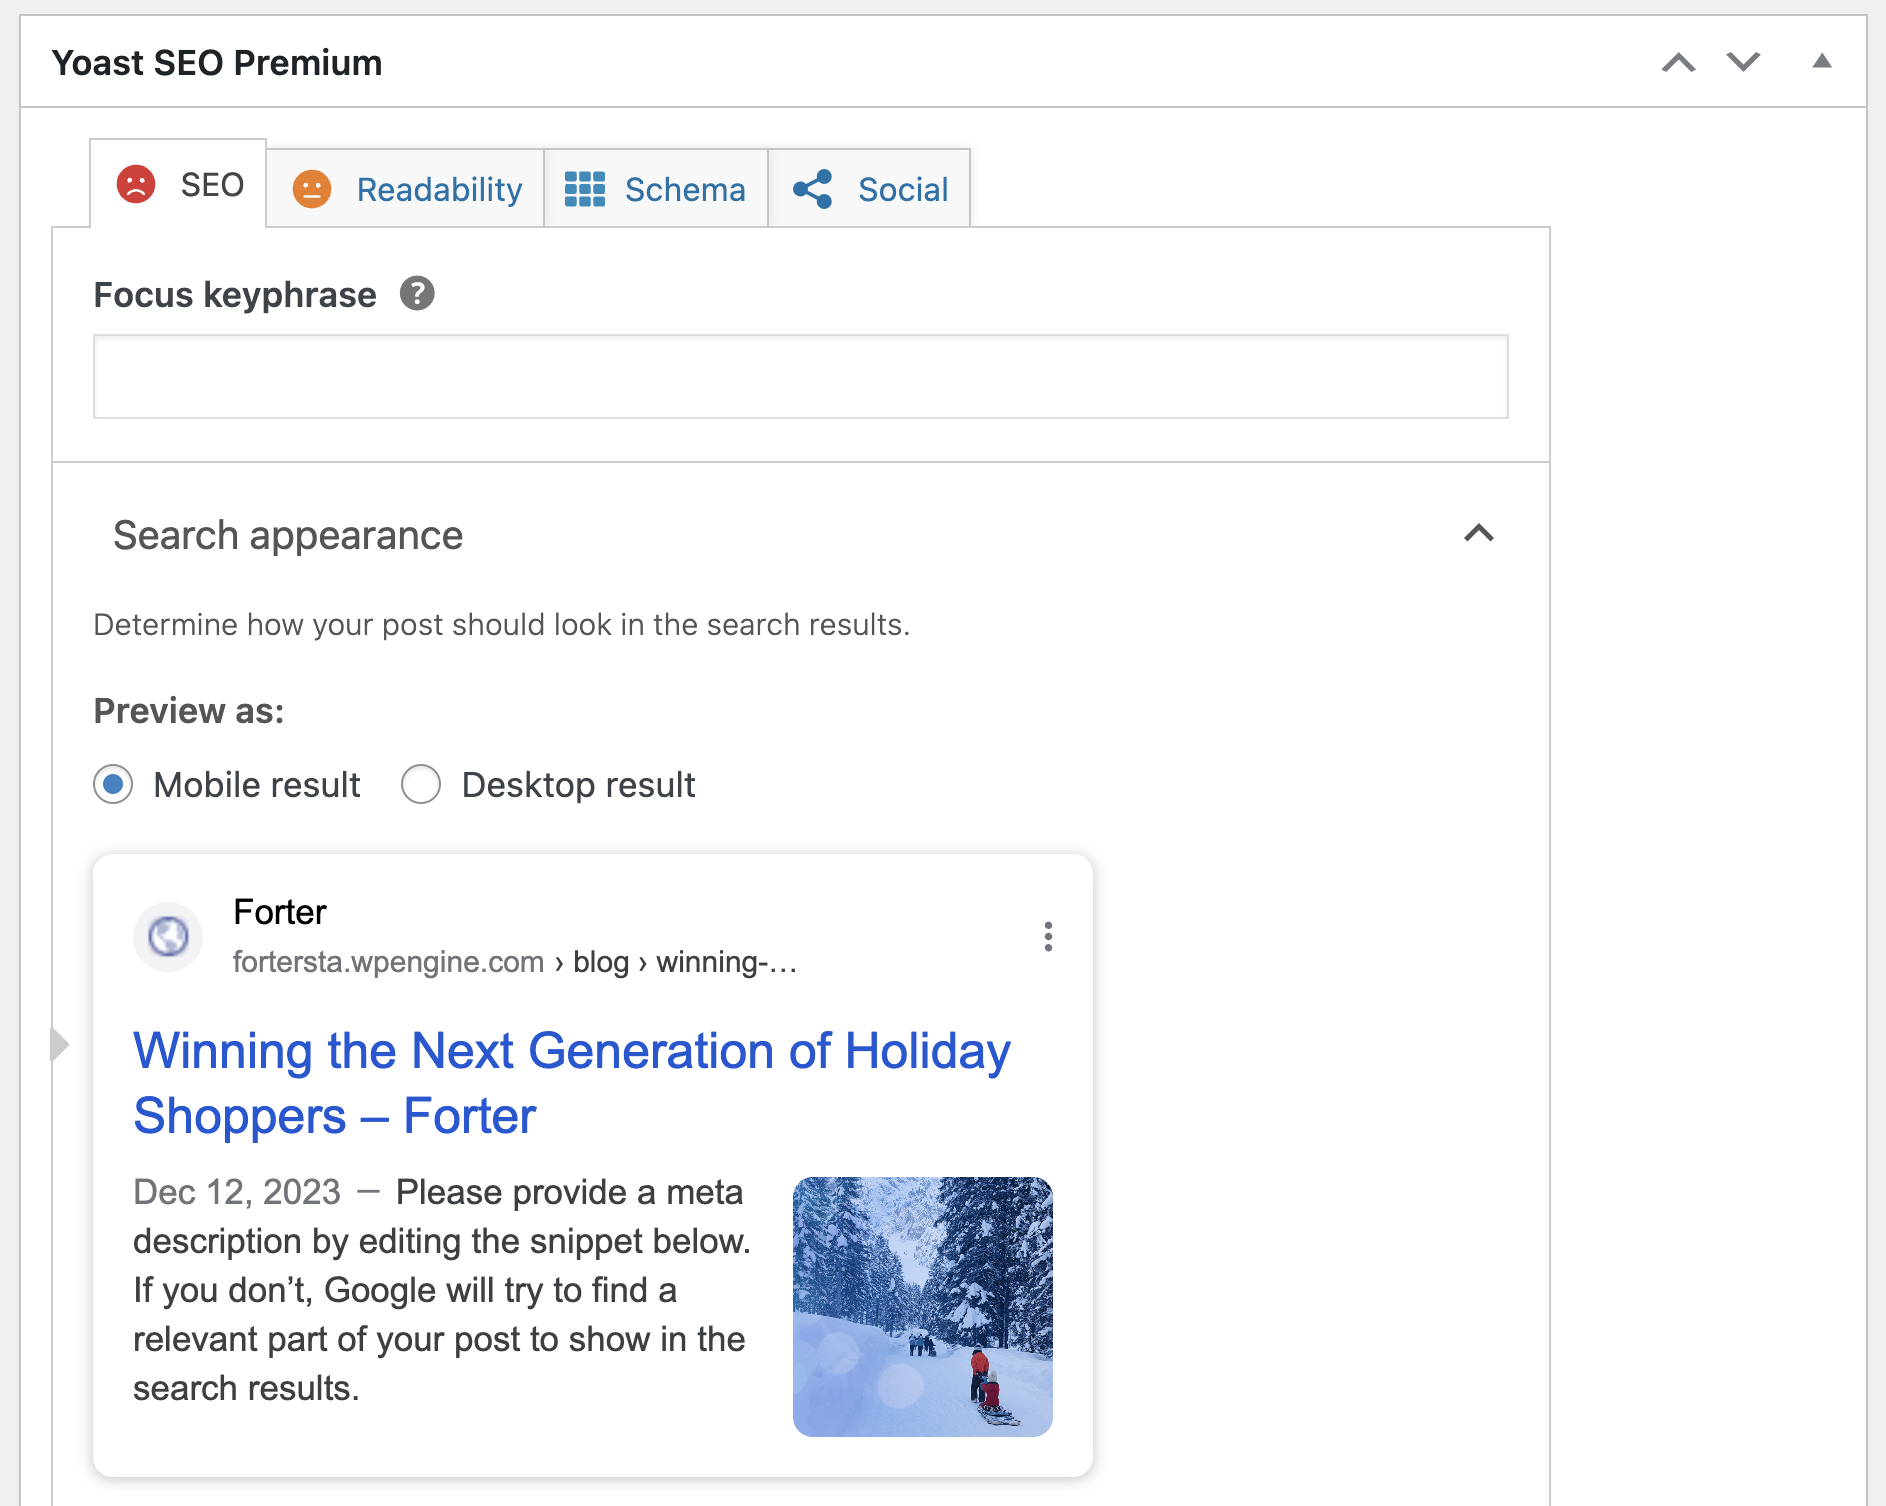
The second part discusses the Edit Snippet button, which is definitely more useful. Clicking on it will open a screen where you can edit the page’s title, meta description, and the URL that Google will see – the one displayed to the user in search results.
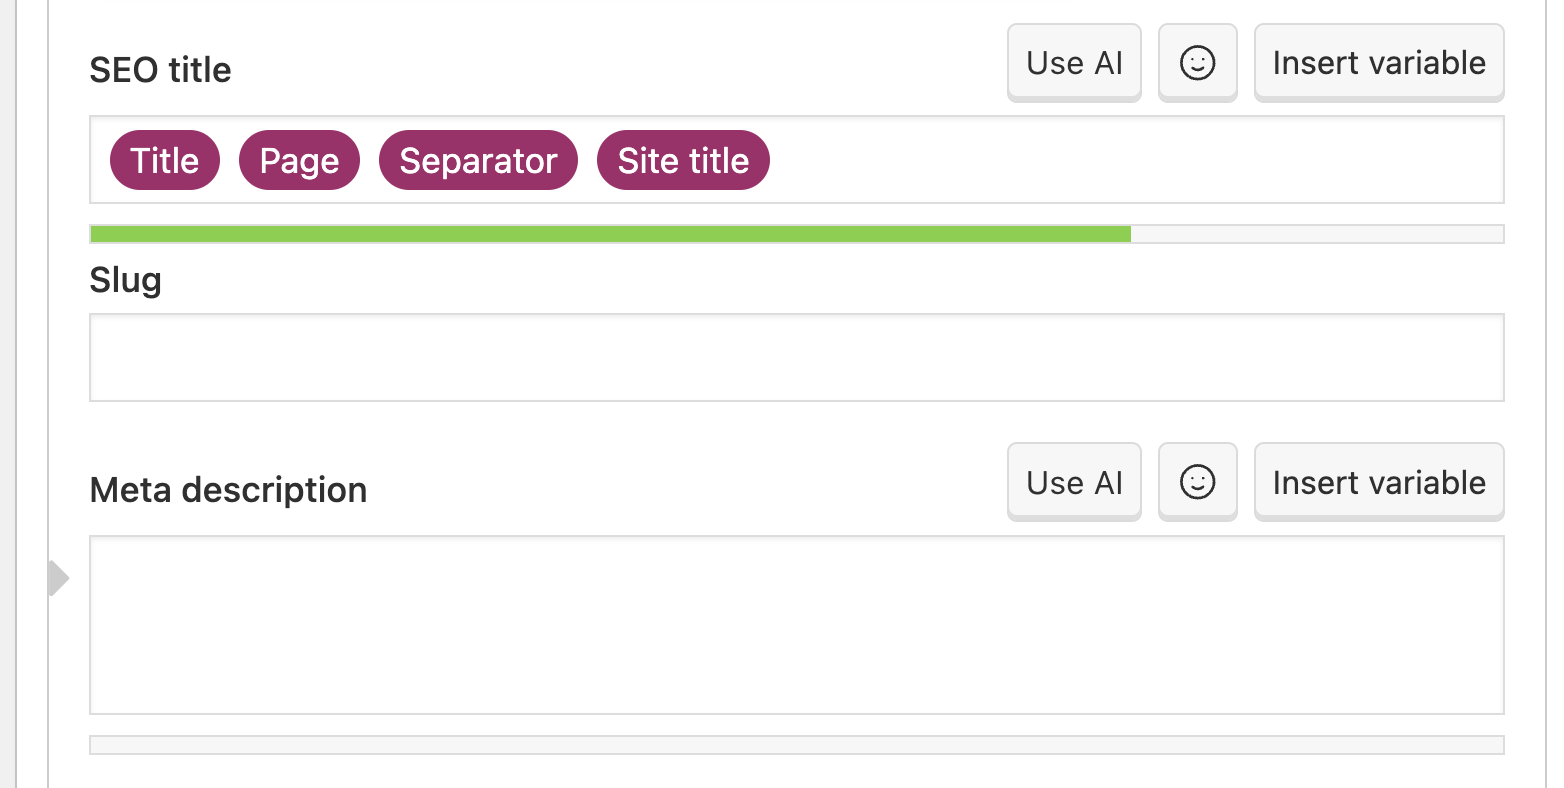
Let’s elaborate on the three fields that appear on this screen:
SEO Title – You can choose a different title for the page/post than the title you chose in the upper part of the page you are editing. This is the title that will appear in the search results and how search engines will see it. You must be very thoughtful in choosing the title because it carries significant weight in how search engines (and users) understand the topic of your content.
A more detailed post on how to write effective title tags for SEO. Take a look!
Slug – The string is part of the direct link of that page/post you are editing. It usually appears after the last “/” in the URL. The Yoast plugin allows you to easily edit this string, and it’s advisable to use the keyword for which you want to be ranked in this string.
Meta Description – This is the description that appears beneath the title and site URL in Google search results. You can (and should) enter a description in this box that includes the keyword you entered before (preferably at the beginning of the description).
The Meta Description Tag should provide a summary of the page content and should arouse interest in users when they see it in search results, prompting them to click on your result.
If you don’t add a meta description, search engines will display some text from the page for consideration. In my case, I always choose to write the meta description manually, but it’s not obligatory.
So, the three fields we just described can be filled in manually. Alternatively, you can set the structure of the title and page description using the variables provided by Yoast. Clicking on “Insert Snippet Variable” will display a window with all the variables available to you.
For much more information on optimizing these fields in a post, check out the post Google On-Page SEO Optimization.
SEO Analysis
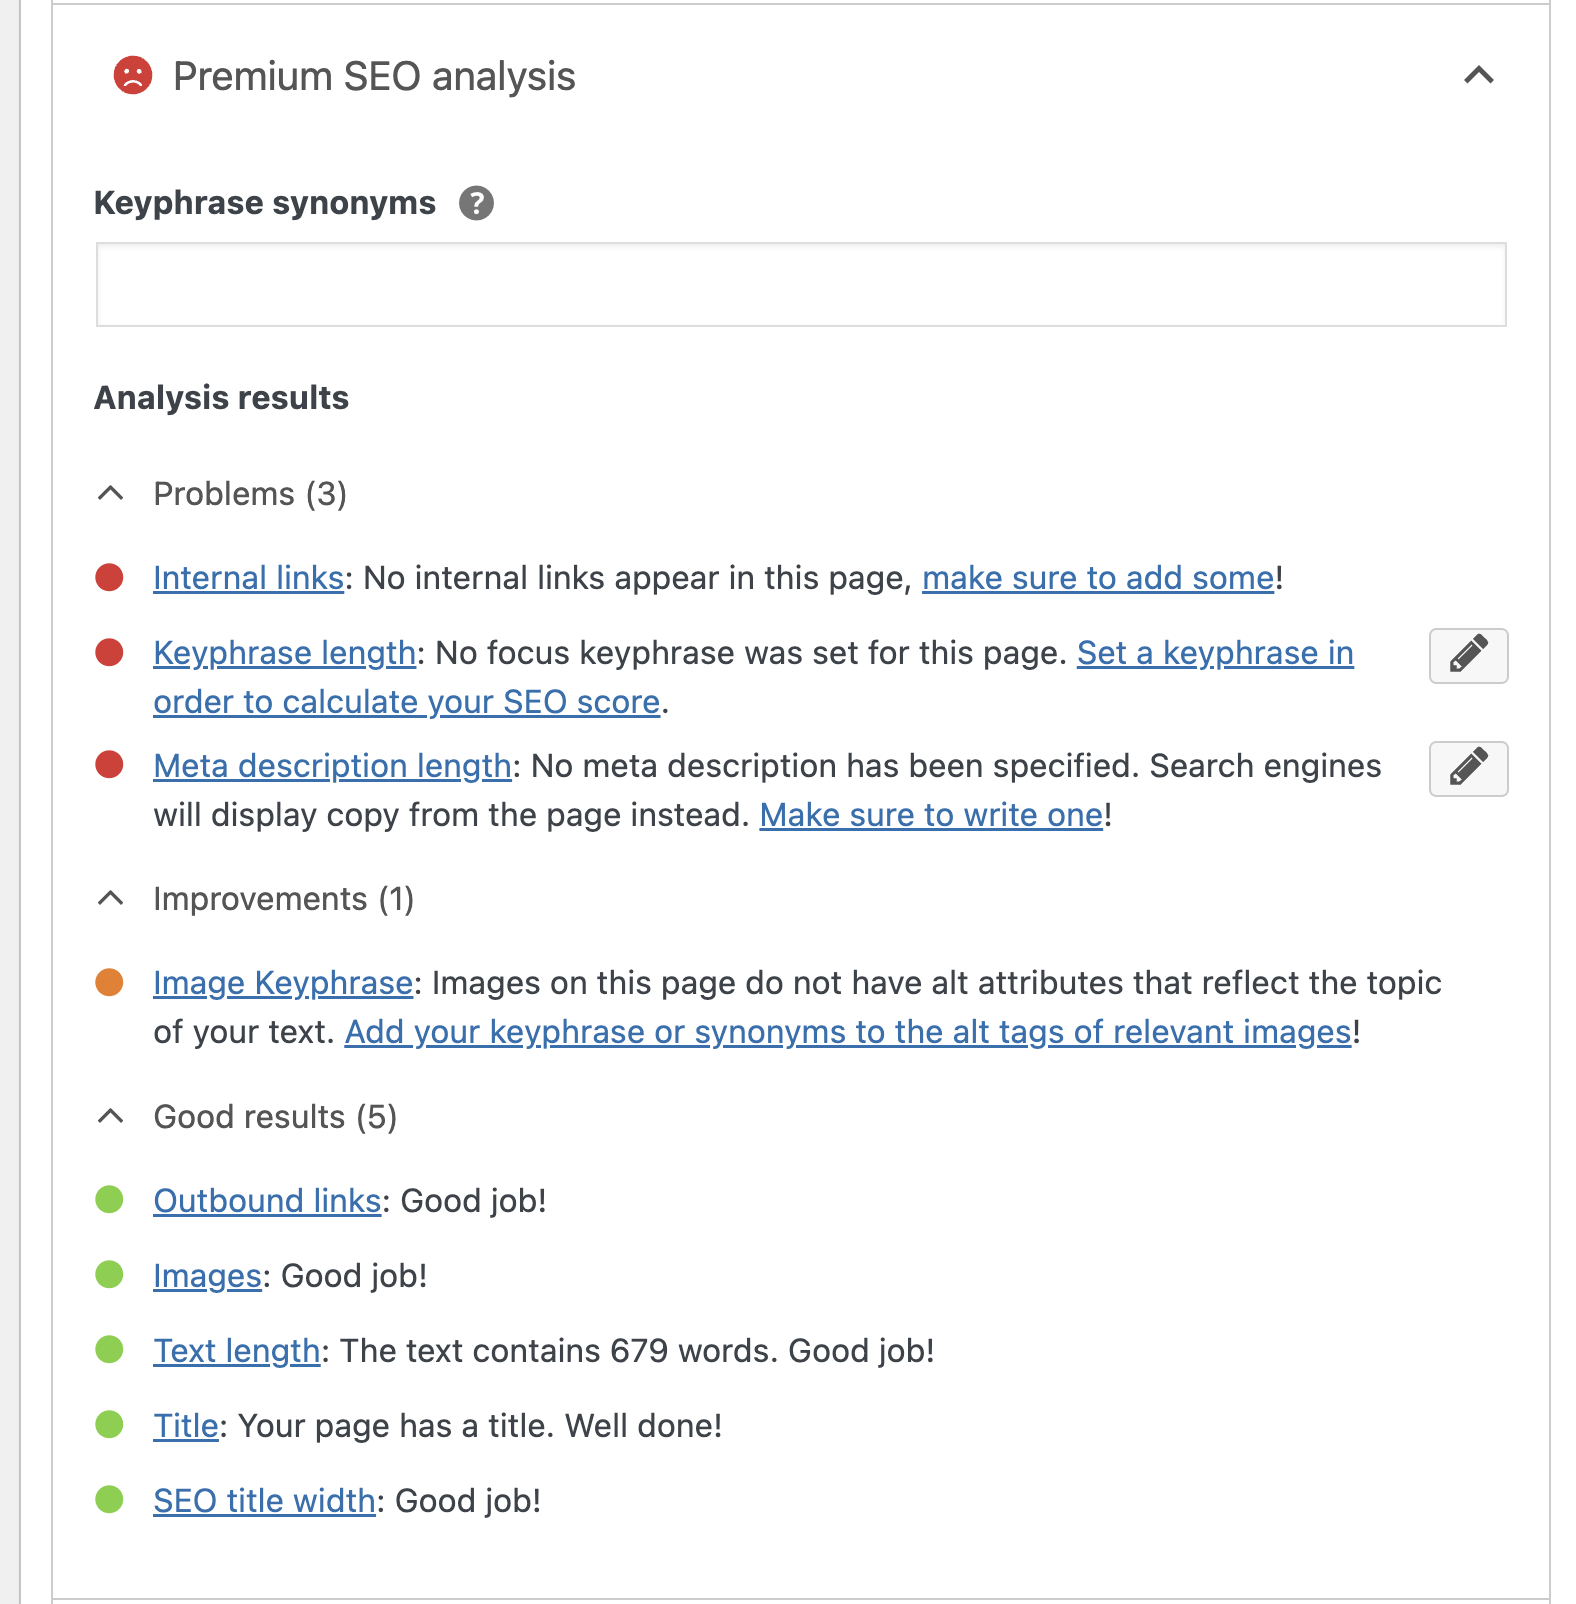
In this section, you will find the results of the analysis that the Yoast plugin performed on the page content. You will receive information about the optimization status and recommendations on how to improve the content to increase the chances of ranking higher on Google for the chosen focus keyword.
You will find information about keyword density, the location of these keywords in the content, the number of outbound links, and many more tips and recommendations for improvement to increase the page’s ranking.
Note: Don’t blindly follow these recommendations; remember that content should be written with the reader in mind first and search engines second. Don’t sacrifice readability for technical interests!
Advanced
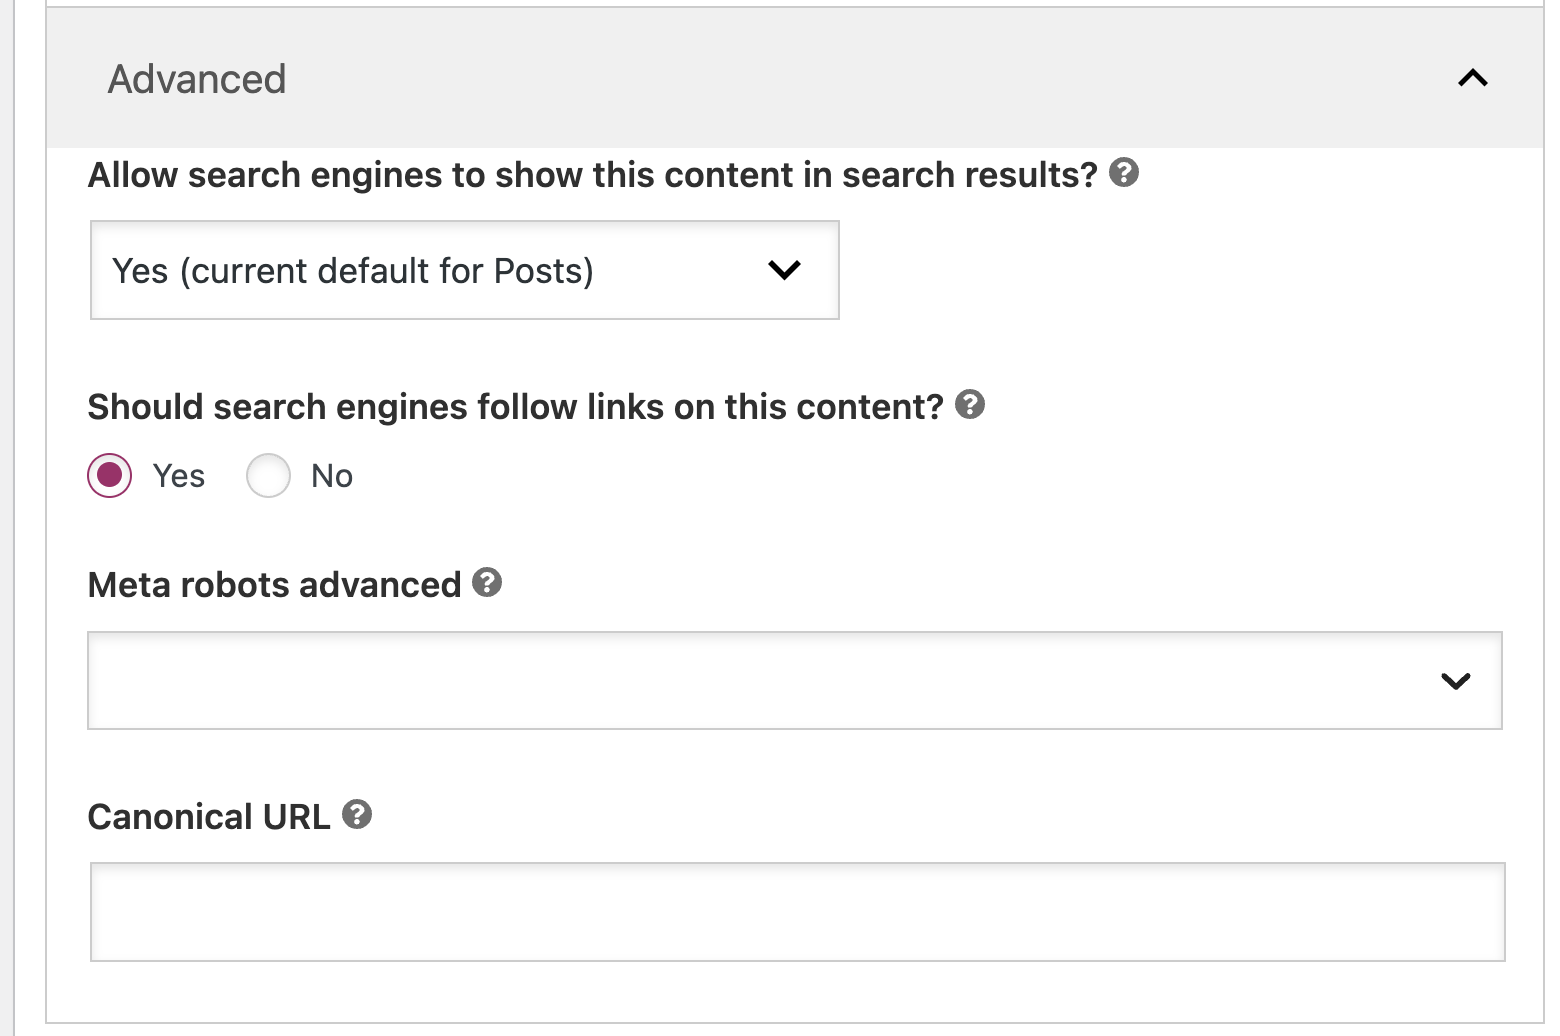
In this section, you’ll find important options and settings. Generally, there’s no need to touch these settings since they are set at the global level of the plugin, as defined earlier in this guide. Let’s briefly go through them:
- Prevent search engines from displaying this post in search results – This option allows you to determine whether the page should be indexed by search engines or not.
- Prevent search engines from following links on this page – It determines whether search engines should follow the links on this page.
- Advanced Meta Robots – Tags you’ll probably never use 🙂
- Breadcrumbs Title – How breadcrumbs will appear in Google search results.
- Canonical URL – Useful if you are publishing content that has already appeared on another site or on your own. You can provide the original content URL to prevent Google penalties for duplicate content.
More information on Canonical URLs can be found in the post linked earlier in this guide.
B. Readability Analysis
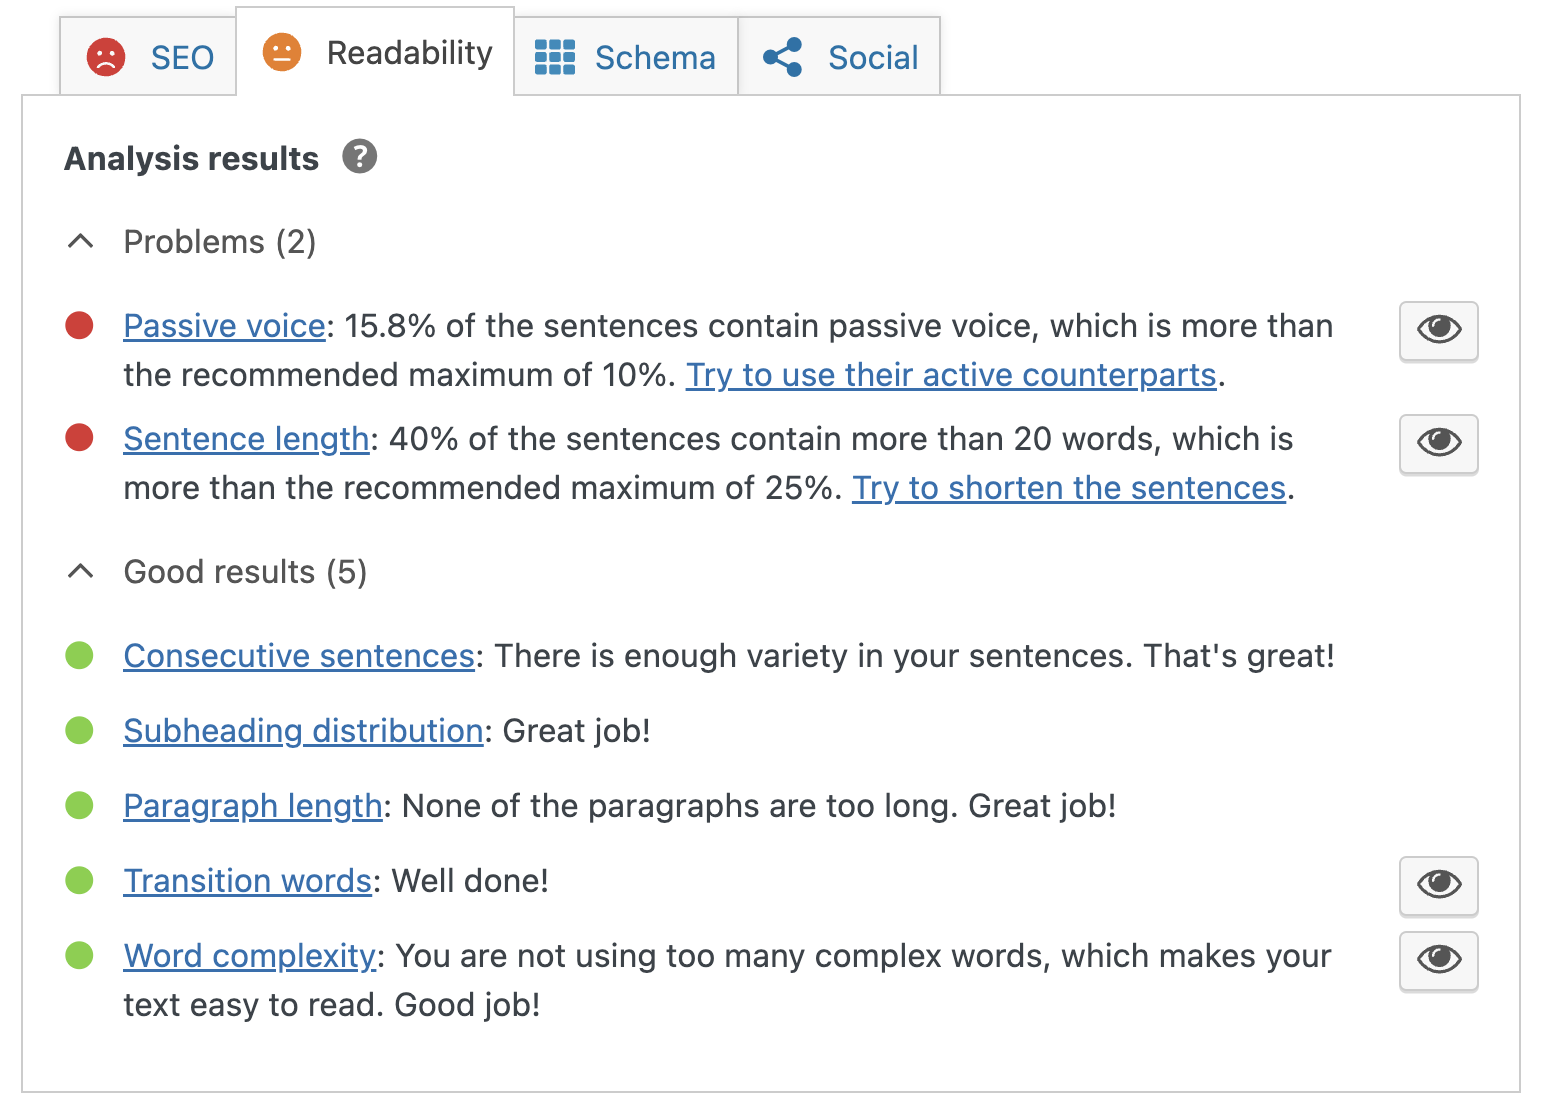
The readability analysis tool uses a special algorithm to assess how readable the content is for users. In this section, the tool displays the analysis results, recommendations, and ways to improve readability – making the content more user-friendly and understandable.
Following these recommendations will lead to text that is more readable and understandable for users.
C. Schema
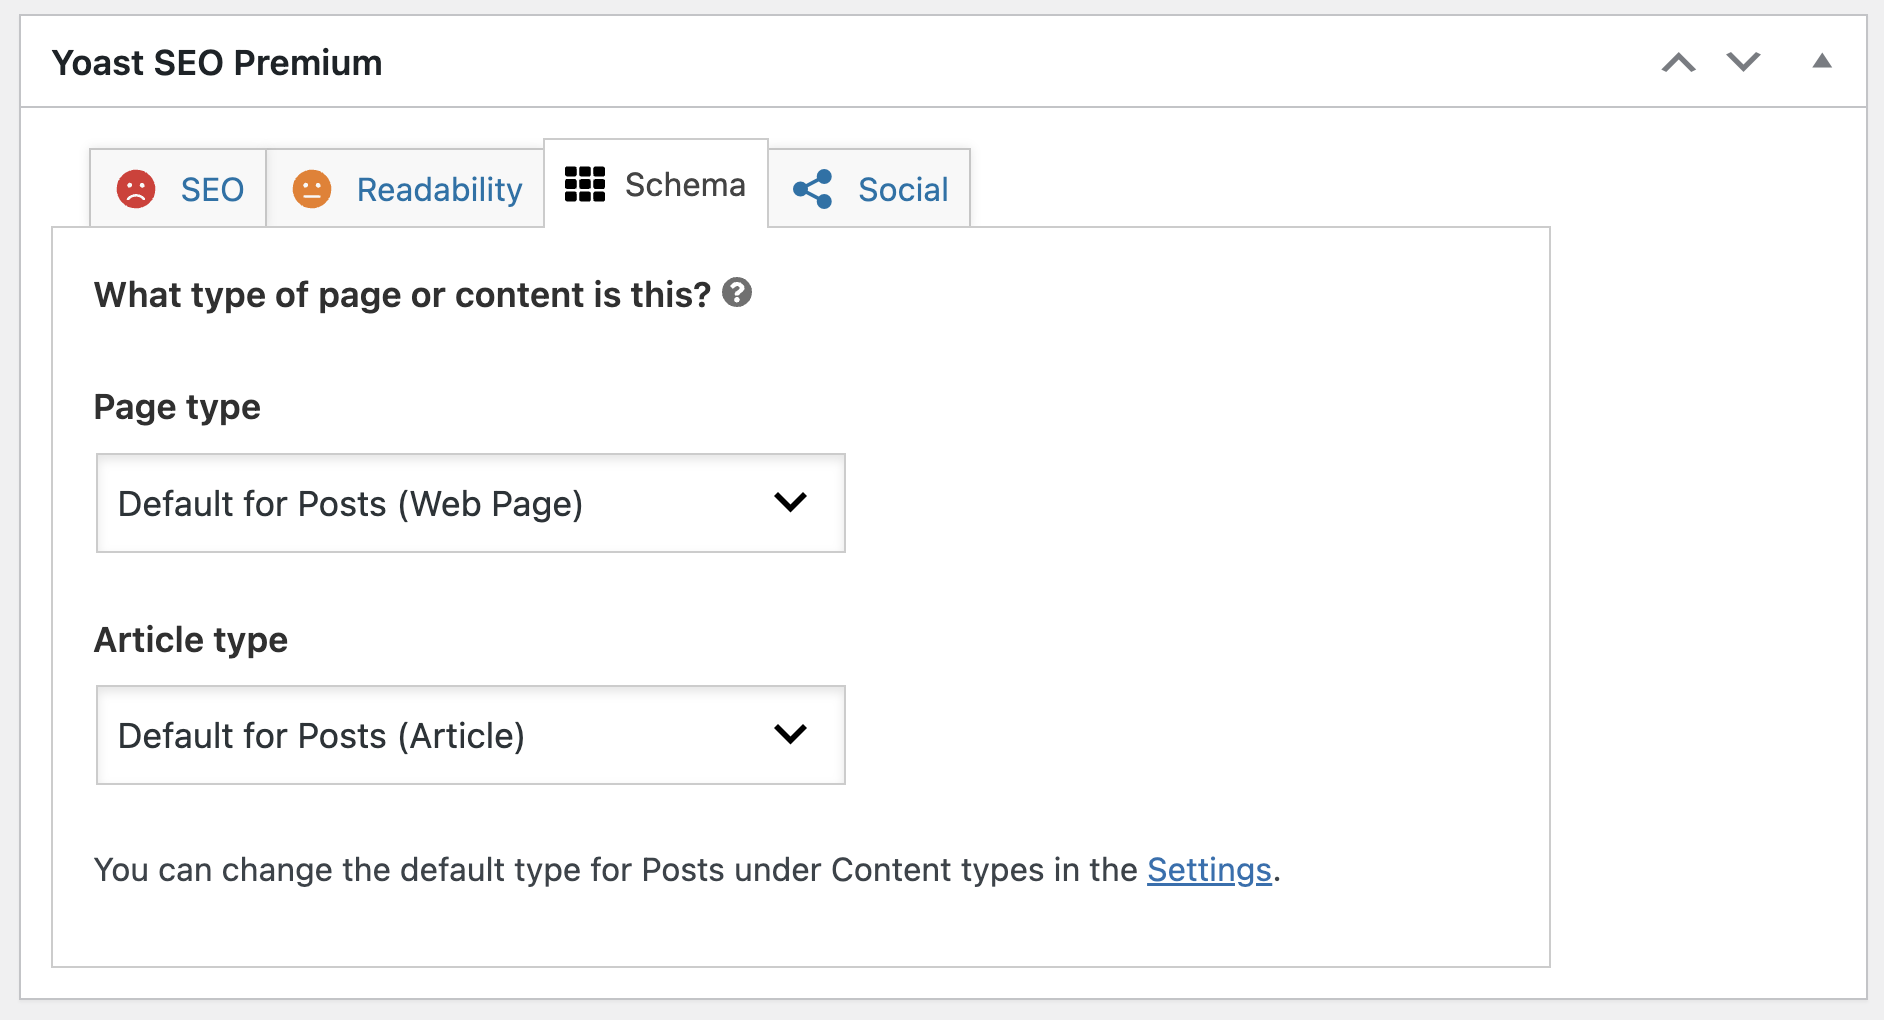
These are the same schema settings we saw earlier but at the local and specific level of this page. No further expansion beyond that.
D. Social
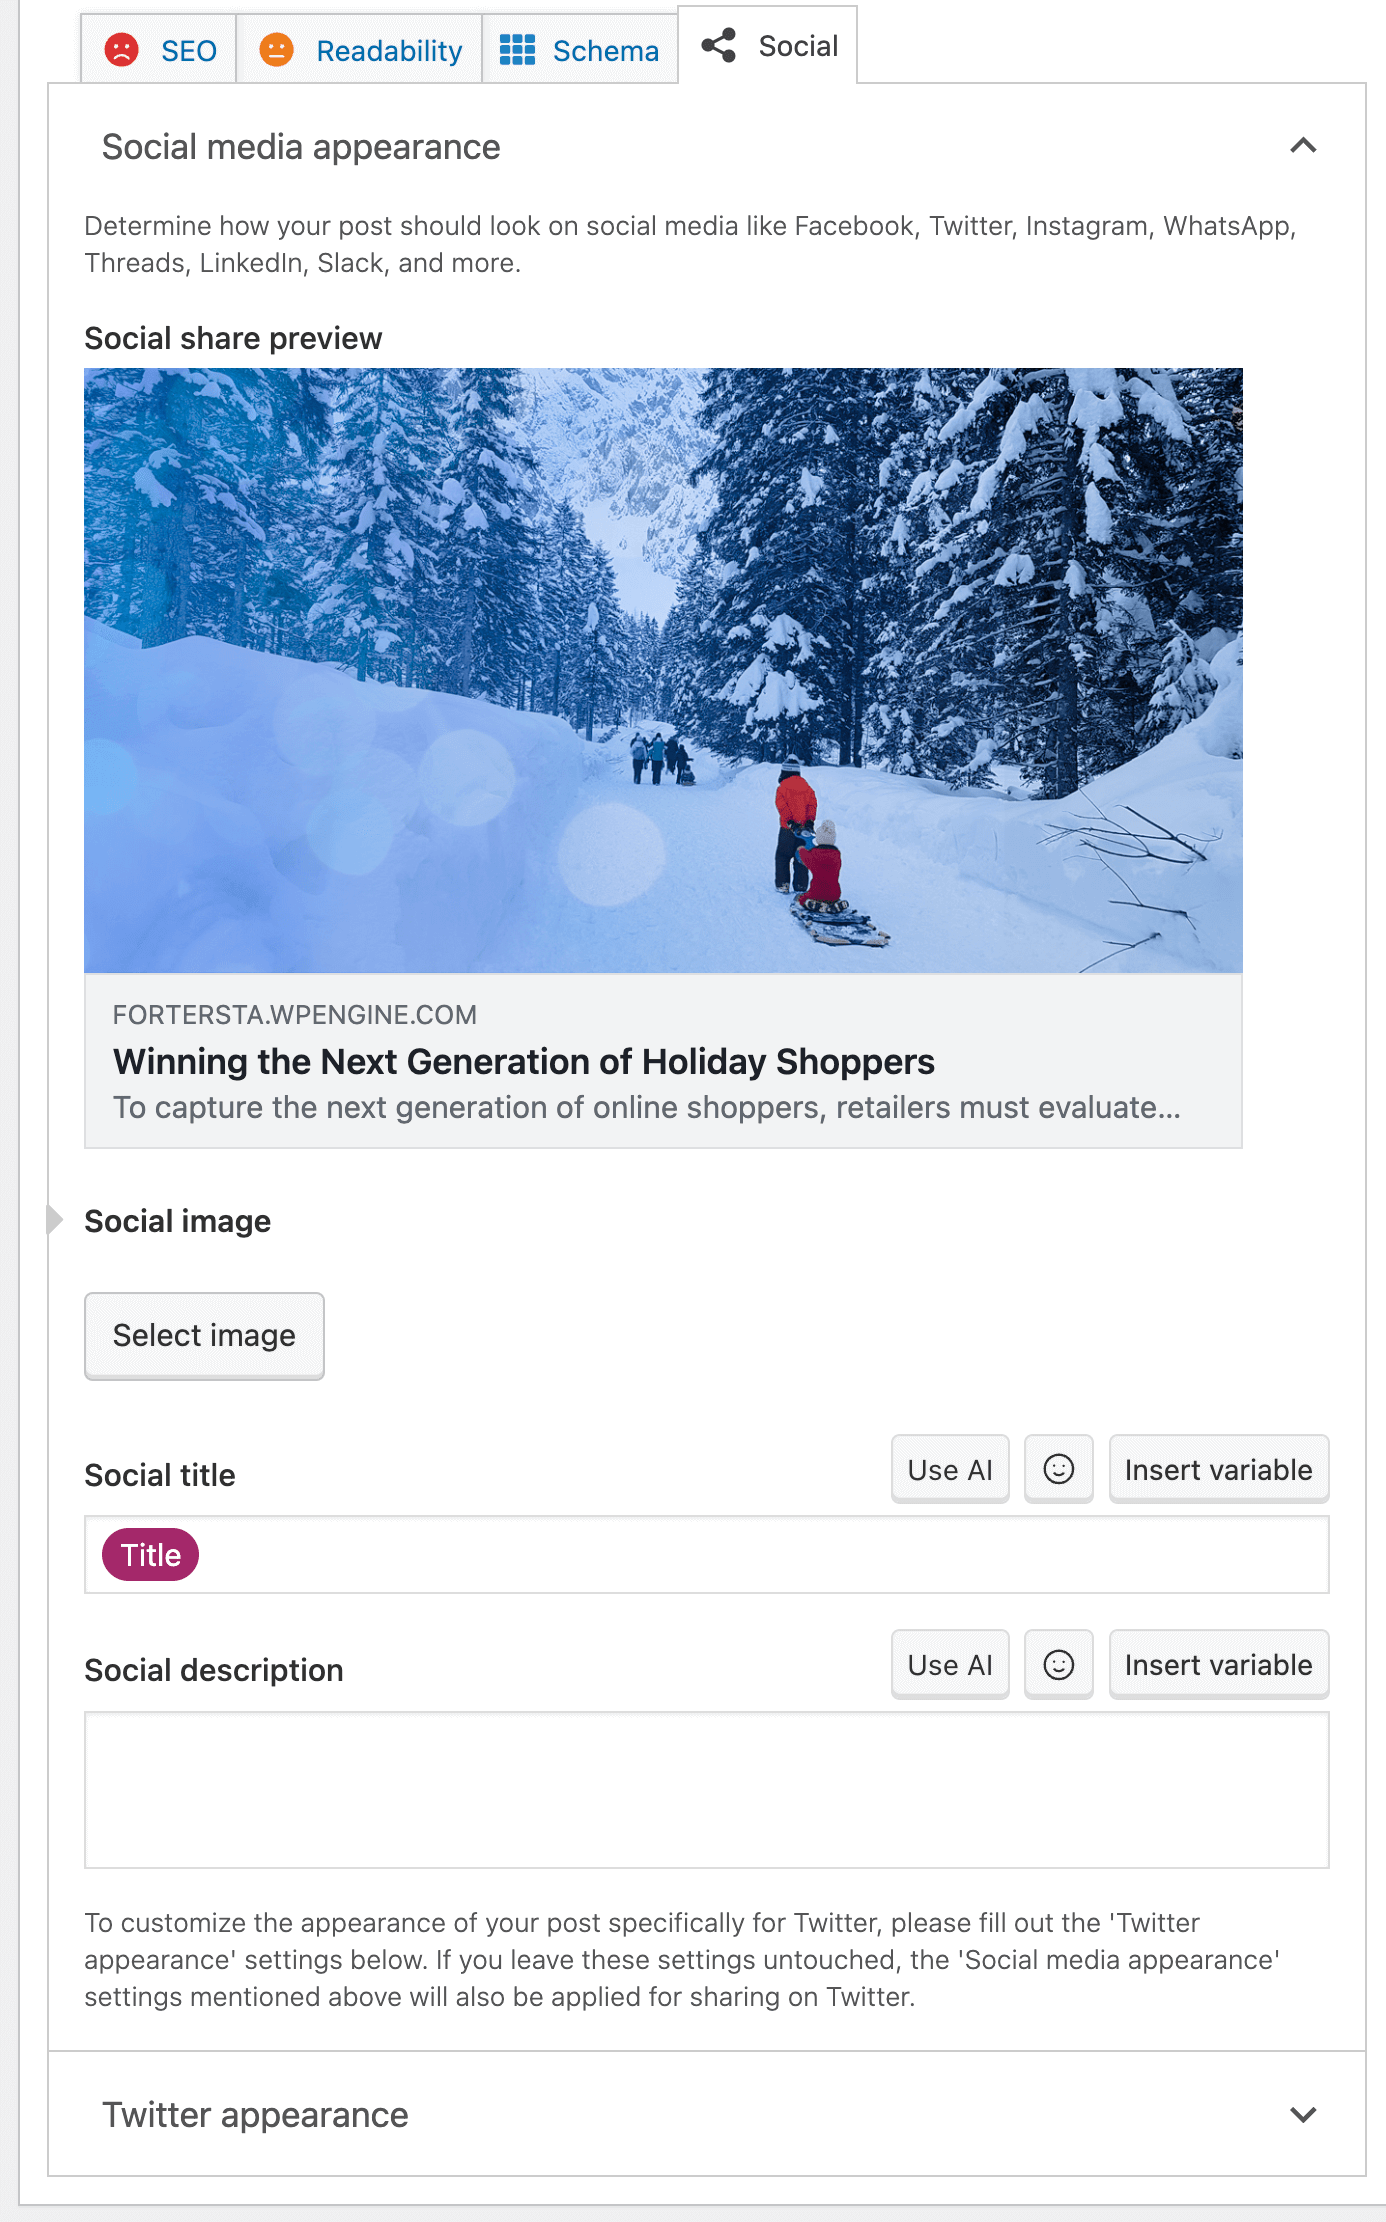
There isn’t much to elaborate on in this section. When you share a page on social networks like Facebook and X (formerly Twitter), these platforms will request a title and image for the post. While you can input this information manually through code, Yoast SEO makes it easy for us to add and set these details effortlessly.
Keep in mind that there’s no need to set these details for every post, as Yoast, by default, will use the SEO title, meta description, and featured image of the page/post for sharing.
Note that each social network may have different standards, and you might need to adjust title lengths or image dimensions accordingly.
Is it Worth Purchasing Yoast Premium?
Is the Premium version of the Yoast plugin worth the price ($118.80/year)? It depends… You don’t need Yoast Premium to achieve good SEO, and the premium version won’t magically transform your site’s rankings without effort on your part.
However, if you find that you need one of the features mentioned in the table below (and you can’t find a suitable free alternative for that feature), then it’s worth considering the purchase of the Premium version.
| # | Features | Free Version | Premium Version |
| 1 | Title Configuration | ✓ | ✓ |
| 2 | Meta Description Configuration | ✓ | ✓ |
| 3 | Keywords Analysis | ✓ | ✓ |
| 4 | XML Sitemap | ✓ | ✓ |
| 5 | Breadcrumbs Settings | ✓ | ✓ |
| 6 | Interlinking Suggestion | X | ✓ |
| 7 | Zapier integration | X | ✓ |
| 8 | Focus keyword export | X | ✓ |
| 9 | Redirection Module | X | ✓ |
| 10 | Social Preview | X | ✓ |
| 11 | Content Insights | X | ✓ |
| 12 | Ad-free experience | X | ✓ |
| 13 | AI Title & Meta Description Generator | X | ✓ |
| 14 | Google Search Console Integration | X | ✓ |
| 15 | AI Brand Insights | X | ✓ |
| 16 | Updates | ✓ | ✓ |
| 17 | Support | Forum Only | 24/7 Priority Support |
FAQs
noindex. Yoast lets you control this per taxonomy in the Settings screen.AI Brand Insights, and 24/7 support. If you manage a content-heavy site or need redirects, the upgrade can save you time.Summary
Yoast SEO gives you control over practically everything that matters for search engine visibility – title formats, meta descriptions, canonical URLs, schema, breadcrumbs, and per-page keyword optimization.
If you don’t find the solution you’re looking for through the plugin itself, you can use the API it offers with its many hooks. I wrote a separate guide on customizing Yoast SEO using filters that covers practical examples.
Using Yoast won’t instantly propel you to the top spots in Google, but proper configuration is a solid step in that direction. It can save you hours of On-Page SEO work.
Make sure you complete the technical SEO process on your site first, and if you’re weighing alternatives, check out my Yoast SEO vs Rank Math comparison. As always, I would be happy to receive comments 🙂