If you are transferring a WordPress site from one hosting company to another, it is advisable to make sure the site is working properly on the new server before changing the domain’s nameservers.
For example, if you migrated your site from company X to a hosting server I recommend, you can ensure that your site looks exactly the same before you point your domain to the new server.
Before we continue, I should mention that there is an even smarter way to do this without using the temporary URL at all and without editing the wp-config.php file at all. You can change the hosts file on your local computer to point your domain to the IP address of the new server.
I wrote a separate post about this, check out How to Test Your Site on a New Server Before DNS Change if you prefer that approach. The hosts file method is more reliable than the temporary URL method described here.
In any case, in this post we will see how to set up and access WordPress using a temporary URL.
How to Find the Temporary URL?
You can find the temporary URL in the email you received when you signed up with the hosting company. Additionally, if you are on any reseller plan, you can find the temporary URL by viewing the IP address listed in your account list in WHM. Usually, this address looks like this:
https://IPADDRESS/~yourusernameSo if your IP address is 1.2.3.4 and your username is “username”, then the temporary address of the site on the server would be in the following style:
https://1.2.3.4/~usernameHow to Configure WordPress to Use the Temporary URL?
Since WordPress stores the domain name in the database, it will not “automatically” work with any URL unless you manually change the settings for this address.
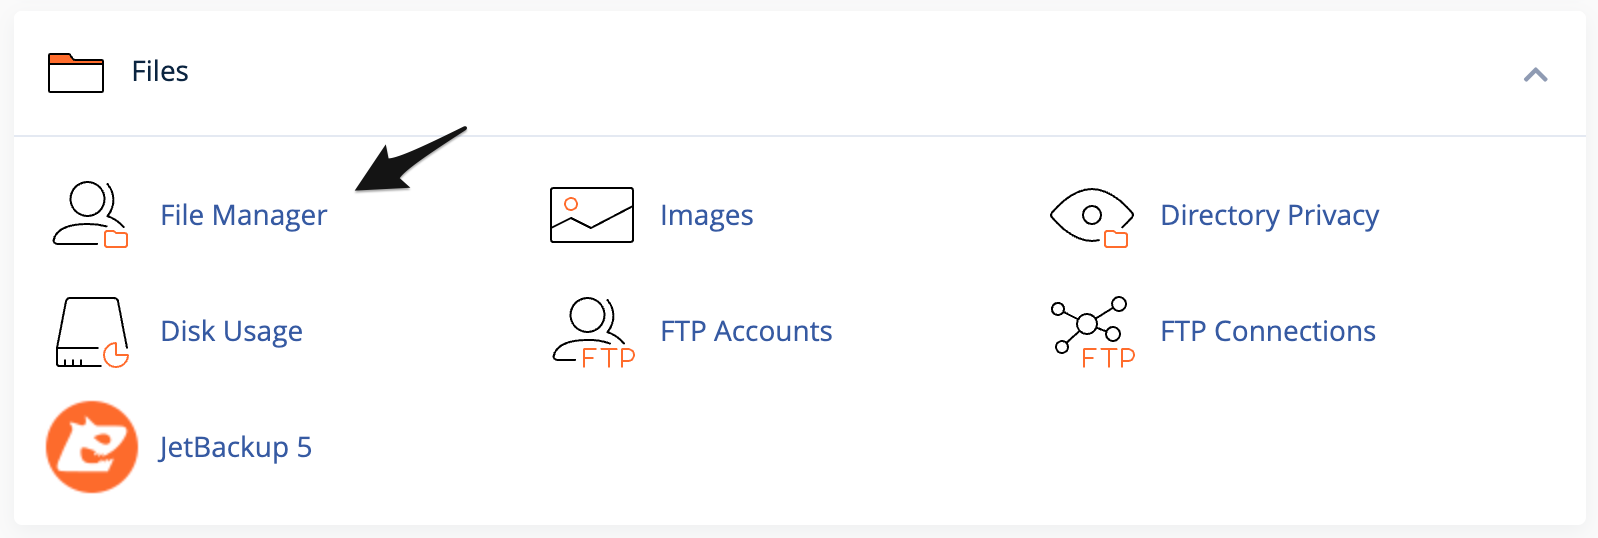
After you have migrated the site to the new server, whether a manual migration or migration using a plugin such as Duplicator, go to your cPanel account and open the “File Manager”.
You can also edit this file using FTP.
Go to the main folder where WordPress is installed and find the file wp-config.php.
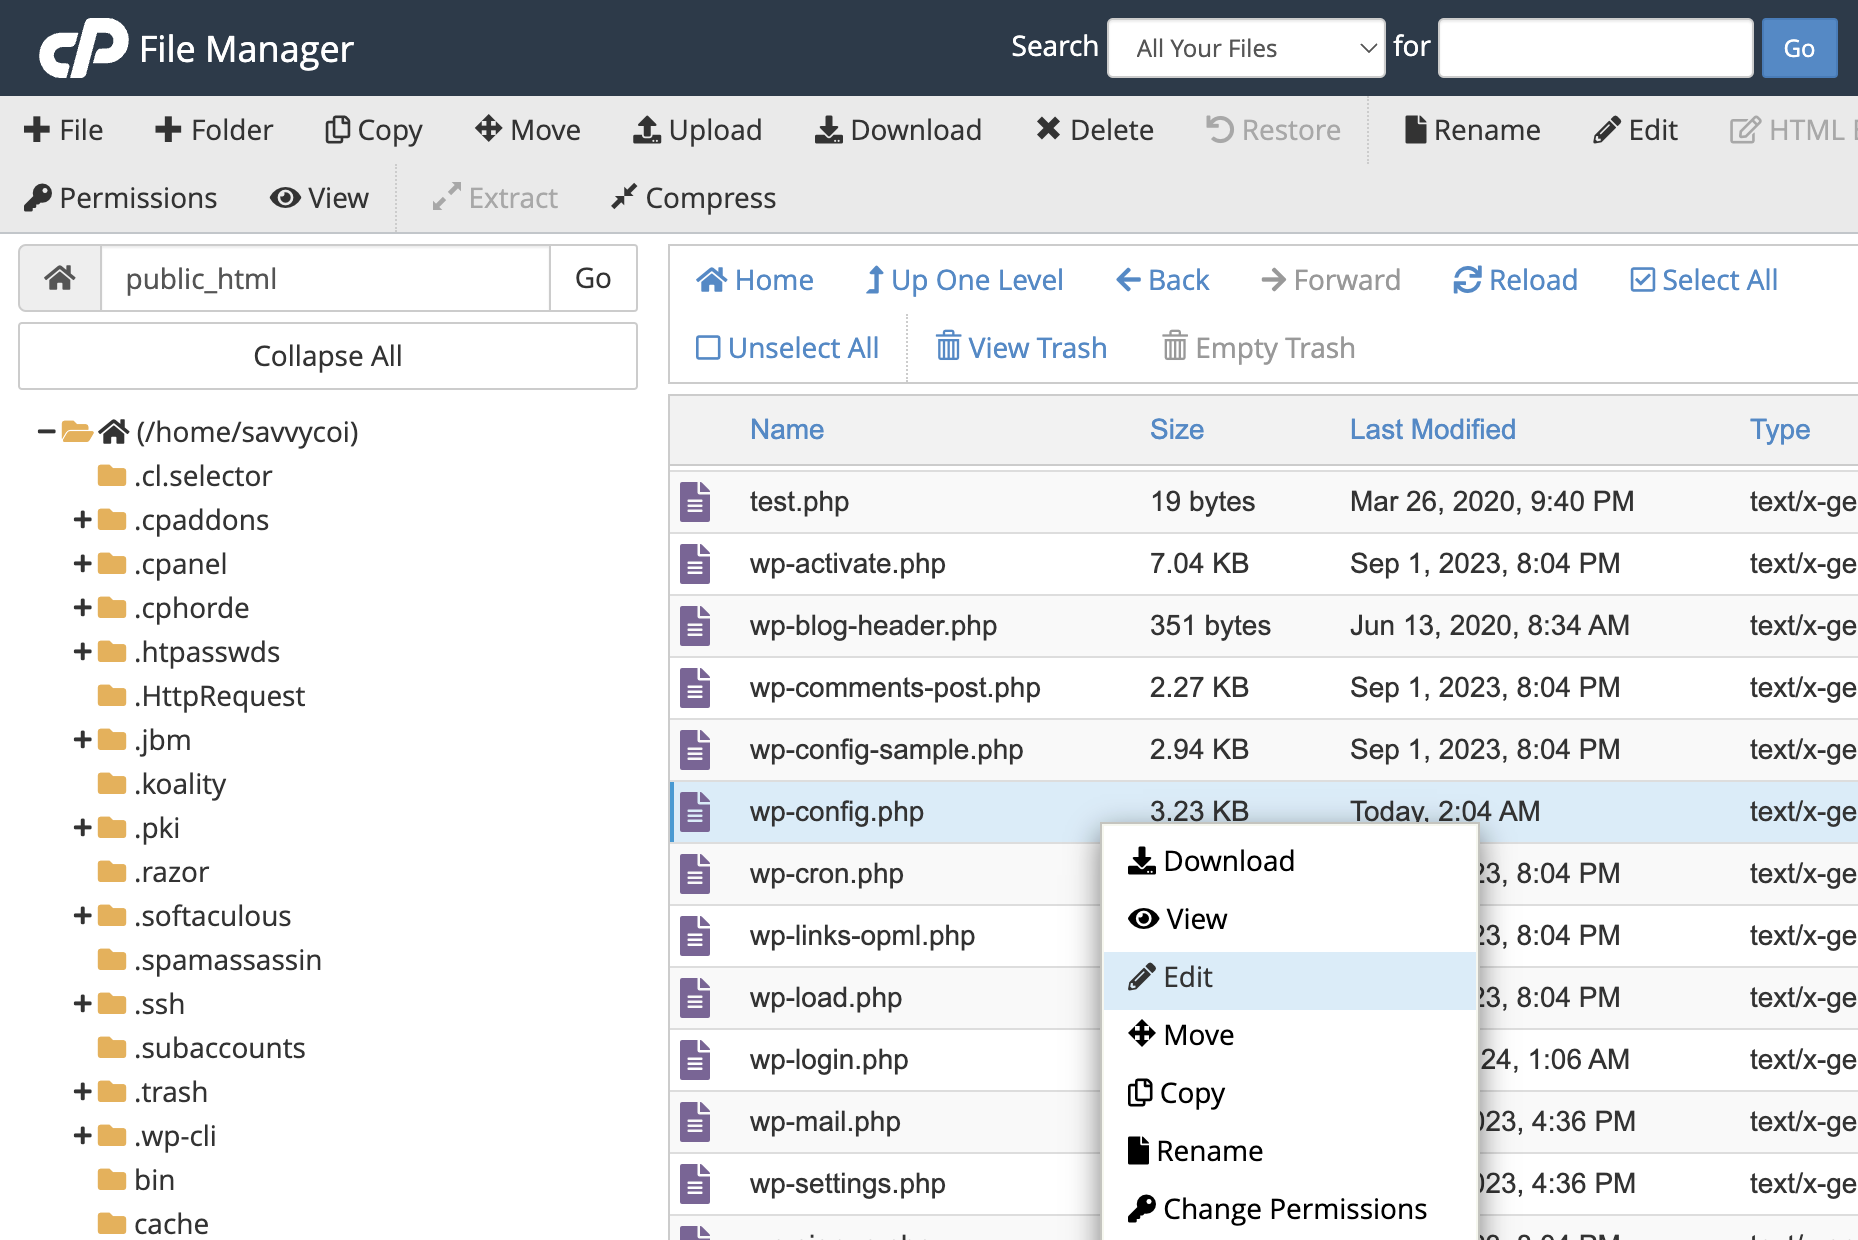
Right-click this file, choose Edit and confirm the edit. Now look for the lines containing WP_HOME and WP_SITEURL.
If you don’t find these you will need to add them yourself.
The lines we are talking about look like this:
define('WP_HOME', 'YOURDOMAINNAME');
define('WP_SITEURL', 'YOURDOMAINNAME');
Now change the address in each of these lines to the temporary address of your site and save the changes. After the change it will look something like this:
define('WP_HOME', 'https://IPADDRESS/~yourusername');
define('WP_SITEURL', 'https://IPADDRESS/~yourusername');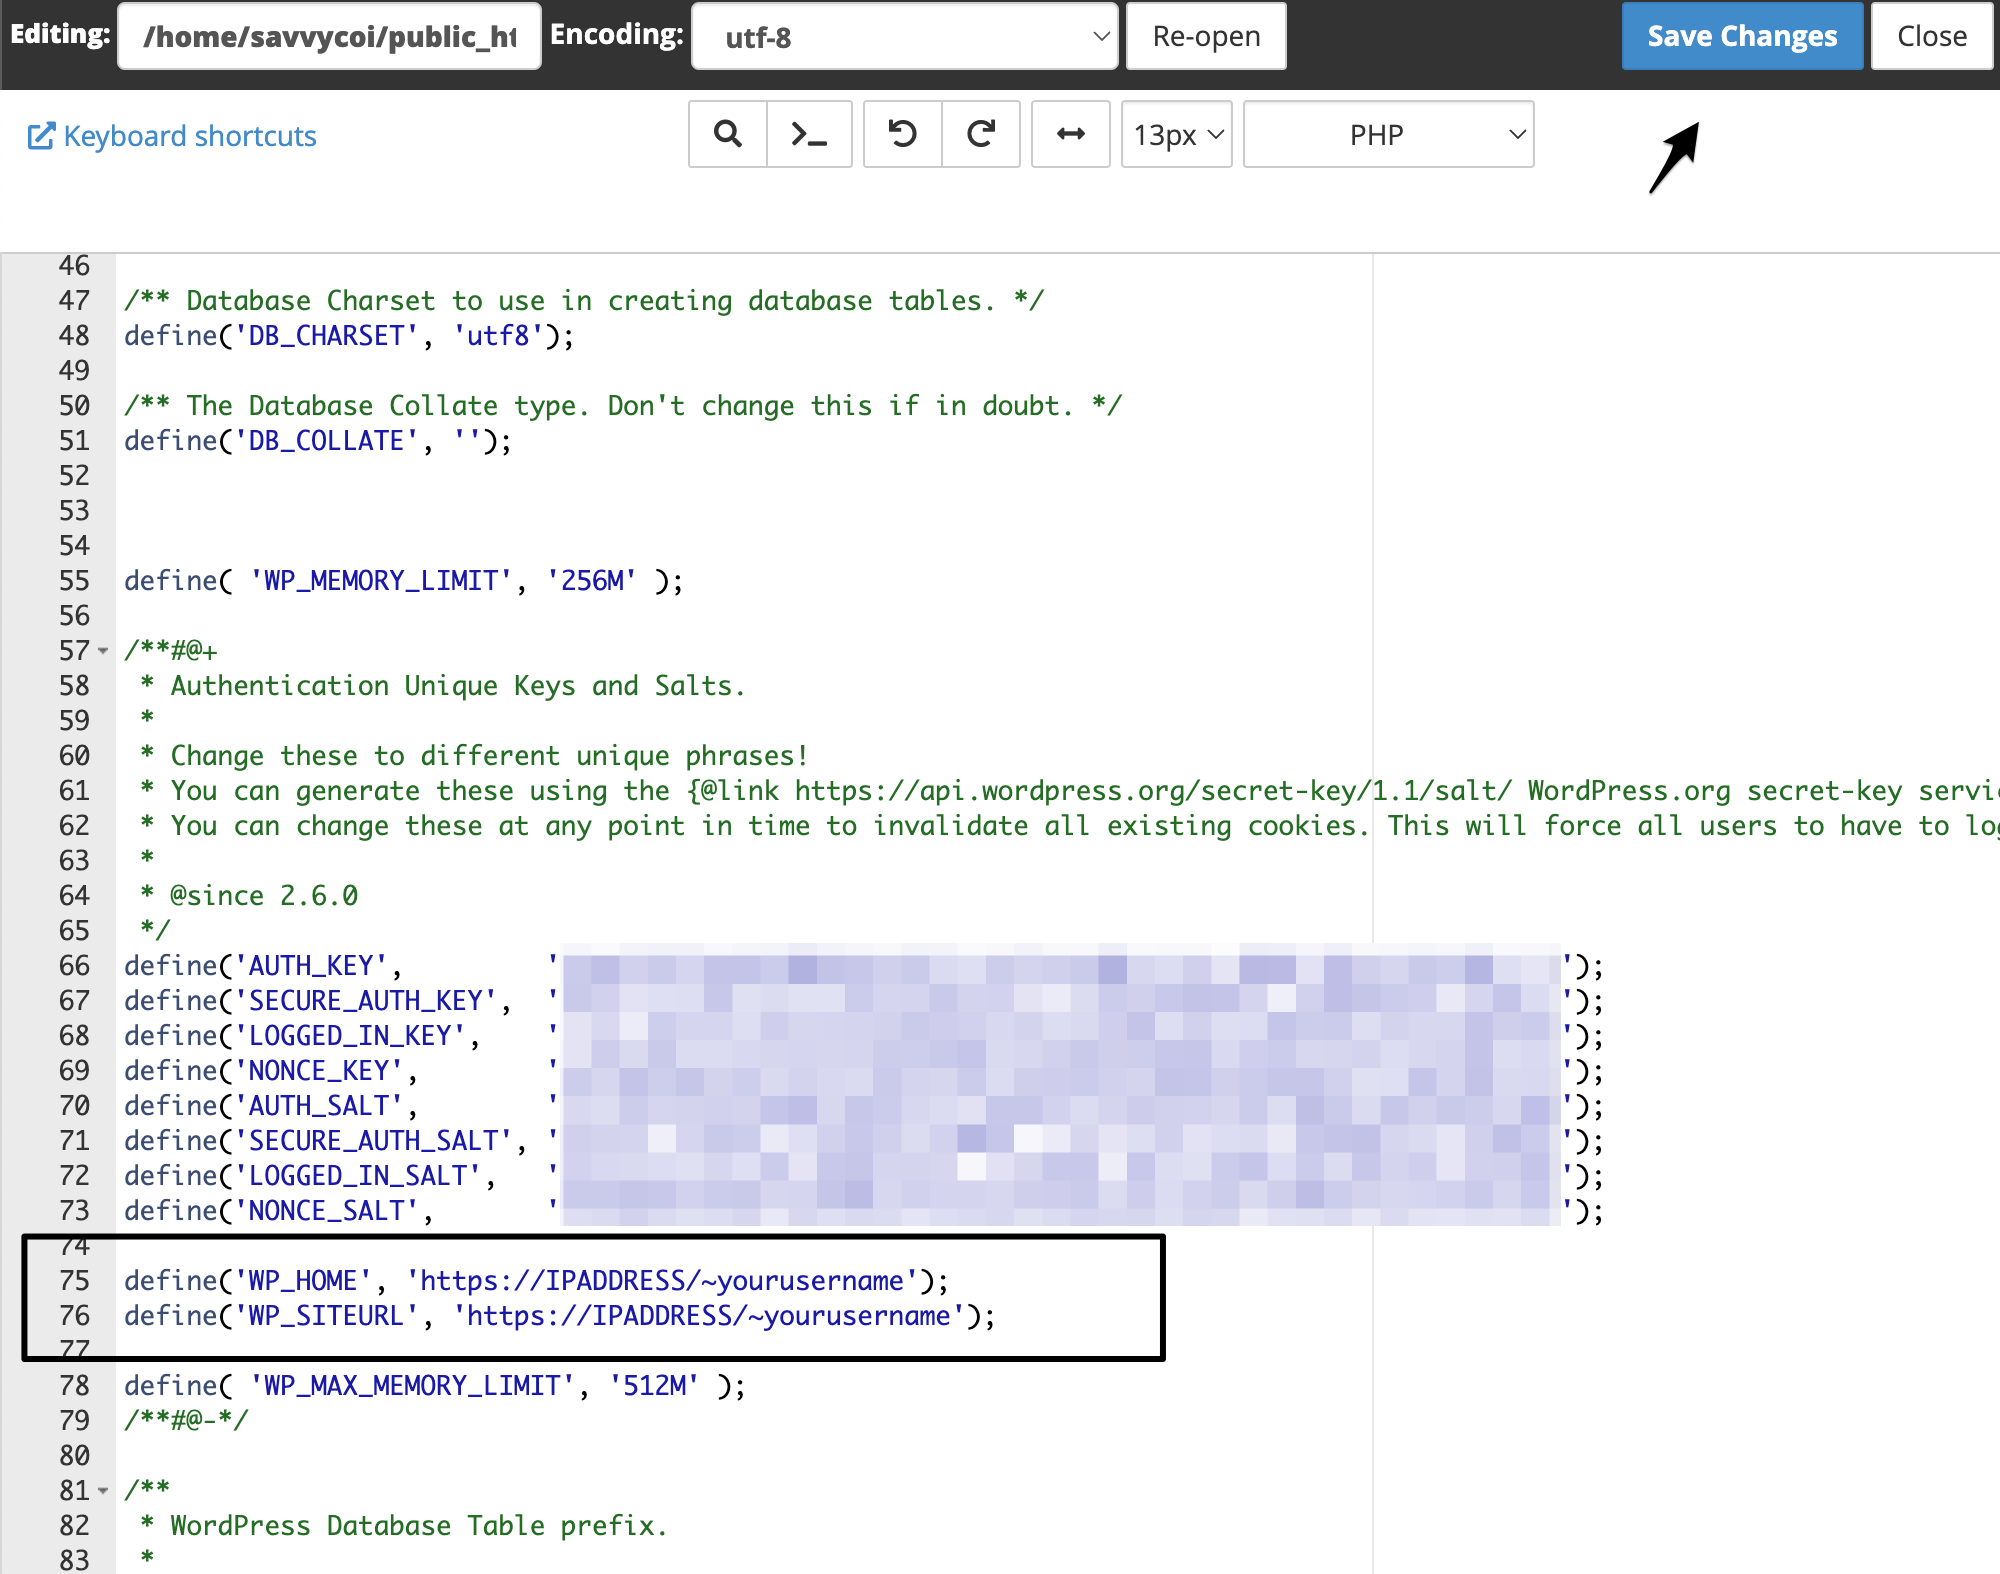
At this point you can access your WordPress site at the temporary address. After you have confirmed that the site looks and functions correctly, change the values in wp-config.php back to your real domain and update the nameservers to point to the new server.
FAQs
Common questions about testing WordPress with a temporary URL:
wp-config.php override whatever is stored in the database. Just remember to change them back to your real domain once testing is complete and before you update the nameservers.WP_HOME and WP_SITEURL only control the site address used for navigation and admin links. Content URLs stored in posts and pages remain unchanged. This is expected behavior during testing and will resolve once you point the domain to the new server./* That's all, stop editing! */. Once added, they will override the database values for siteurl and home in the wp_options table.IP/~username) is a feature of Apache-based shared hosting with cPanel/WHM. If your hosting uses a different control panel, check with your provider for the equivalent temporary access URL. You can always edit wp-config.php via FTP regardless of the hosting panel.Summary
To test a WordPress site on a new server before switching DNS, temporarily change the WP_HOME and WP_SITEURL values in wp-config.php to the server’s temporary URL (usually IP/~username). This lets you verify the site works on the new hosting without affecting live visitors.
Once testing is complete, change the values back to your real domain and update your nameservers. For a more thorough test that preserves SSL and internal links, consider the hosts file method instead.