If you’ve used Google PageSpeed Insights before, I assume you’ve encountered a stage where a comment indicates that you need to “Eliminate Render-Blocking Resources” as it is one of the common messages you encounter in PSI.
In this post, I will explain what that comment means and what is meant by render-blocking resources. I will also show (of course) how to address this comment (at least the part relevant to CSS) by creating the critical CSS mentioned in the post title.
What is Critical CSS?
Critical CSS is the CSS code applied to elements in the critical above-the-fold part of the page. In other words, it is the CSS responsible for displaying the content in the critical above-the-fold part of the page as quickly as possible for a user landing on any page of your site.
If you don’t know, the critical part is the top part of the page that the user sees immediately before scrolling. For example, this is what I see when I open the eBay homepage:

All the elements in this image are considered content of the critical above-the-fold part of the page. Therefore, the CSS responsible for styling those elements is considered critical CSS.
Here is another diagram illustrating the concept of Above the Fold on websites:

Above the Fold vs Below the Fold
The same critical CSS is not defined on your site by default. You need to manually extract it or use a cache plugin or tool to set it.
Even cache plugins that automatically generate the critical CSS may sometimes require manual assistance.
Why Does Critical CSS Improve Page Loading Speed?
Browsers need to load, parse, and execute all existing CSS files on a page before they can render (display) the page. That is why CSS (just like JavaScript) is considered a render-blocking resource by default.
When there are many CSS rules on any given page, that page will suffer from poorer performance. Content management systems like WordPress load multiple CSS files in parallel by default, and the browser has to download and parse all of them before displaying the page – a process that obviously takes time and impacts page performance.
Take a look at the following image (from left to right) showing how quickly the user sees the content in the critical above-the-fold part of the screen. Which of the two feels faster to you?
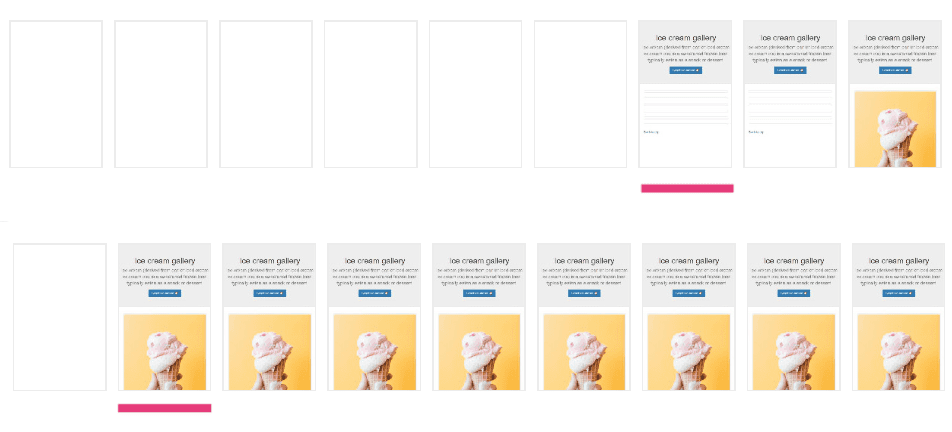
Above: Page loading with render-blocking resources.
Below: Page loading after extraction and embedding of critical CSS
As we understand, loading external CSS may delay the appearance of content in the critical above-the-fold part until the browser renders the rest of the page. Therefore, Google PageSpeed indicates in that comment that you need to remove render-blocking resources.
Unoptimized CSS also has a negative impact on Perceived Performance, meaning the user’s sense of time it takes for the page to load. This can lead to a higher bounce rate since people nowadays are impatient and want information as fast as possible.
Critical CSS directly affects two Core Web Vitals metrics: Largest Contentful Paint (LCP) and First Contentful Paint (FCP). By inlining the styles needed for the above-the-fold content, you allow the browser to paint meaningful content sooner, which improves both of these scores.
Note – the same critical CSS is also called by other names such as Optimize CSS Delivery, Critical Rendering Path, or simply Rendering Path.
And that’s the whole idea of that Critical CSS
Adding that Critical CSS in the <head> tag of HTML instead of an external CSS file helps both in terms of page loading time and scoring in PageSpeed Insights, as well as in terms of the mentioned Perceived Performance.
Here is a short list of what you gain with proper use of Critical CSS:
- The browser will not have to render the entire page before displaying the content in the critical above-the-fold part of the page.
- The same Critical CSS is immediately accessible to the browser and is not in an external CSS file.
- The external CSS file containing non-critical CSS rules can be loaded asynchronously.
- You improve user experience by allowing visitors to view the top and initial part of the page almost immediately.
But not everything is sunshine and rainbows. Unfortunately, defining that Critical CSS is not as straightforward as you might have thought. So before we see how to extract and embed that Critical CSS, let’s explain a bit about the implementation options of CSS on websites.
CSS Implementation Options
As you probably know, CSS can be added to a page in several ways, and the three main ways are:
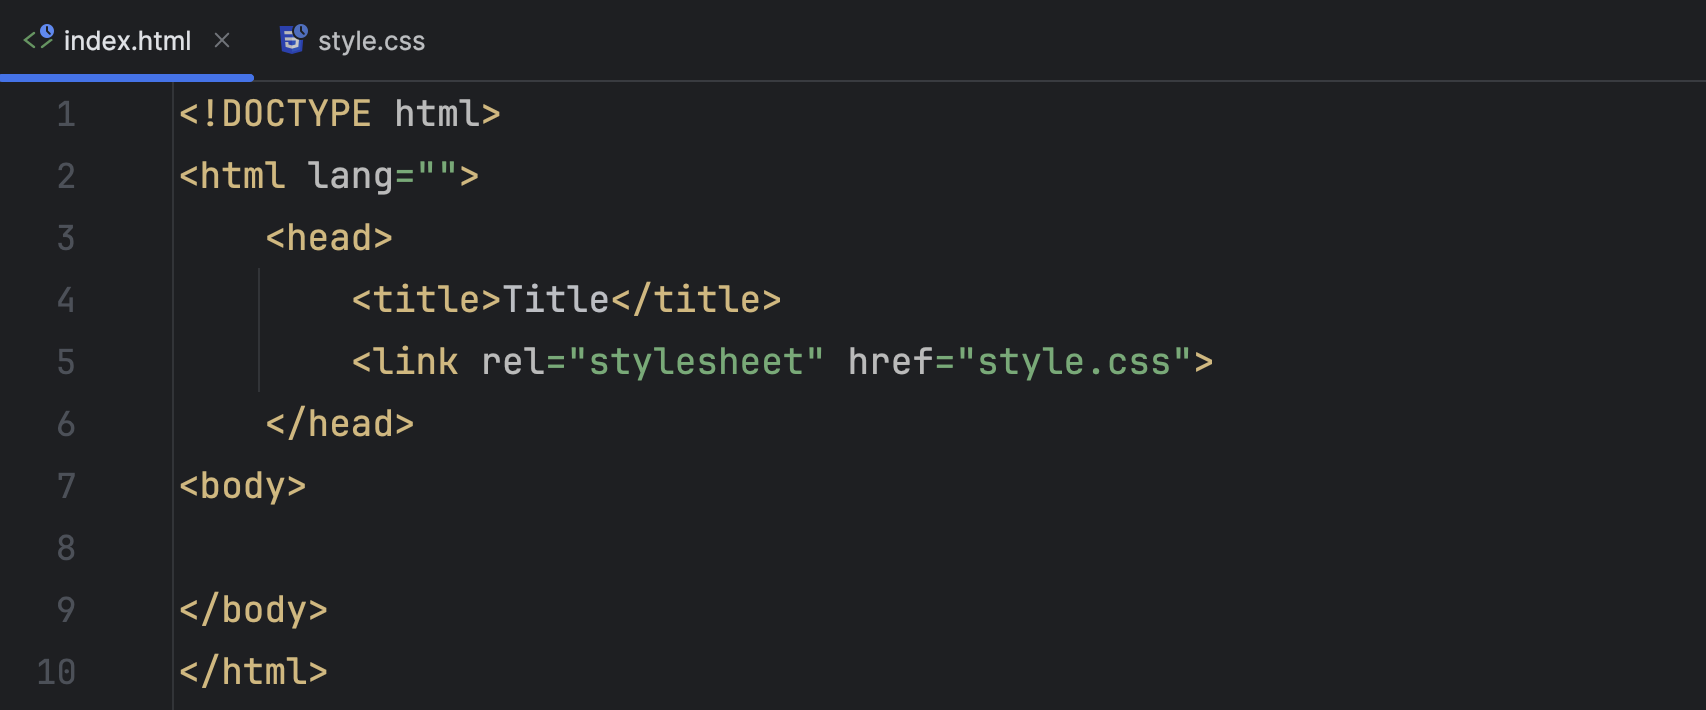
1. External CSS File
External CSS is CSS located in a file called a stylesheet. To use the same stylesheet, you need to add a link to that file in the <head> tag of the HTML Markup, as shown in the example below:
Using external CSS is standard and can be considered the default in the web development world. Maintaining CSS in an external file is simple and more convenient for work, but the browser needs to connect and download this CSS file before it can render the page.
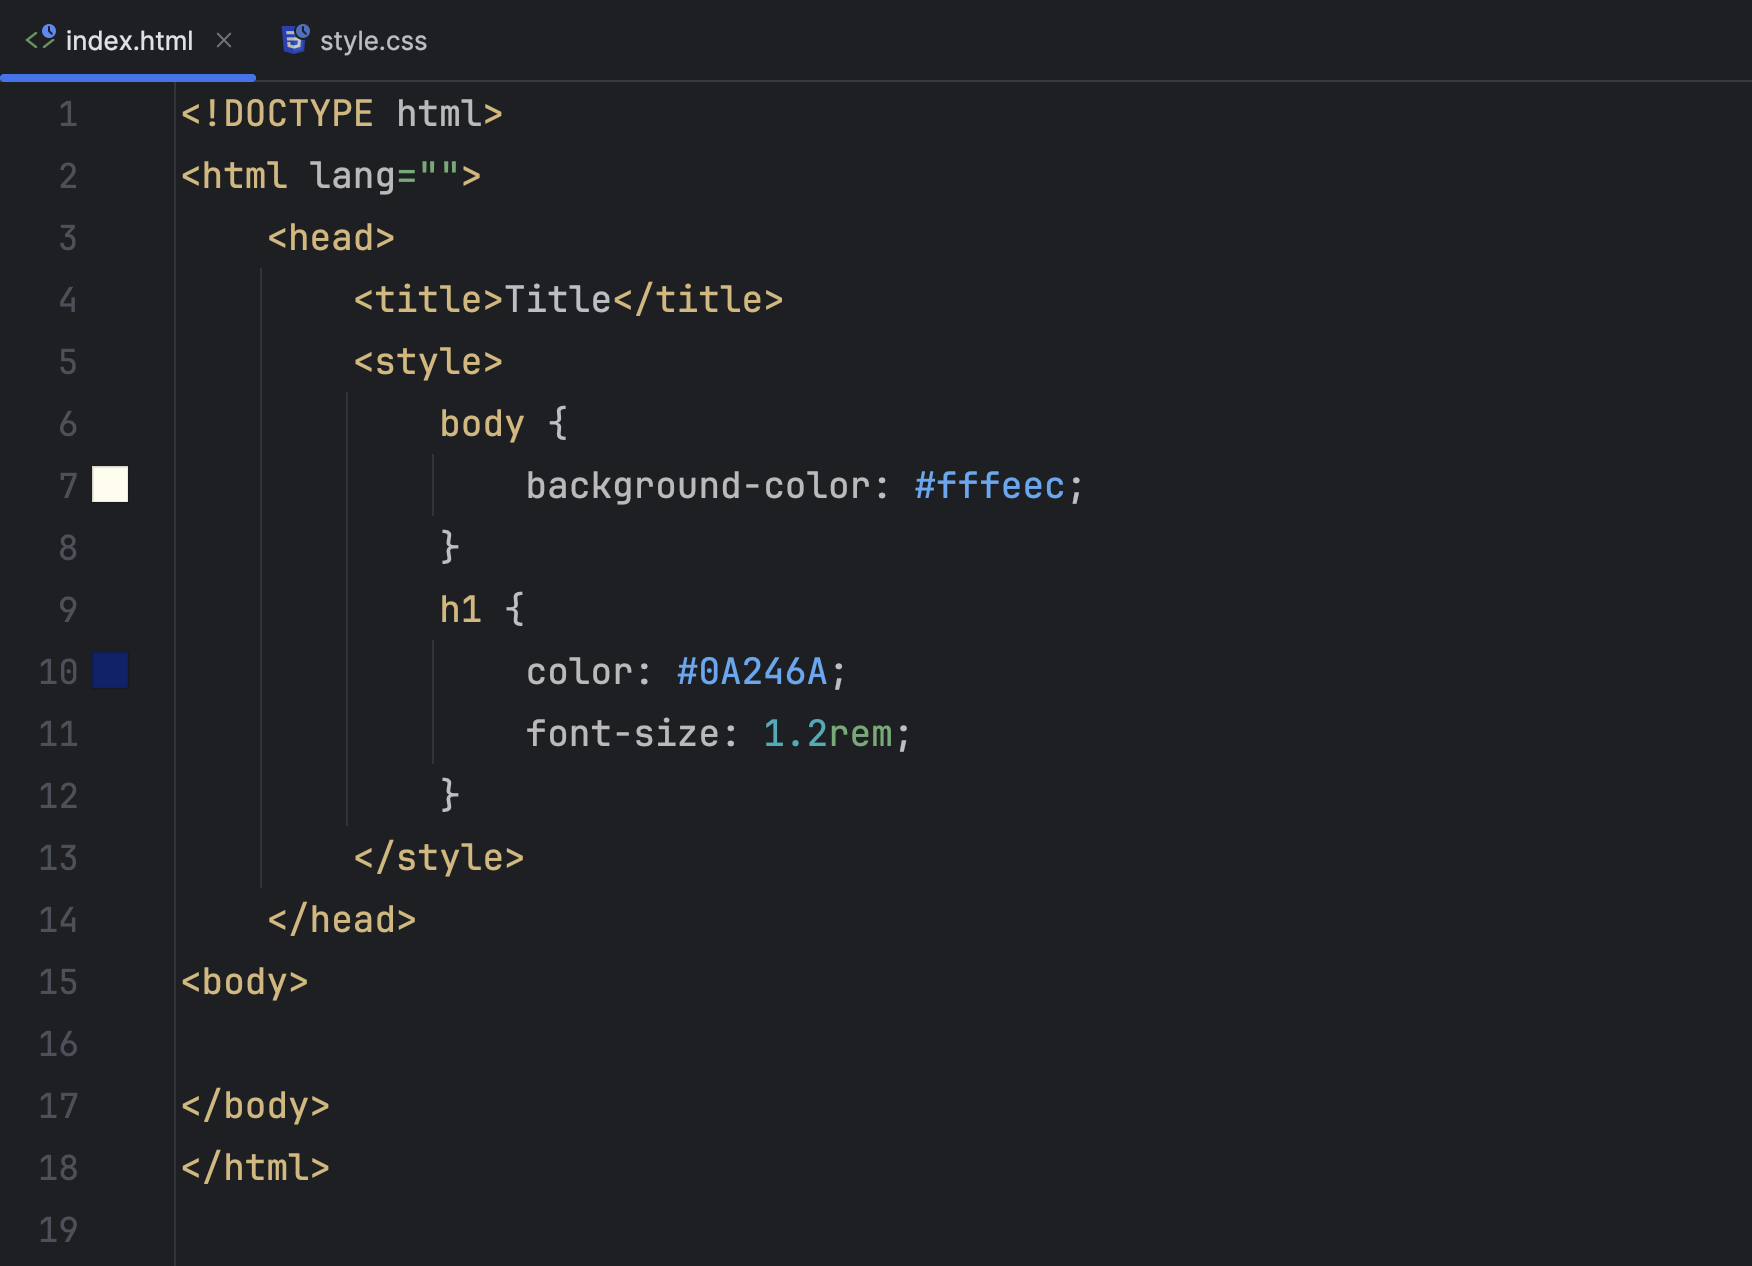
2. Internal CSS
Internal CSS, on the other hand, is placed in the <head> tag of the page within the <style> tag, as shown in the example below:
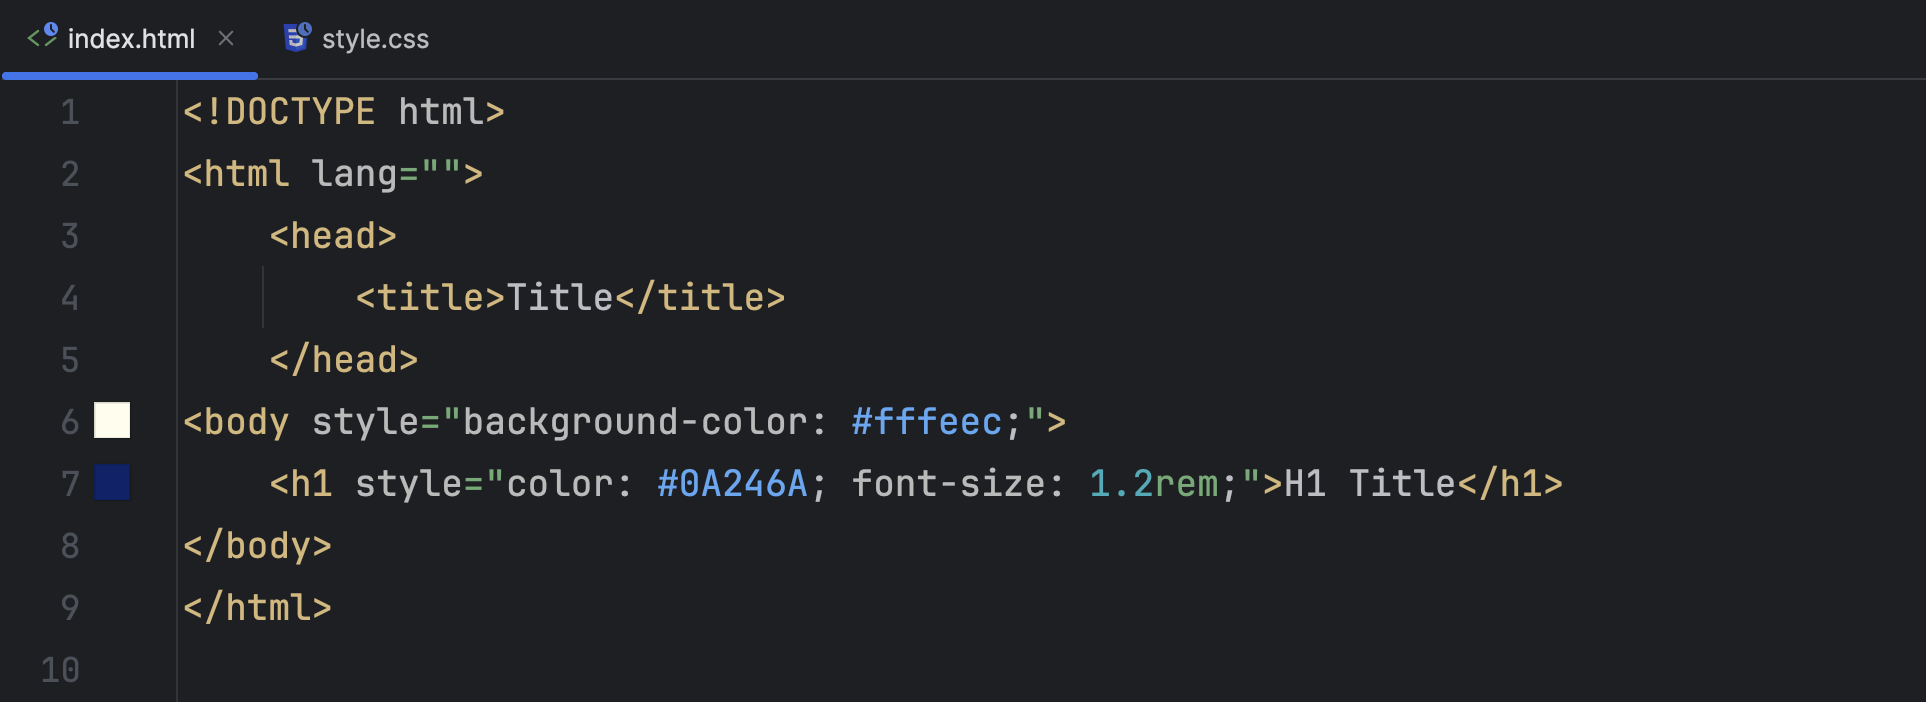
3. Inline CSS
There is a difference between Inline CSS and Internal CSS, and many tend to confuse the two. Inline CSS, or in other words, Inline Styles, are the same CSS properties embedded directly in the HTML tags themselves and are relevant only to those specific tags. The following code explains this well:
In the context of code maintenance and work convenience, the use of an external CSS file is the most convenient, as mentioned. However, assuming you know what you’re doing, using Internal CSS for the critical above-the-fold part of the page will improve the page loading time and, consequently, the user experience. Let’s see how.
Using Inline CSS is not practical, and it is preferable to avoid it and use Internal CSS, as mentioned, for the critical above-the-fold part of the page. Many posts on the internet and even caching plugins refer to embedding Internal CSS as Inline CSS.
How to Extract Critical CSS
Critical CSS can be extracted from the site in two ways. One is manually, by going through the HTML of the critical above-the-fold part and extracting the CSS definitions for each element in this part.
The second way is to use plugins such as WP-Rocket, LiteSpeed Cache, or NitroPack.
Manually Defining Critical CSS
As explained, the general idea is to split the CSS into two parts – the Critical CSS and the non-critical CSS. The first thing you need to do is go through each element in the critical above-the-fold part of the page and understand which CSS rules are applied to this part.
You will need to do this for each page on your site. But that is not all. You must take into account the various Media Queries because responsive websites generally implement different CSS rules according to the viewport where the user is viewing your site.
 The Difference Between Mobile and Desktop View on monday.com
As you can see, the two versions have different elements and look entirely different. You will need to define the critical CSS for each of these versions and possibly for each media query on the site.
Either way, Chrome Developer Tools can assist you in the analysis process and finding the critical CSS rules for a specific page. Go to the page you want to check, right-click, and choose “Inspect.”
Click on “Escape” to open a window with the “Console” tab. On the right, you will find several tabs, one of which is called “Coverage.” If you don’t see this tab, click on the three dots at the upper left of that window, check the “Coverage” option to enable this tab.
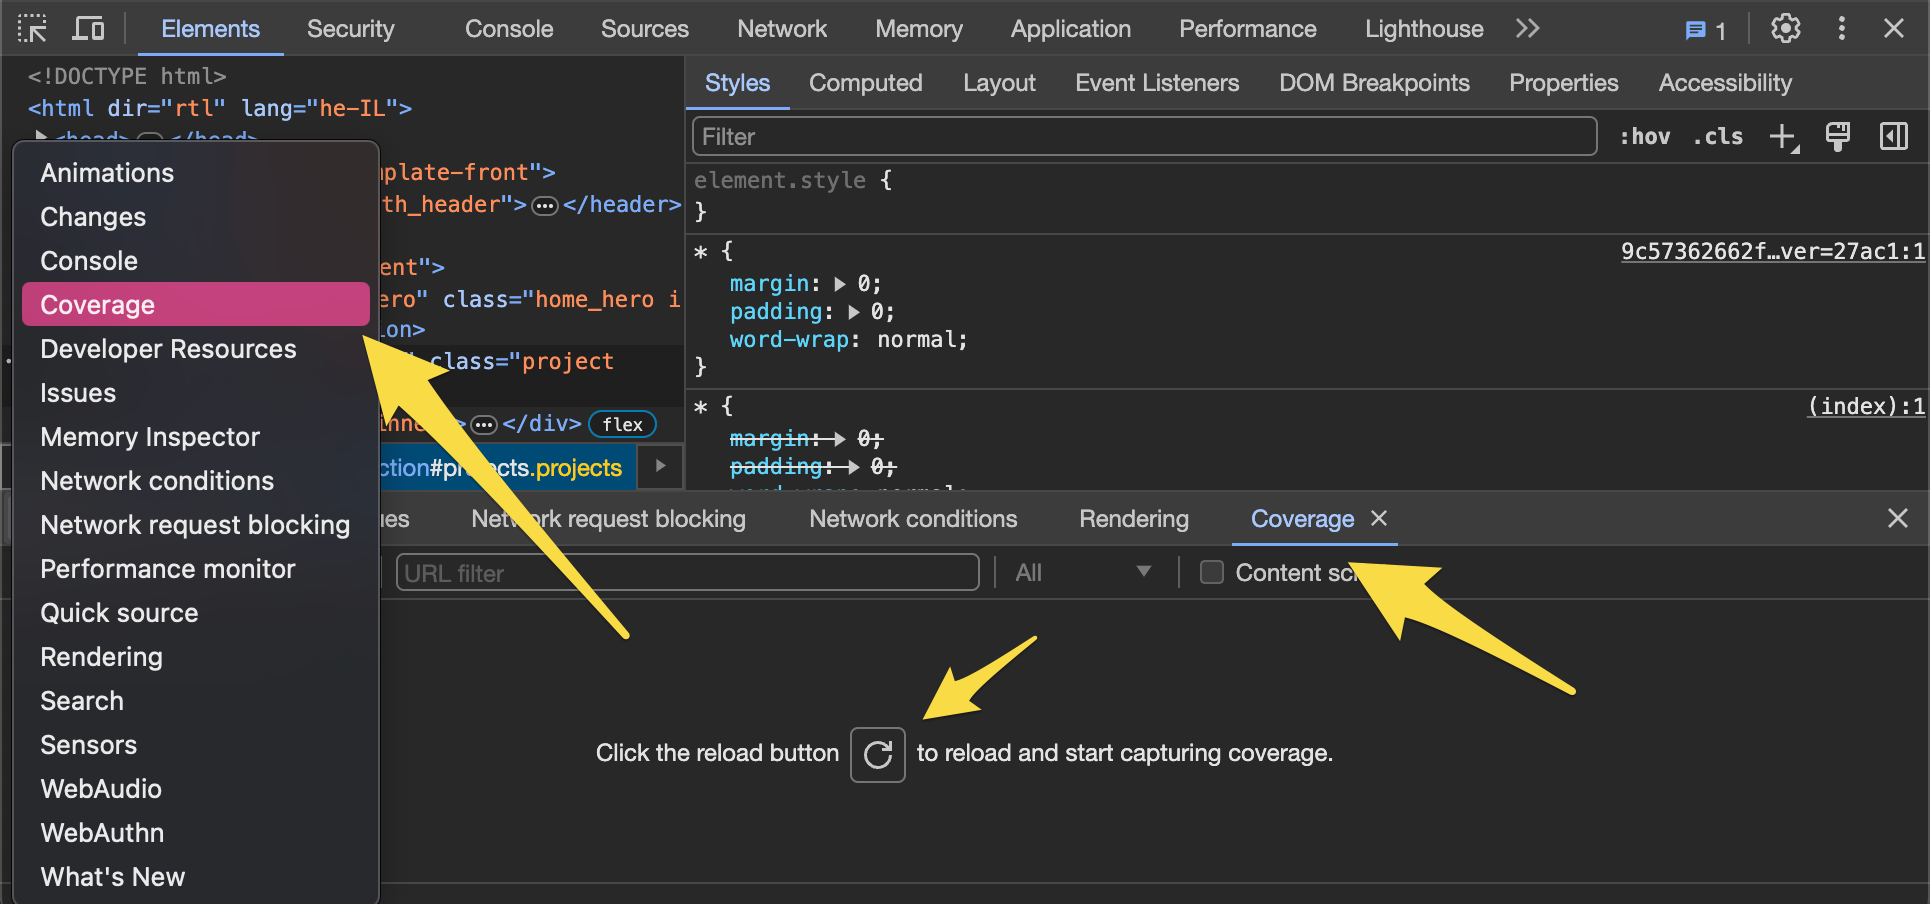
Click the “Reload” button, and after a few seconds, you will receive a detailed report. If you hover over one of the CSS files under the “URL” column, you will find a simple graph under the “Usage Visualization” column.
The red color represents non-critical CSS rules, and the green color represents critical CSS rules. Clicking on a CSS file will display all the associated CSS rules in the “Sources” tab, along with one of the colors, indicating whether it is relevant to the critical above-the-fold part of the page or not. It looks like this:

Critical CSS Rules for the Above-the-Fold Part of the Page – Coverage Tab
So, those rules appearing in green are critical rules. You need to extract these from the original CSS file and insert them as Internal CSS in the <head> tag of the page, as we explained earlier.
Keep in mind that you will need to do this for each of the CSS files existing on the page.
Maybe it seems straightforward, but the truth is that it requires a lot of work. But don’t give up! There are tools that can help you do this relatively quickly.
Using Different Tools to Generate Critical CSS for the Page
Using automated tools can save you a lot of time in the process of creating critical CSS. There are tools whose only purpose is to provide you with all the critical CSS rules for the page you are analyzing.
Note that the only thing such tools do is generate the same critical CSS. They do not upload that CSS to your site, so you will have to do that yourself.
On the other hand, there are tools that perform the entire process for you, such as NitroPack. NitroPack offers a free plan that includes critical CSS generation, along with paid plans for higher traffic sites.
Cache Plugins for WordPress Sites
If your site is a WordPress site, know that popular cache plugins like WP-Rocket or LiteSpeed Cache also perform the entire process quite efficiently. WP Rocket users who need to fine-tune Remove Unused CSS or exclude specific styles via filters can see my WP Rocket for Developers post.
WP-Rocket, for example, will create the critical CSS for you automatically and load the non-critical CSS asynchronously, ensuring that it does not block the processing of the critical above-the-fold part and affect performance. The plugin also offers a “Remove Unused CSS” feature that goes a step further by stripping out CSS rules that are not used on each specific page, reducing file sizes even more.

The plugin also allows you to manually add CSS rules if there are any that the plugin missed for some reason.
The LiteSpeed Cache plugin, which I use for this site, also allows me to generate the same critical CSS automatically for every page. LiteSpeed Cache additionally offers a Unique CSS (UCSS) feature that creates a single streamlined CSS file per page containing only the CSS needed to render that specific page. Check the Google PageSpeed results for this site if you are interested and see the results for yourself.
Be aware of a common pitfall: if the critical CSS is not generated correctly, users may experience a Flash of Unstyled Content (FOUC) – a brief moment where the page appears without styling before the full CSS loads. Always test your pages after enabling critical CSS to make sure the above-the-fold content looks correct.
FAQs
Common questions about Critical CSS and render-blocking resources:
Summary
I hope the post was clear, and you managed to address the comment requesting the removal of render-blocking resources. Note that JavaScript files are also considered render-blocking resources, as mentioned in the article. You are invited to take a look at the post discussing Deferring JavaScript for additional information.
By the way, if you’ve decided to manually go through the process of creating critical CSS, then you can find additional information in the following posts about how to analyze and optimize the Critical Rendering Path.
Before we conclude, it is important to mention that implementing critical CSS is not the only action to take for optimization and a better user experience. Take a look at the post I wrote about Core Web Vitals for additional information.