Whether you’re a blogger, a writer for online magazines, or even managing an e-commerce store, mastering image optimization is a skill worth delving into.
If you’re pondering whether to incorporate images into your website’s content and questioning their benefits, the resounding answer is a definitive YES!!!
Images catch the eye, make your site more interesting and vibrant, highlight the article’s topic and surrounding text, and even contribute to your SEO rankings.
However, without proper image optimization, you’re wasting a valuable SEO asset. In this post, I will explain the steps to take in order to optimize images on WordPress sites and in general. Let’s dive right in…
1. Choose an Appropriate Image
Make sure to select an image that is relevant to the article’s topic, page, or product. The image should reflect the article’s subject and connect with the surrounding text.
An image surrounded by relevant text will be ranked higher for keywords the image is targeting.
A few things to consider:
- Avoid Stock Photos – You want your site’s images to stand out and attract attention for better conversion rates. Filling your site with stock images may make it look unoriginal and similar to thousands of other websites. Even with excellent optimization, stock images won’t have the same impact or promotion potential as original, high-quality images.
- Use Original and High-Quality Images – The more original and captivating the image, the greater its impact on user experience.
- Pay Attention to Copyright – Regardless of the image you choose to use, ensure there are no copyright conflicts. Using an image without an appropriate license could lead to legal issues.
2. Prepare the Image for Your Post
After selecting the right image, whether it’s an illustration, diagram, or photograph, there are a few things you should do and keep in mind:
Choosing the Right Image Name
Optimizing an image starts with choosing an appropriate name for the image. It’s advisable to use keywords that describe what the image is about. You’d want search engines to understand the image’s content and subject.
While the image name isn’t the first aspect search engines consider, it doesn’t mean you shouldn’t select a fitting filename.
Let’s look at an example – take a look at the following image:
You can use the generic name set by your camera (e.g., DSC4536.jpg). However, it’s much more accurate to name the file Ford-Mustang-LX-Red-2012.jpg.
Think about how your customers will search for products on your site. What naming pattern will they use for their searches? In the above example, those looking to buy a car like this will likely use these phrases for searching:
- 2012 Red Ford Mustang LX
- Ford Mustang LX Red 2012
- Red Ford Mustang LX 2012
You can also take a look at your site analytics to understand which phrases users consistently use. If you’re not doing that, make sure you’re using relevant words when selecting the filename.
Note that you shouldn’t use an underscore “_” in the image name; instead, use a hyphen “–“. Additionally, it’s not recommended to use non-latin characters in the filename.
Correct Sizing for the Image
The loading time of the site affects the user experience and therefore has an impact on site promotion. The faster the site loads, the more satisfied search engines will be. Images have a significant impact on the page’s weight and loading time.
In a situation where you upload a very large image that ends up appearing small on your website, this is not a desired outcome.
In other words, avoid a scenario where you upload an image with a size of 1500×2500, and it appears on your site as an image of size 250×150 (relevant when the page actually uses the full image size).
Make sure to resize the image to the size you are displaying it. WordPress can help with this by creating various sizes for the images you upload, and you have the option to choose the size of the image you include from those sizes.
One way to control the image sizes generated by WordPress is in the WordPress control panel > Media Settings. In the next post, you’ll find more information on additional ways to control the sizes of images generated by WordPress.
When it comes to background images that span the width of the entire screen, it’s reasonable to assume that these will be embedded in CSS as background-image together with background-size:cover.
Most people upload images with dimensions of 1920×1080 pixels in this case, but background images that don’t convey a specific message, or those with irrelevant details, can easily be reduced to 1600×900 pixels.
Reduce Image Weight – Image Compression
The next step in image optimization is to reduce the image weight as much as possible while maintaining its quality to your satisfaction. Since site loading speed has an impact on site promotion (and certainly improves the user experience), it’s important to pay attention to this.
Use external tools and plugins to compress the images before adding them to the post. Programs like JPEGmini Lite or ImageOptim, or external tools like TinyPNG, can be very useful.
There are also several WordPress plugins that can do this work for you, and the most suitable in my opinion is EWWW Image Optimizer (if we’re talking about free tools). Other excellent plugins include WP Smush, ShortPixel Image Optimizer, and TinyPNG Compress JPG & PNG Images.
There are many hosting companies that prevent these plugins from working, which is likely to happen only in shared hosting situations.
In any case, after uploading the image, you can check whether it’s properly compressed using tools like GTmetrix, Google Page Speed Insights, or the excellent tool named WebPageTest.
3. Add the Image to the Post
It’s important to include the image in the article at a location relevant to the surrounding text and to add a caption, alternative text, and title to the image.
It’s worth noting that adding a description to the image might be less relevant since it will only appear on the image’s attachment page, and these pages are mostly irrelevant and redirect back to the post containing the image.
Captions
The caption of the image is essentially the text that accompanies the image itself. An example of this caption can be seen at the bottom of the Ford Mustang image we discussed and displayed at the beginning of the post. Why is this important for a better ranking site? Because users tend to scan this text as part of the article.
Moreover, studies show that captions are among the first elements users scan after headlines, bold text, and images.
However, there’s no need to add a caption to every image, as sometimes images serve a different purpose.
Decide if the image serves you in terms of promotion, and ask yourself whether, from the perspective of visitors to your site, there’s a logical connection between the text and the image.
Alt Text
Alt text (Alternative Text) is text added to an image and is displayed in cases where the image is not accessible to the visitor of your site for any reason.
For example, in situations where a visually impaired person disables the display of images in their browser and uses screen readers or similar tools. Alt text ensures that no information is lost in terms of content, and it should also be added for the purpose of site accessibility.
Let’s provide an example of how alt text looks in the code itself:
<img src="2012-Red-Ford-Mustang-LX.png" alt="2012 Red Ford Mustang LX">Alt text has value in terms of site promotion and SEO. Adding alt text with relevant keywords to the image can help you rank higher in search engines. In fact, using alt text is the best way to appear in Google’s image search.
Here are some simple rules regarding Alternative Text:
- Describe the image in simple language, just as you did when choosing the file name.
- If you’re selling products with serial numbers or models, use them in the alt text.
- Don’t stuff the alt text with too many keywords (e.g., alt=”ford mustang muscle car buy now cheap best price on sale”).
- Don’t use alt text for decorative images. In these cases, the alt attribute should be present in your HTML but left empty. Generally, try to present decorative images using CSS.
Image Title
There is also the Title attribute for images, but it’s not mandatory to use it, and its value for site optimization and SEO is minor if it exists at all.
The use of alternative text is what helps Google and other search engines understand what the image is about. However, for consistency, habit, and following W3C guidelines, use the same text you used for the alternative text within the Title tag.
When you hover over an image with the mouse cursor, Internet Explorer displays the alternative text as a ‘Tooltip’, whereas Google Chrome will display the image’s title and not the alternative text.
Avoid Breaking the Left Boundary
When we read text, we rely on the left boundary of the text as the anchor to which our eyes always return. Without a consistent boundary, it becomes less comfortable for the reader to follow the text and read it comfortably and naturally.
In the following example, you can see my intention: the image breaks the right boundary of the text, making it difficult to read the text continuously.
Why is this important for site optimization? Since it’s an action that can improve the user’s browsing experience, a better browsing experience = more time spent by the user on the site = higher ranking in the end.
Create an Image Sitemap (XML Sitemap)
Add the images on your site to the sitemap (XML Sitemap) to make them accessible to search engines in one place. This action allows Google to easily discover and index the images.
Additionally, this action increases the likelihood of your images appearing in search results when someone searches for a specific term on Google Image Search.
Another advantage of adding image XML Sitemaps is the ability to report to Google about images loaded with JavaScript that search engines may not necessarily detect.
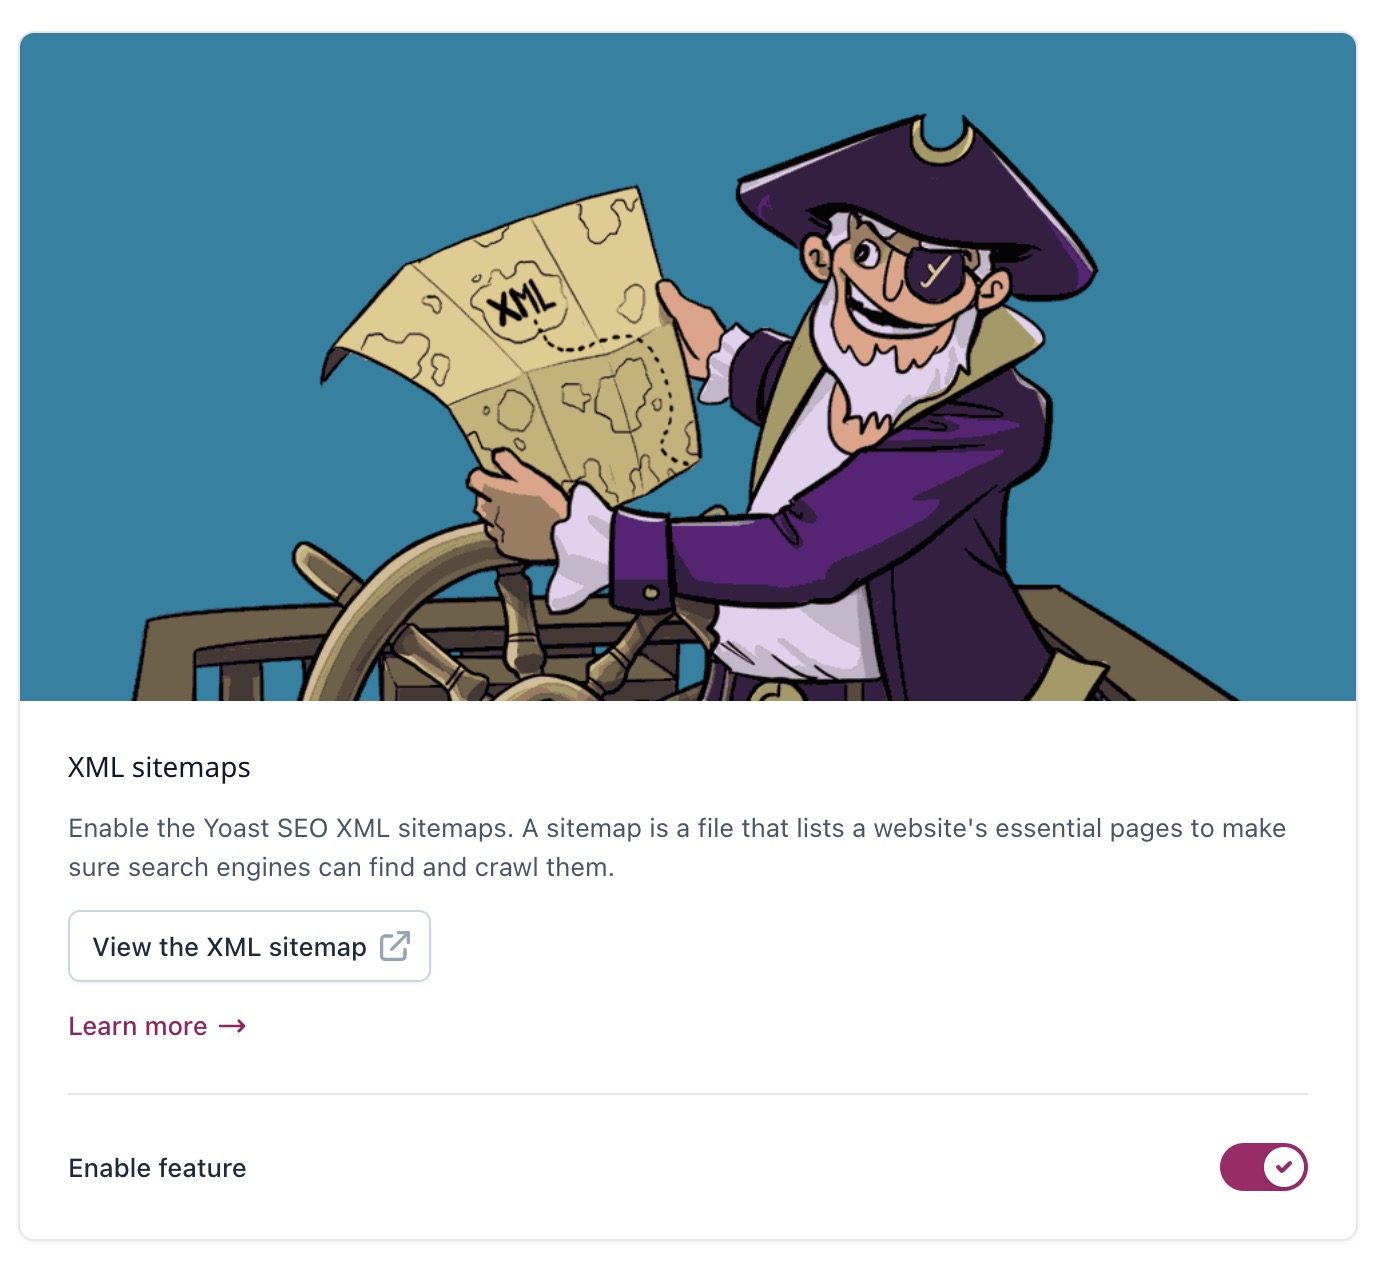
If you’re using the WordPress SEO by Yoast plugin, creating an XML Sitemap is done with a button click. If you want to learn more about this option, check out the guide to creating and sending Sitemaps in WordPress sites.
OpenGraph Protocol
Associating an image with your article is also important for social media sharing. The OpenGraph protocol allows you to share content not only with site visitors but also with friends/followers on Facebook and other social networks.
It is important that when sharing, an image will appear in order to capture the viewers’ attention, increase the click-through rate, and thus drive traffic to your website.
Also, to build your branding. Make sure that the correct Meta Tag exists in the <head> of the site, as shown in the following example:
<meta property="og:image" content="http://example.co.il/link-to-image.jpg" />OpenGraph protocol, meaning these tags are essential in order for an image to appear when shared on social networks.
If you added an image to your article and you don’t see it when sharing on Facebook, go to the Open Graph Object Debugger, click on Fetch new scrape information after entering the URL you shared. This tool can help you identify any issues related to sharing on Facebook.
The OpenGraph protocol also exists for other social networks such as Twitter, Pinterest, and similar, and one way to set it up is using the WordPress SEO by Yoast plugin.
Summary
Optimizing images for website promotion and SEO involves a combination of actions. If you want to summarize this post, simply follow these points when adding an image to the post you’ve written or to a product in your digital store.
- Use an image relevant to the surrounding text.
- Choose a proper filename for the image that reflects its subject in a few words.
- Ensure the image size matches how it will be displayed on your site.
- Reduce the image’s file size for faster page loading.
- Add a caption to the image.
- Use alternative text (alt text) for the image.
- OpenGraph protocol – make sure the appropriate tags are present.
If you have tips or additional ways to perform image optimization on WordPress sites, feel free to share them with us in the comments… 🙂

