reCAPTCHA protects your site’s forms from spam and automated bot submissions. The Contact Form 7 plugin integrates with reCAPTCHA, and setting it up takes just a few minutes.
reCAPTCHA v3 works entirely in the background – users don’t have to click an “I am not a robot” button or solve any puzzles.
Registering a site with reCAPTCHA (v3)
To start using reCAPTCHA v3, register your WordPress site with the service. reCAPTCHA is a Google service and you need a Google account to use it.
Log in to your Google account and go to the reCAPTCHA admin console. You will see a registration form like the one below:
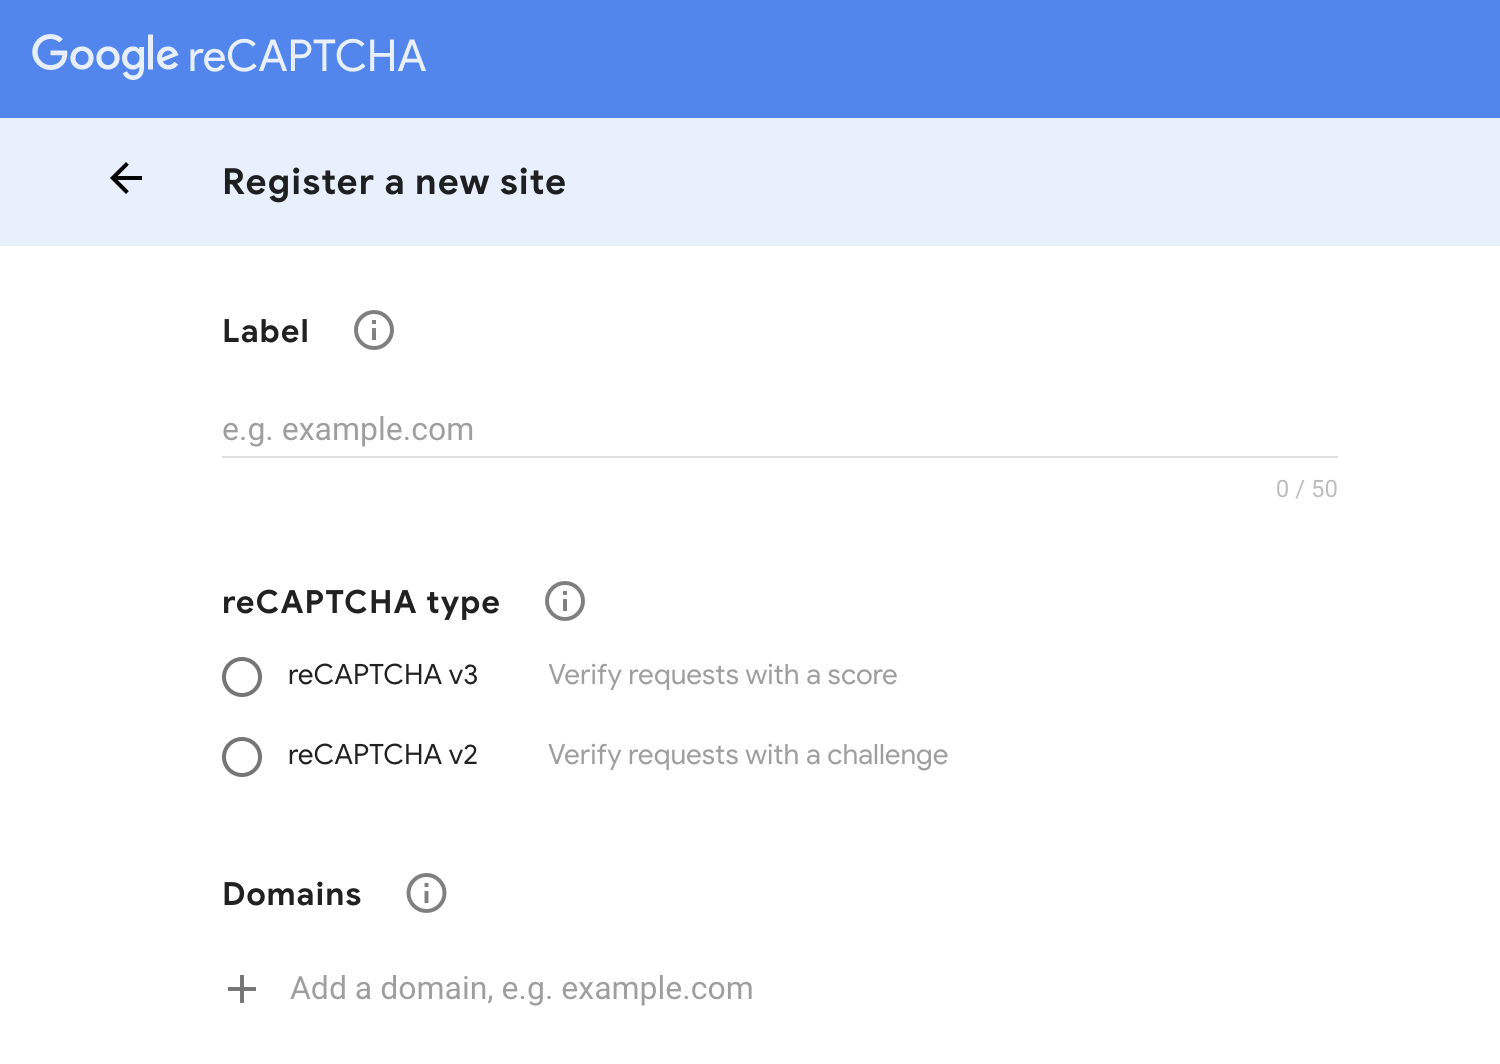
Choose reCAPTCHA (v3) and enter your website domain under Domains.
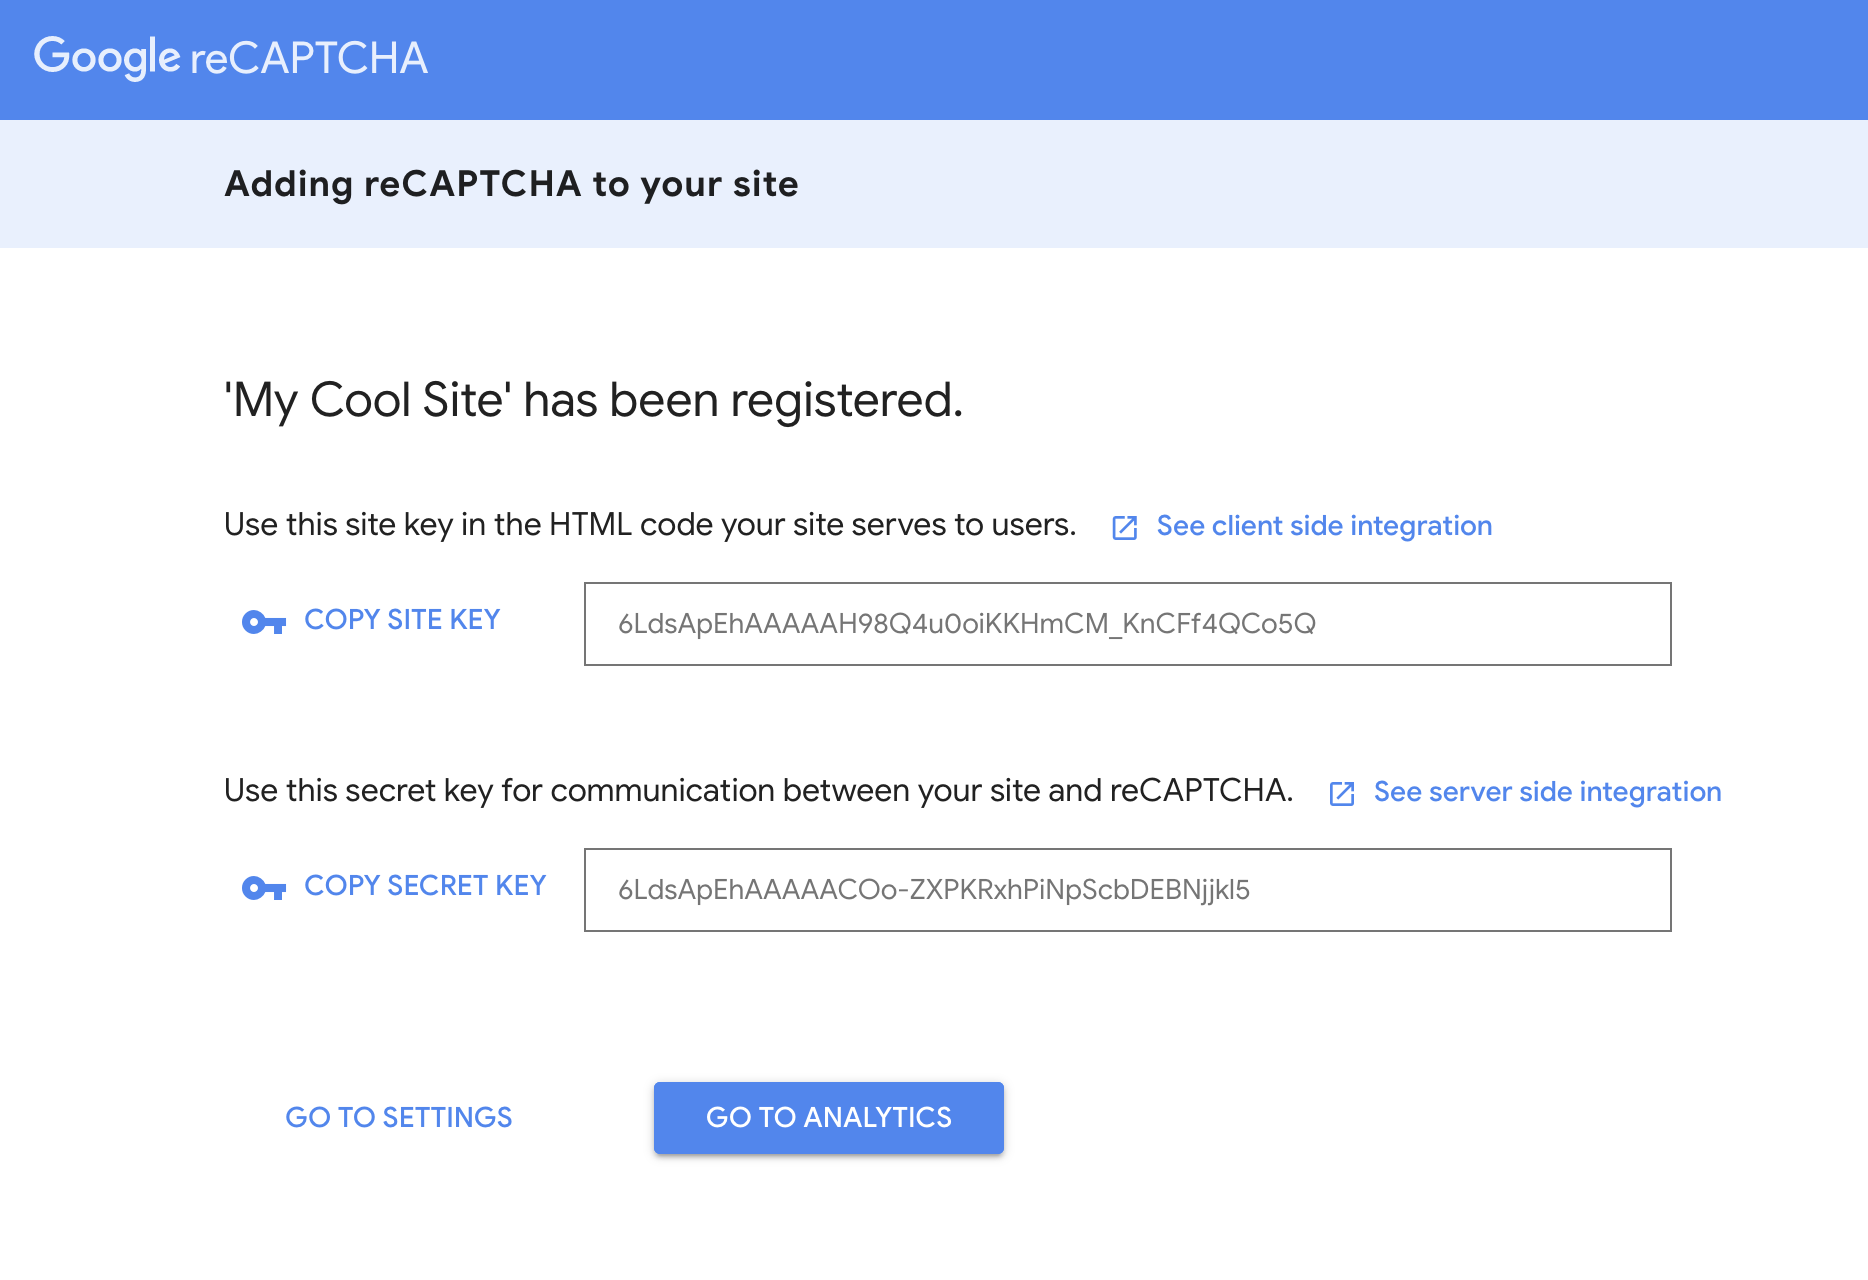
After registering your site, you will receive two keys: a Site Key and a Secret Key.
Adding the keys to Contact Form 7
In a new window, go to Contact > Integrations in the WordPress dashboard.
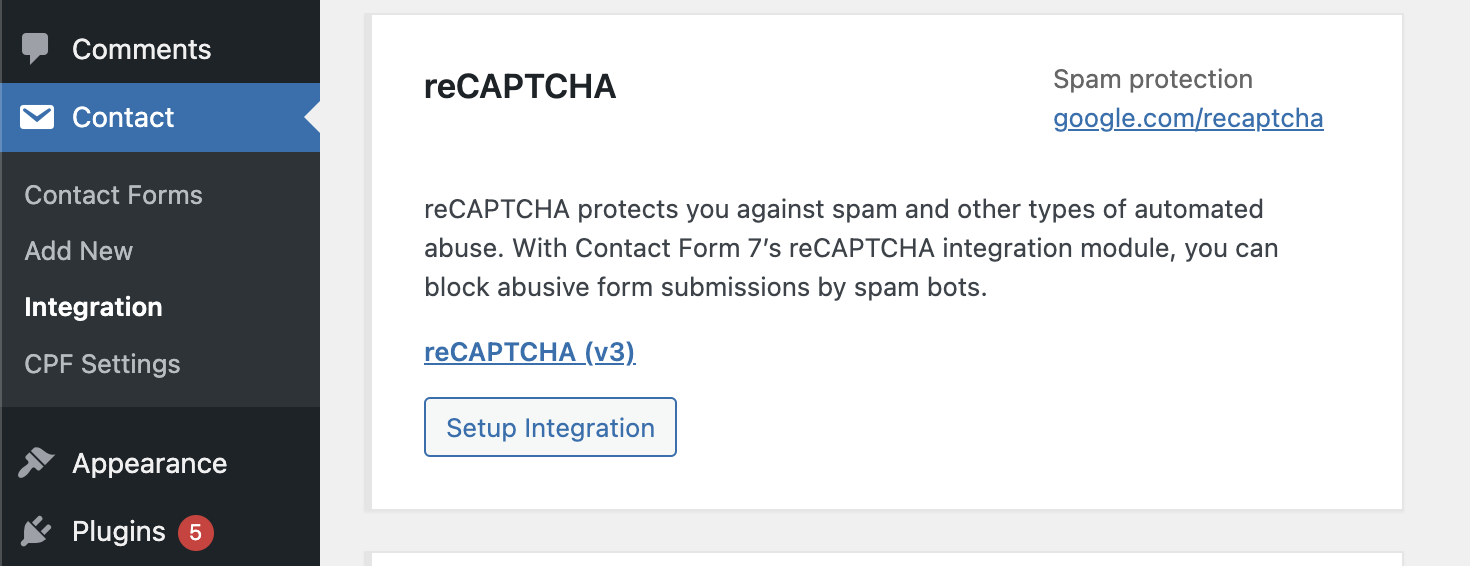
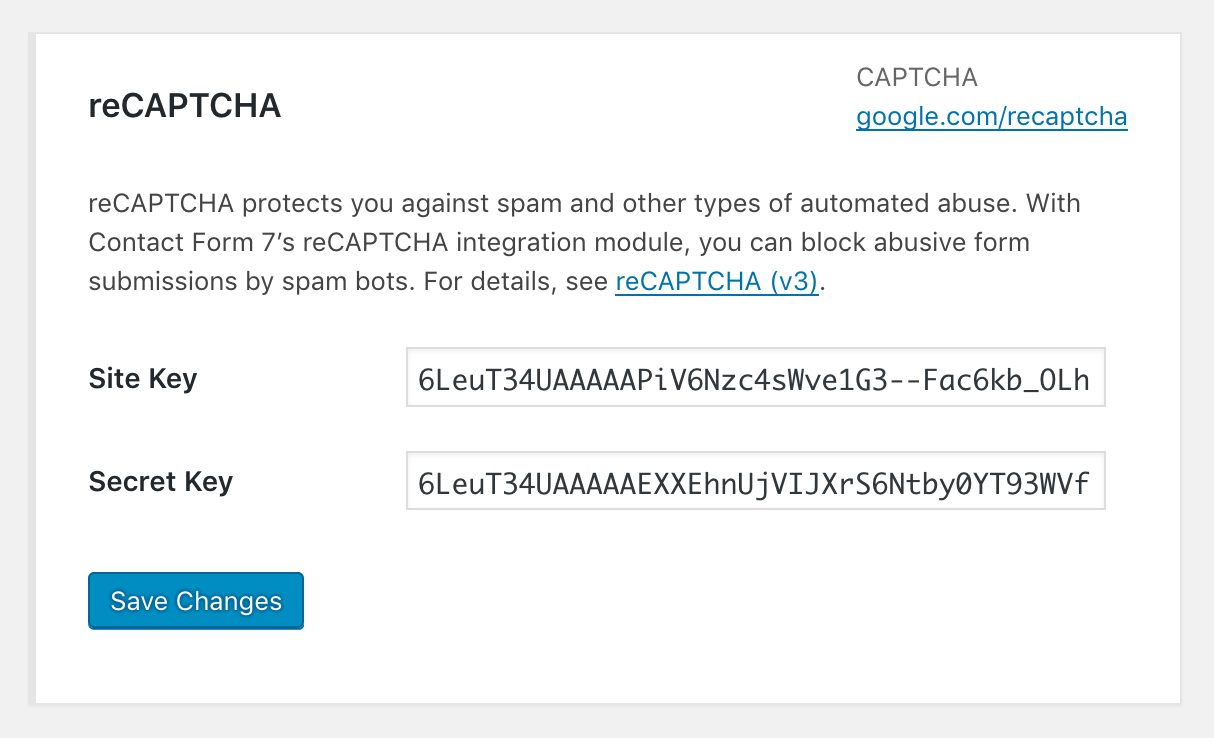
You will find a section named reCAPTCHA. Click on “Setup Integration” and a screen will appear with fields for the keys you received. Copy and paste both keys and click Save Changes.
Your forms now use reCAPTCHA v3 to check whether submissions come from a bot or a real person.
reCAPTCHA v3 loads its script on every page of your site for accuracy. A small badge appears at the bottom right corner. You can optimize Contact Form 7’s performance by loading its assets only on pages that have forms.
Hiding the reCAPTCHA badge
If you want to hide the reCAPTCHA badge for design reasons, Google allows it as long as you include links to the Privacy Policy and Terms of Service near the form. Add this CSS to hide the badge:
.grecaptcha-badge {
    visibility: hidden;
}
Then add a notice below your form, for example:
This site is protected by reCAPTCHA and the Google
<a href="https://policies.google.com/privacy">Privacy Policy</a> and
<a href="https://policies.google.com/terms">Terms of Service</a> apply.
Summary
I use Akismet for spam prevention on this blog instead of reCAPTCHA, and I’m happy with it. Both approaches work well – pick the one that fits your workflow.
If you go with reCAPTCHA, keep an eye on the Google Cloud migration deadline. And if you want a broader look at protecting your WordPress site, I wrote a detailed guide on hardening WordPress security.
FAQs
Common questions about reCAPTCHA v3 and Contact Form 7:
Once your forms are protected from spam, you may also want to redirect users after a CF7 submission and send conversion events to Google Analytics 4.