Checking Google Analytics usually means logging in, choosing a report, setting a date range, and clicking through menus to find one number. It works, but it is slow when all you want is a quick answer.
There is now a faster way. Google publishes an official Google Analytics MCP server that connects your GA4 data to an AI assistant like Claude. Once it is set up, you ask a question in plain language and get the answer back in seconds.
This guide walks through the full install on a Mac, from the command line tools to the Google Cloud setup, and ends with the exact prompts you can start using. No prior experience with MCP is needed.
What Is an MCP Server?
MCP stands for Model Context Protocol. It is an open standard that lets an AI assistant connect to outside tools and data sources, so the model can do more than talk.
The Model Context Protocol was introduced by Anthropic in late 2024, and many AI apps support it today. If the idea is new to you, our guide on how to connect MCP servers to Claude Code covers the basics.
Anthropic describes MCP as a “USB-C port for AI applications”, one standard way to plug a model into many different tools and data sources.
A single MCP server exposes one system as a set of tools. The Google Analytics MCP server exposes your GA4 reporting data, so Claude can pull metrics, run reports, and read property details on your behalf.
It is an official Google project, published on GitHub as the analytics-mcp package. That is the one this guide installs.
What You’ll Need Before You Start
The setup has a few moving parts, but each one is quick. Here is what to have ready before you begin.
- Claude Code. The install below registers the server with Claude Code, Anthropic’s command line assistant. The same analytics-mcp package also works with Cursor and the Gemini CLI, with a slightly different config step.
- A Google account with GA4 access. You need access to at least one Google Analytics 4 property. If you have not set one up yet, start with our guide on how to add Google Analytics 4 to WordPress.
- A Google Cloud project. This is free to create. It is where you enable the Analytics APIs and create login credentials.
- Homebrew on macOS. The commands here use Homebrew to install two tools. Windows and Linux use the same packages through their own installers.
- About 15 minutes. Most of that is the one-time Google Cloud setup.
How to Install the Google Analytics MCP Server
The process has eight steps. The first three install command line tools, the next three set up Google Cloud access, and the last two register the server and confirm it works.
Step 1: Install pipx
pipx installs and runs Python command line apps in their own isolated environments. The analytics-mcp server is a Python app, so pipx is the cleanest way to run it.
Install it with Homebrew.
brew install pipx
pipx ensurepath
One nice detail here: pipx pulls in its own recent version of Python. Your system Python can be old, and it does not matter, because the server runs inside the environment pipx manages.
Step 2: Install the analytics-mcp Package
With pipx ready, install the Google Analytics MCP server itself. This downloads the package and creates a command you can point Claude Code at.
pipx install analytics-mcpWhen it finishes, pipx reports the installed version and adds an analytics-mcp command to your ~/.local/bin folder. You will use that path in Step 7.
Step 3: Install the Google Cloud SDK
The server signs in to Google using credentials created by the gcloud command line tool. Install the Google Cloud SDK, which provides it.
brew install --cask google-cloud-sdkThis is the largest download in the guide. Once it is done, the gcloud command is available in your terminal.
Step 4: Create a Project and Enable the APIs
Now switch to your browser. Open the Google Cloud Console, then create a new project or pick an existing one. Note the project ID, since you will need it later.
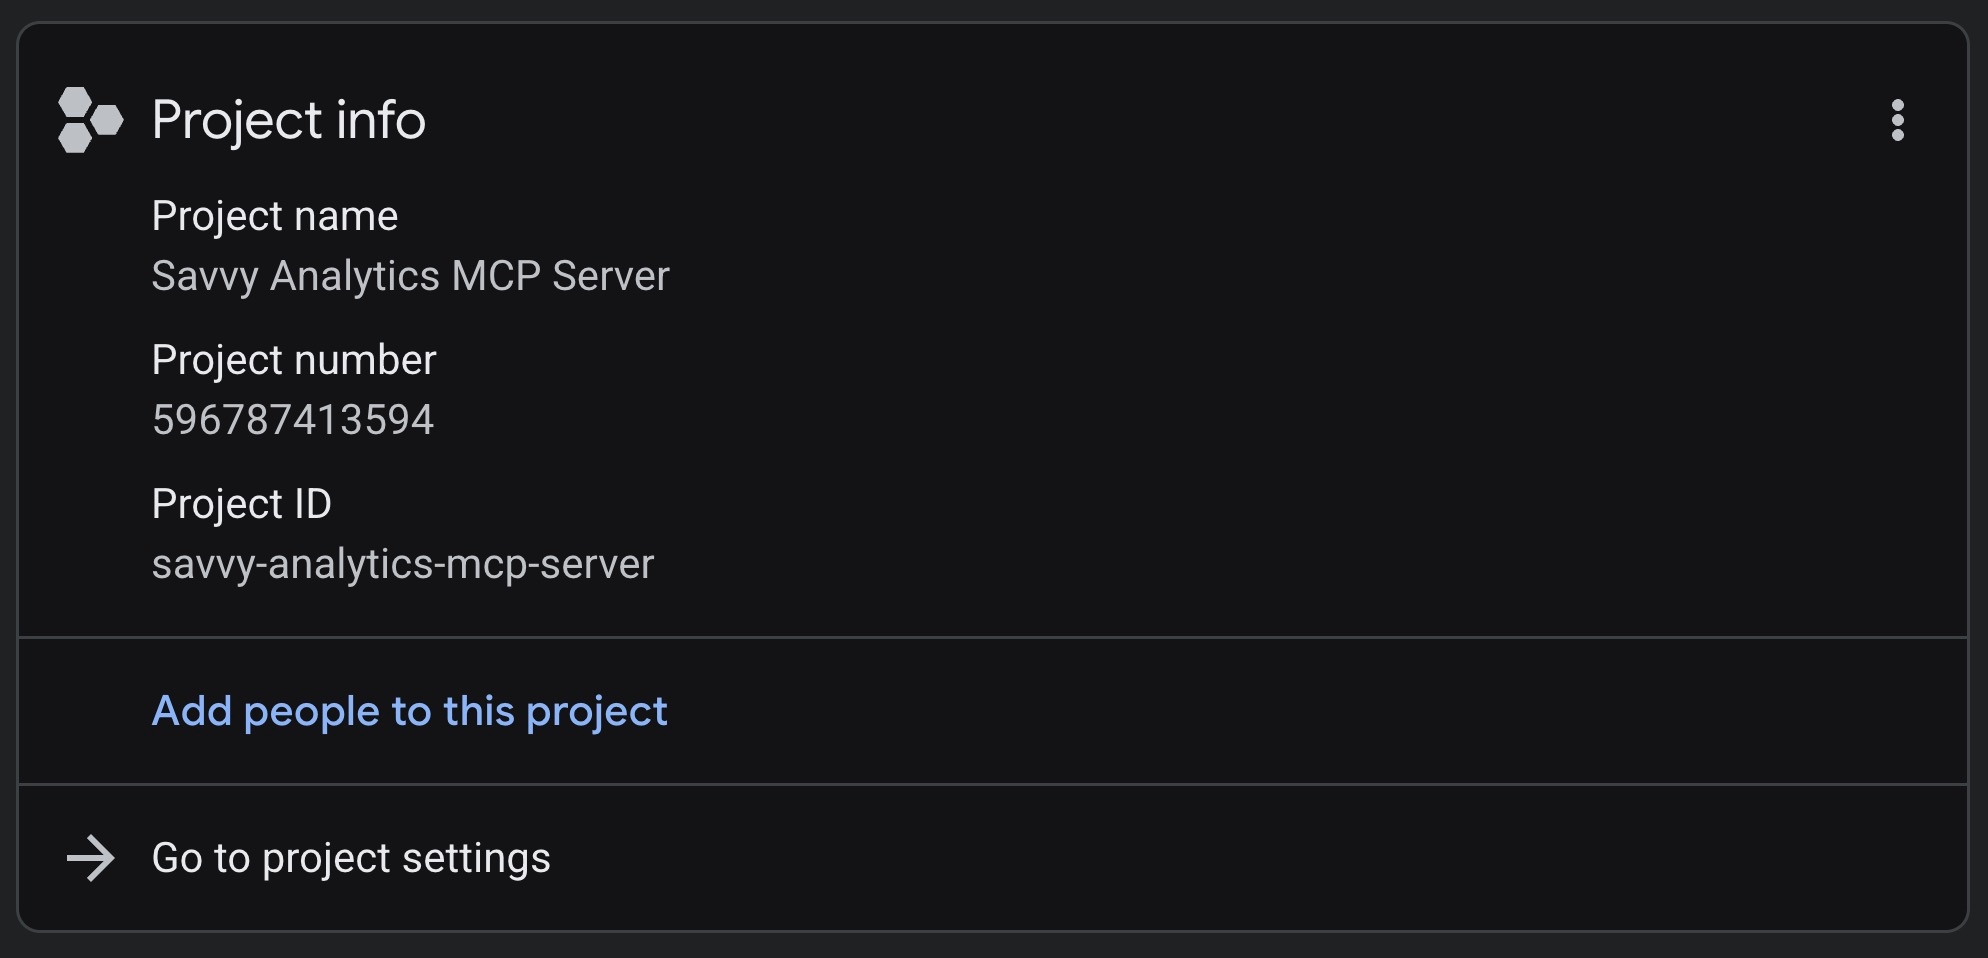
Next, enable the two APIs the server relies on. In the console, search for each one and click Enable.
- Google Analytics Admin API. This lets the server list your accounts and properties.
- Google Analytics Data API. This is what runs the actual reports, such as users and sessions.
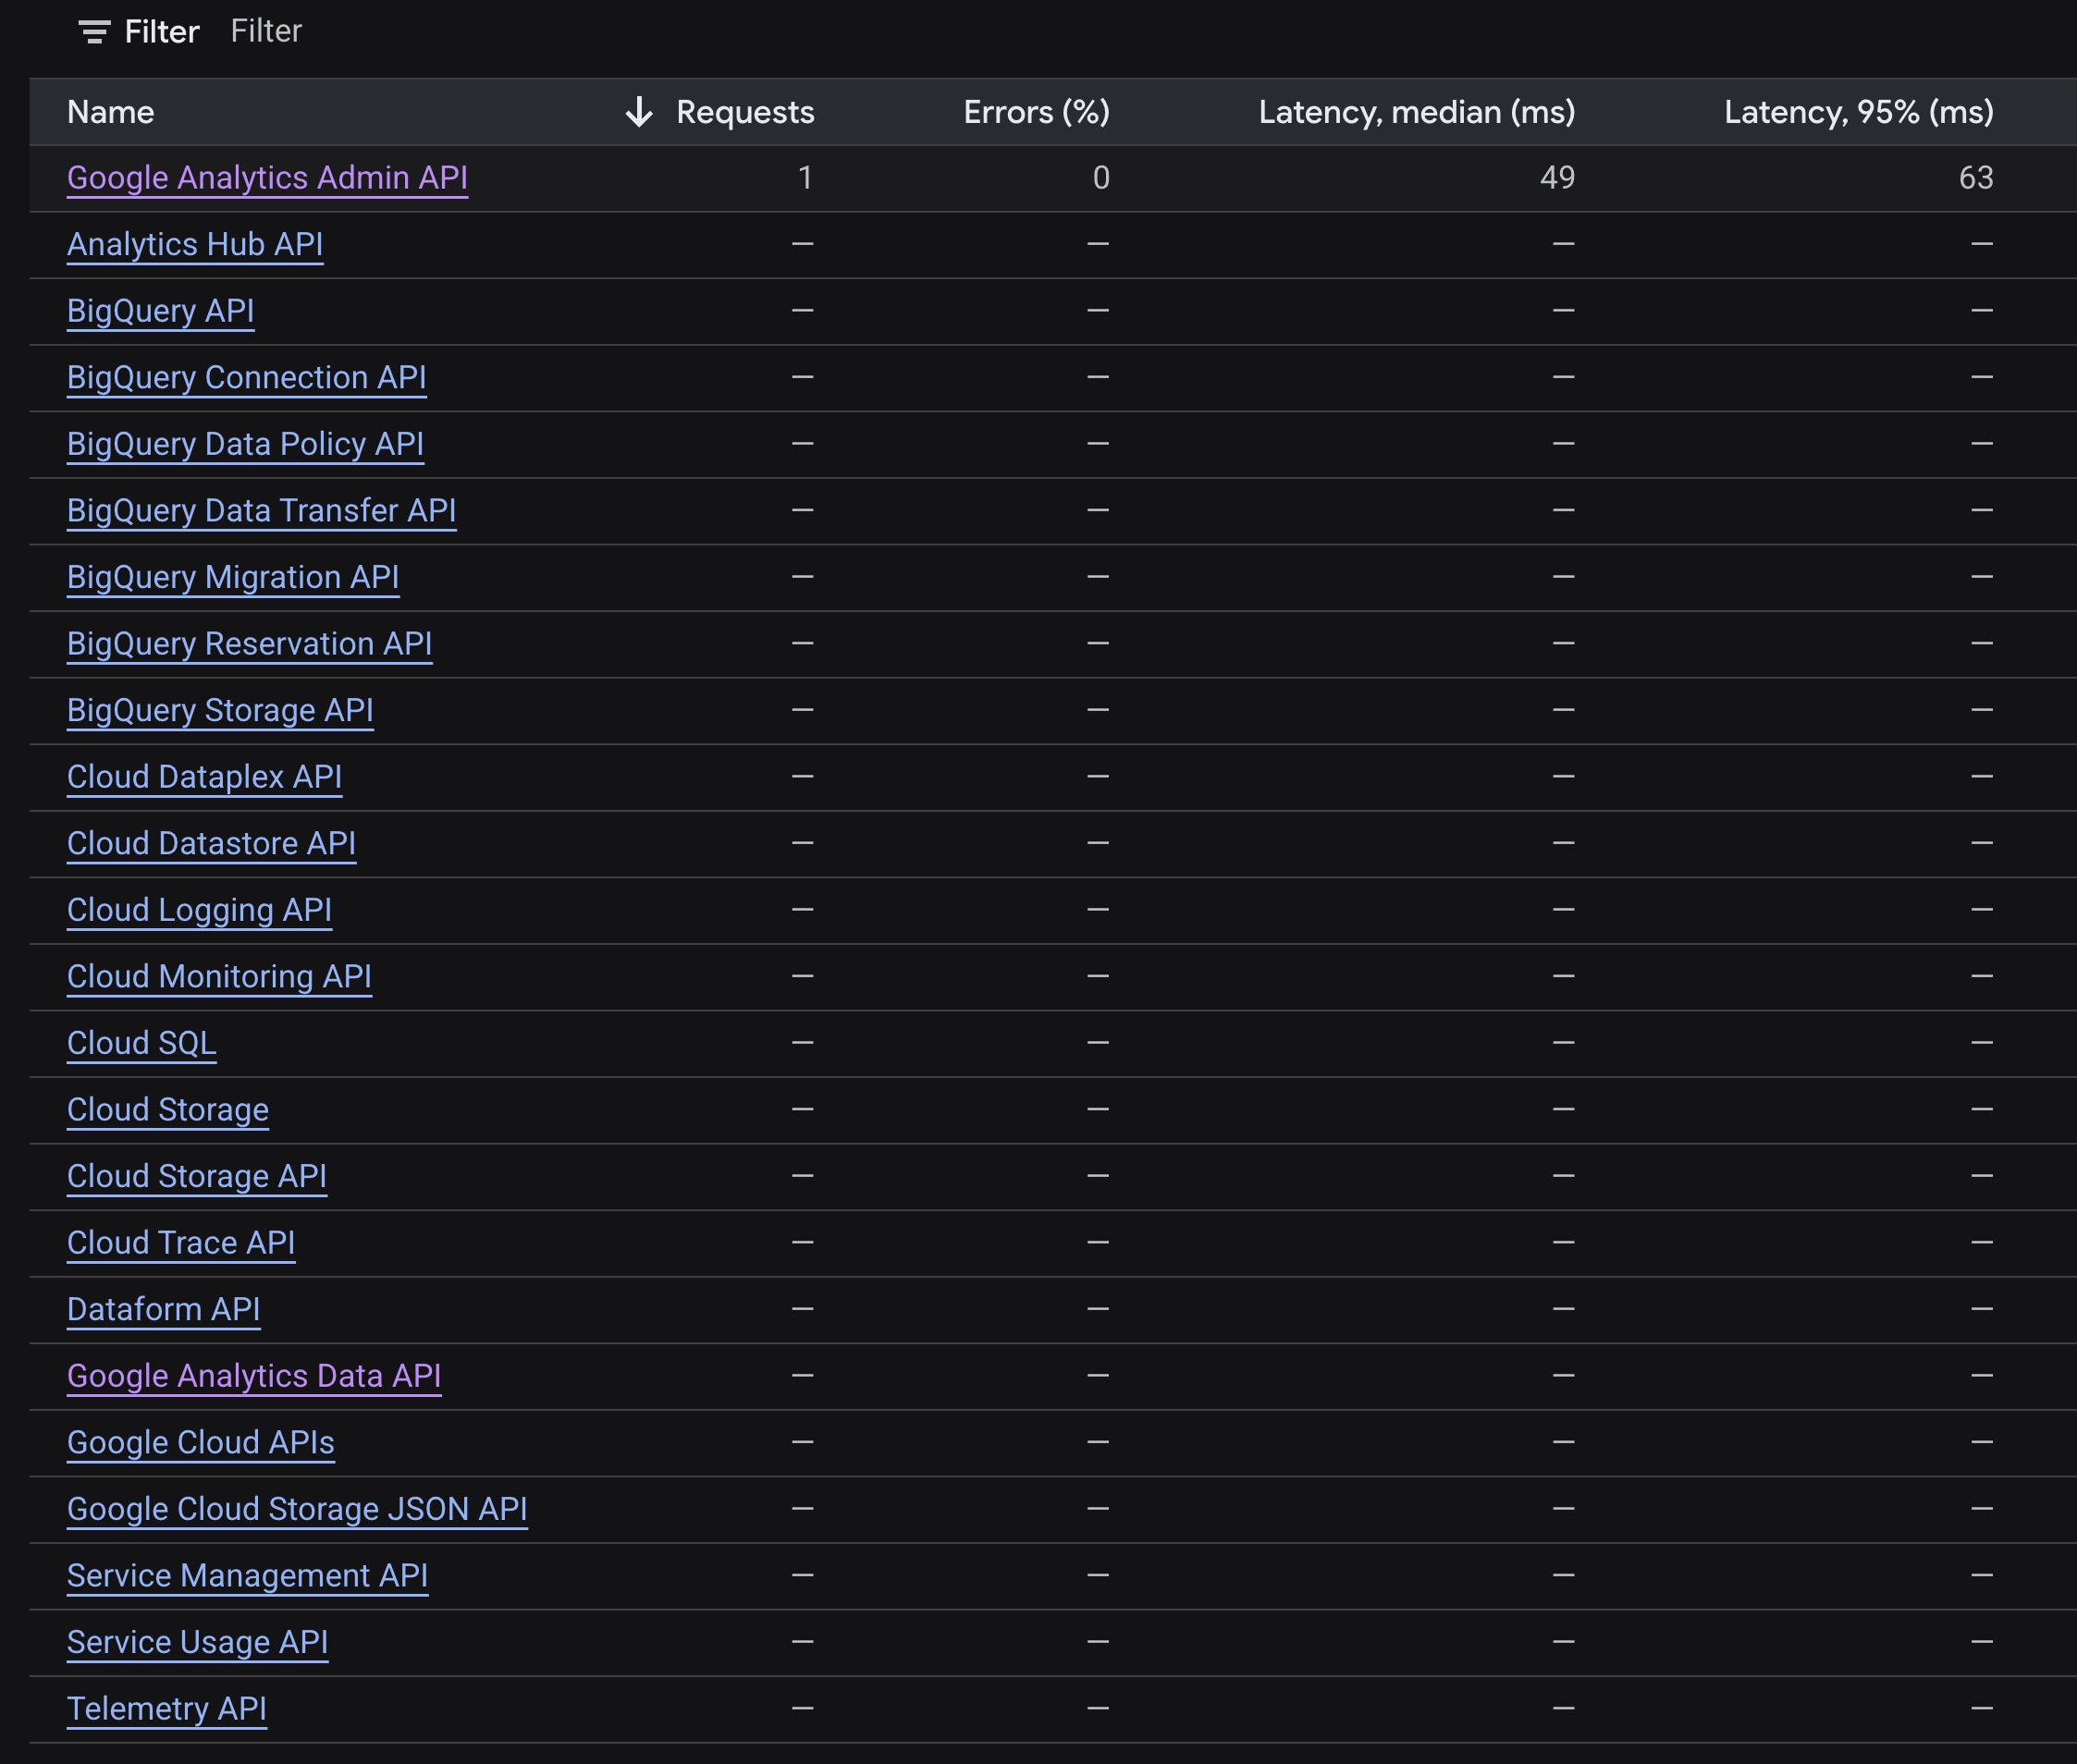
If you skip either API, the server still connects, but the matching requests fail later. Enable both now to avoid confusion.
Step 5: Create OAuth Credentials
The server needs permission to read your Analytics data on your behalf. You grant it through an OAuth client, which you create in the same project.
First, open the Google Auth Platform section and set up the consent screen. Choose External as the user type, add an app name and your email, and save.
Then add yourself as a test user. This step is easy to miss, and it is the most common cause of a failed login.
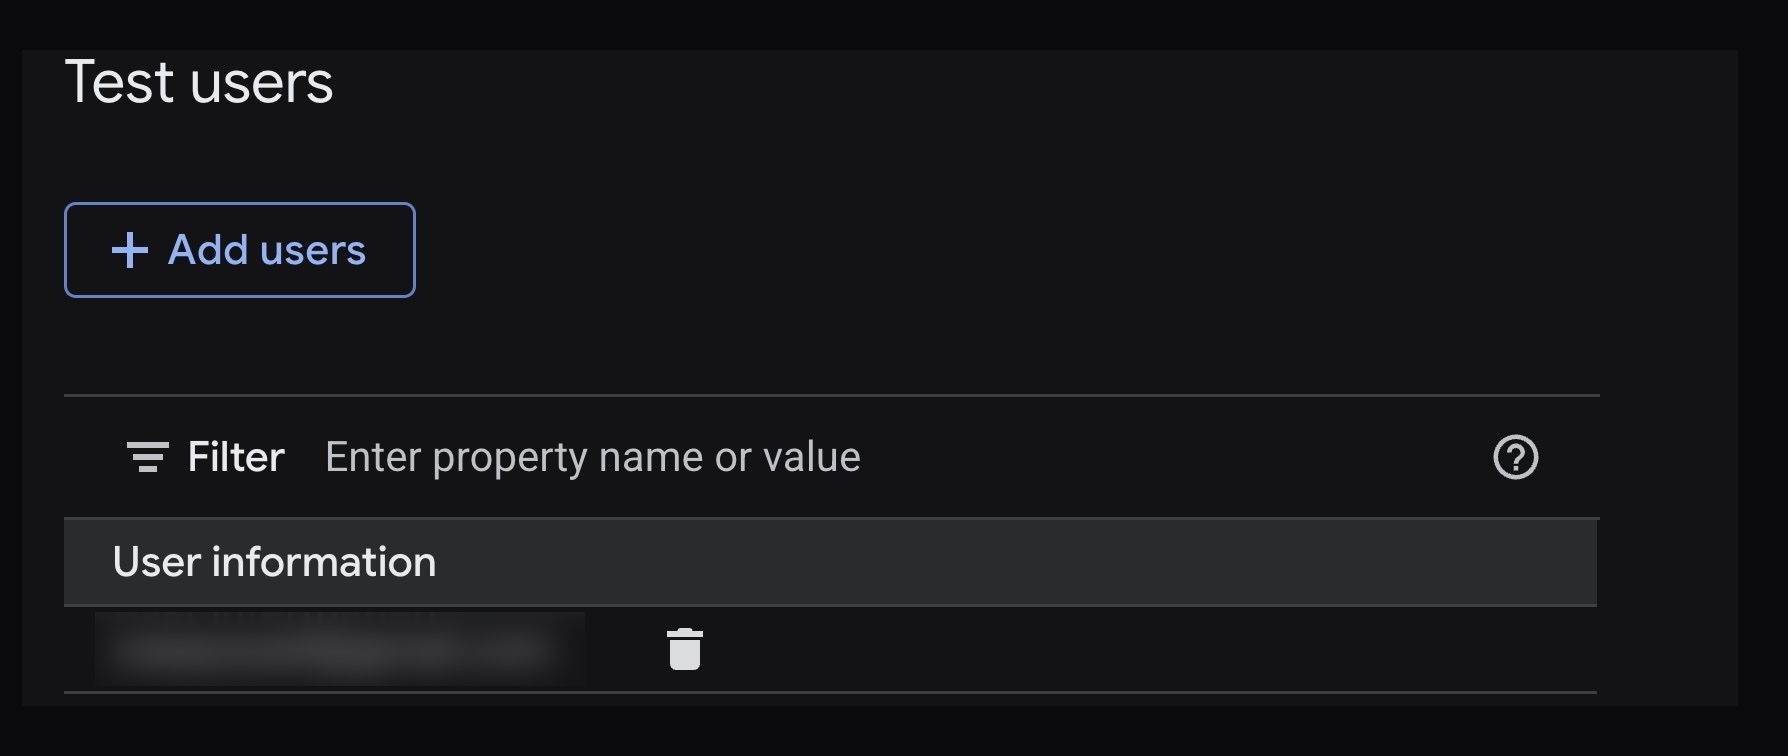
If you do not add your own Google account under Test users, the sign-in fails with an access_denied 403 error. The app stays in testing mode until you add yourself, and only listed test users are allowed through. Add your account, save, then continue.
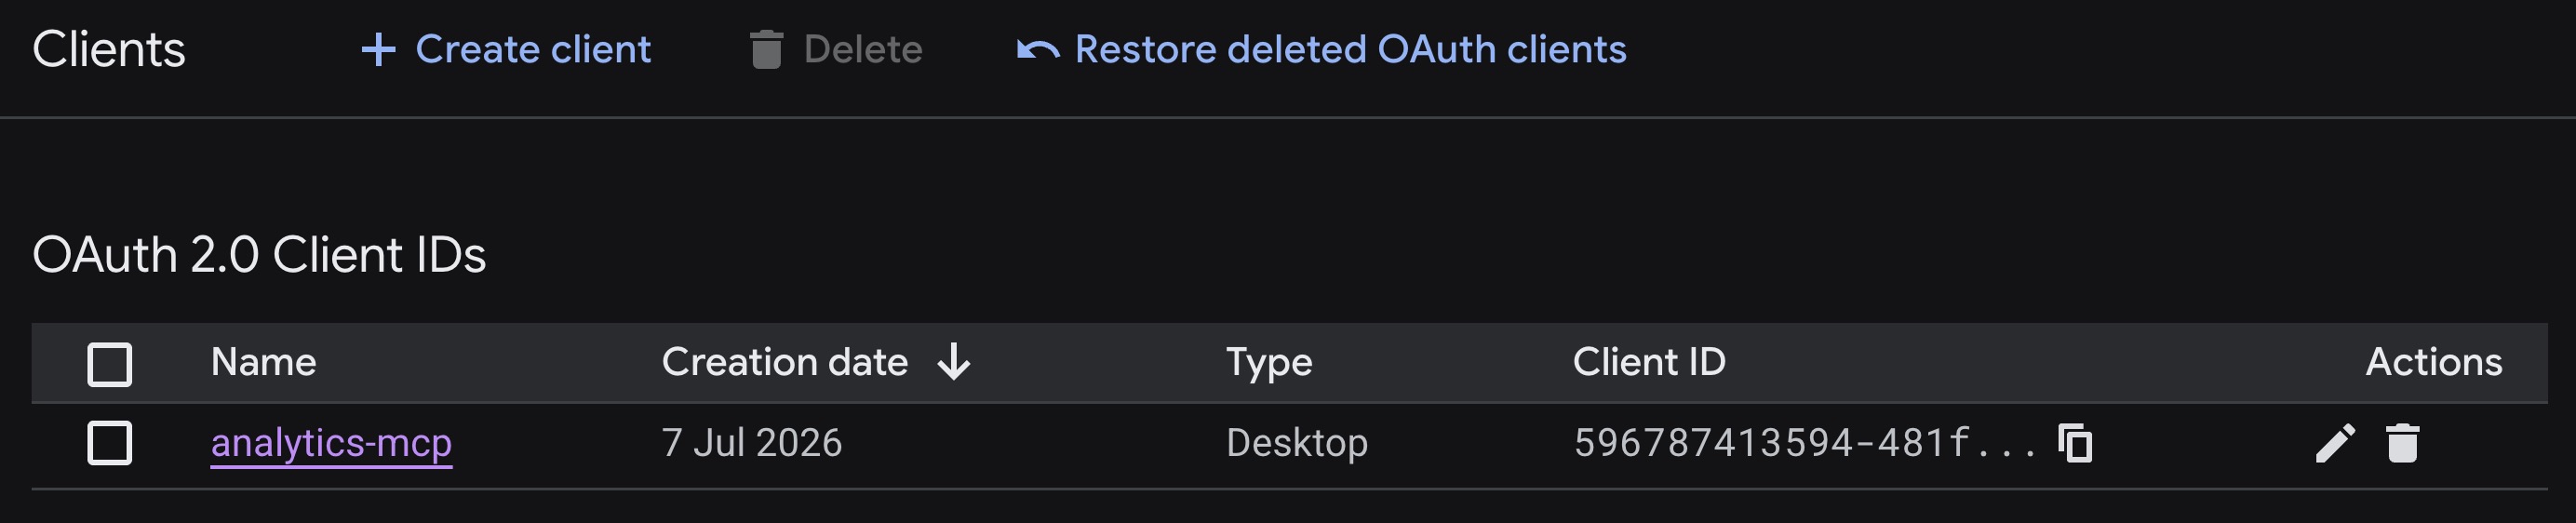
Now create the client itself. Go to the Clients section, click Create client, choose Desktop app as the type, give it a name, and click Create. Then download the JSON file and save it somewhere stable, such as your gcloud config folder.
Step 6: Sign In With gcloud
Back in the terminal, run the login command below. It points gcloud at the client file you just downloaded and asks for read only access to Analytics.
gcloud auth application-default login
  --scopes=https://www.googleapis.com/auth/analytics.readonly,https://www.googleapis.com/auth/cloud-platform
  --client-id-file=YOUR_CLIENT_FILE.json
Your browser opens a Google consent screen. Sign in, approve the request to see your Analytics data, and wait for the page to confirm that authentication is complete.
You may see a warning that Google has not verified the app. That is expected for a personal client. Click Advanced, then continue to your app to proceed.
When it finishes, gcloud saves your credentials to a file it calls the Application Default Credentials. The path is printed in the terminal. Copy it, because the next step uses it.
Step 7: Register the Server in Claude Code
You now have everything the server needs: the installed command, your project ID, and your saved credentials. Register it with a single claude mcp add command.
claude mcp add analytics-mcp --scope user
  -e GOOGLE_APPLICATION_CREDENTIALS=/path/to/application_default_credentials.json
  -e GOOGLE_PROJECT_ID=your-project-id
  -- /Users/you/.local/bin/analytics-mcp
Two environment values do the work here. GOOGLE_APPLICATION_CREDENTIALS points to the credentials file from Step 6, and GOOGLE_PROJECT_ID is the project ID from Step 4.
Using the full path to the analytics-mcp command, rather than a short name, keeps Claude Code from depending on your shell setup when it launches the server.
Step 8: Verify the Connection
Confirm the server is registered and healthy with the list command.
claude mcp listYou want to see analytics-mcp reported as connected, like this.
analytics-mcp: /Users/you/.local/bin/analytics-mcp - ConnectedMCP tools load when a session starts. If you added the server while Claude Code was already running, restart it or open a new session before the Analytics tools appear. A healthy status in the list is your sign the setup is correct.

What You Can Ask Claude Once It Is Connected
The server adds nine tools to Claude. You never call them by name. You ask a question, and Claude picks the right tool and fills in the details.
| Tool | What it does |
|---|---|
get_account_summaries | Lists your Analytics accounts and their GA4 properties |
get_property_details | Returns settings for a single property, such as time zone and currency |
run_report | Runs a standard report, for example users by country last month |
run_realtime_report | Shows activity happening on your site right now |
run_funnel_report | Builds a funnel to see where visitors drop off |
run_conversions_report | Reports on your conversion events |
get_custom_dimensions_and_metrics | Lists the custom dimensions and metrics on a property |
list_property_annotations | Returns annotations saved on a property |
list_google_ads_links | Shows Google Ads accounts linked to the property |
Here are prompts that map to those tools. Try them once the server is connected.
- “Which Google Analytics properties can I access?” lists your accounts and properties.
- “How many people are on my site right now, and what pages are they viewing?” runs a realtime report.
- “Show me users and sessions for the last 28 days, split by channel.” runs a standard report.
- “What were my top 10 landing pages last month by users?” runs a standard report with a sort and a limit.
- “Where do visitors drop off between viewing a product and starting checkout?” builds a funnel report.
Because Claude reads the data live, you can keep the conversation going. Ask it to compare two date ranges, explain a spike, or focus on one country, all without touching the dashboard.
This pairs well with tracking where that traffic comes from. If you are watching the rise of AI referrals, see our guide on how to track AI traffic in Google Analytics 4.
Troubleshooting Common Setup Problems
Most setup issues come from one of a few places. Here is how to clear the ones you are most likely to hit.
- access_denied 403 during sign in. Your account is not a test user on the OAuth consent screen. Add it under the Audience or Test users section, then run the login again.
- The Analytics tools do not appear in Claude. The server was added mid session. Restart Claude Code or open a new session so the tools load.
- A request fails with an API not enabled error. One of the two APIs from Step 4 is off. Enable both the Analytics Admin API and the Analytics Data API.
- Claude cannot start the server. Check the command path in your
claude mcp addline. Using the full path toanalytics-mcpavoids problems with your shell PATH.
If a report returns no rows, confirm the property has data for the date range you asked about, and that your account can see that property in the Analytics interface.
FAQs
Common questions about the Google Analytics MCP server:
Summary
The Google Analytics MCP server turns GA4 reporting into a conversation. Instead of clicking through the dashboard, you ask Claude and get the number back right away.
The setup is a one time job. Install pipx, the analytics-mcp package, and the Google Cloud SDK, then enable the two Analytics APIs, create an OAuth client, and sign in. Register it with claude mcp add and confirm it connects.
From there, your Analytics data is one question away. Ask for realtime visitors, traffic by channel, or your top landing pages, and let Claude do the clicking for you.