In this post, we will see the steps to take in order to set up MX records for Google Workspace in cPanel. Before you proceed, you need to ensure that you have a valid and active email in Google Workspace, of course. Here are the steps you need to take to set up Google’s MX records in cPanel…
Note that these actions can also be implemented at your domain registrar’s level, but this guide refers to settings through cPanel only.
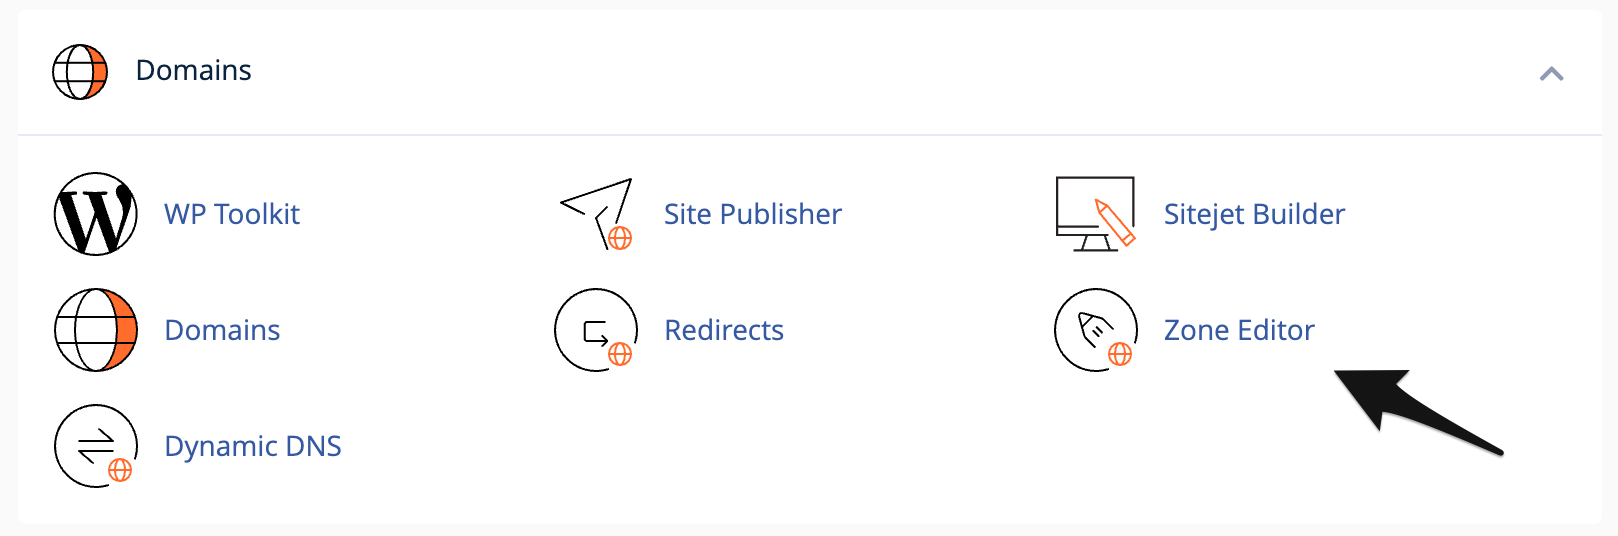
Step 1 – Go to the Zone Editor in cPanel
Go to your cPanel account and click on the “Zone Editor” icon under the “Domains” tab.
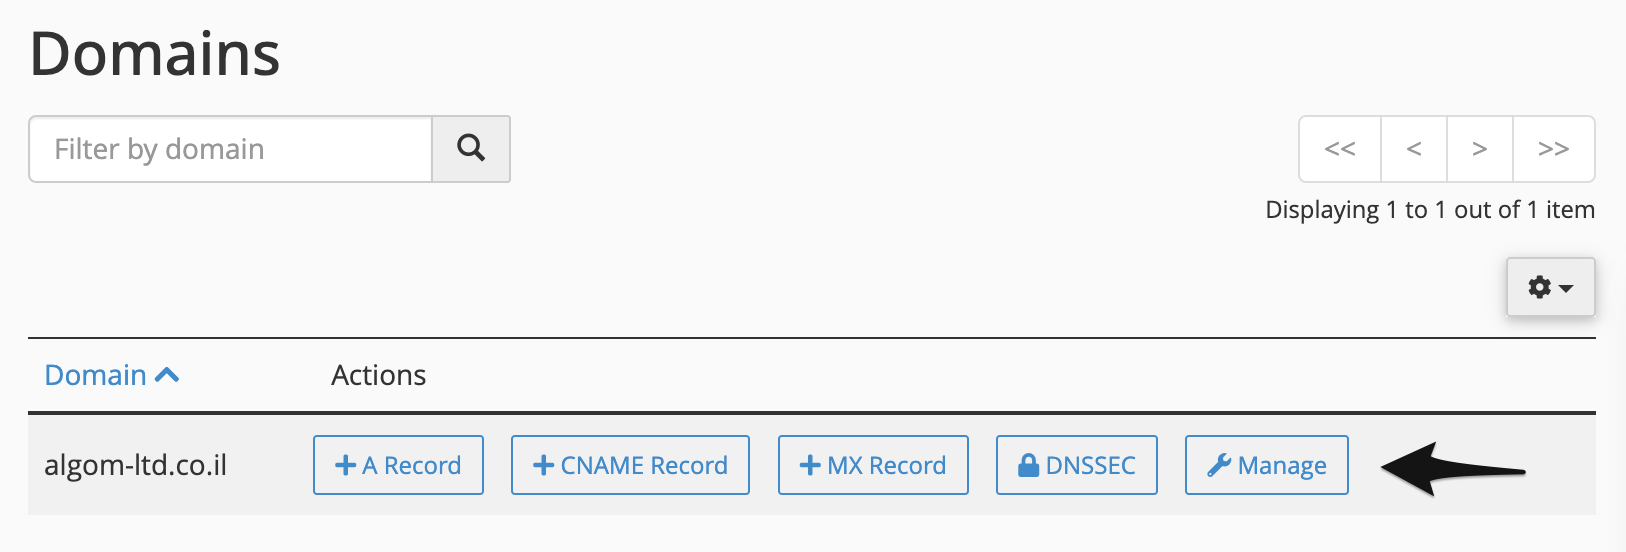
In the screen that appears, all the domains in the cPanel account will be displayed. Click “Manage” next to the domain for which you want to add Google’s MX records. For the purpose of this guide, we will use the domain algom-ltd.co.il.
In the next screen that appears, you will find all the DNS records associated with the domain.
Take a look at the post What is DNS if you are interested in learning more about this topic.
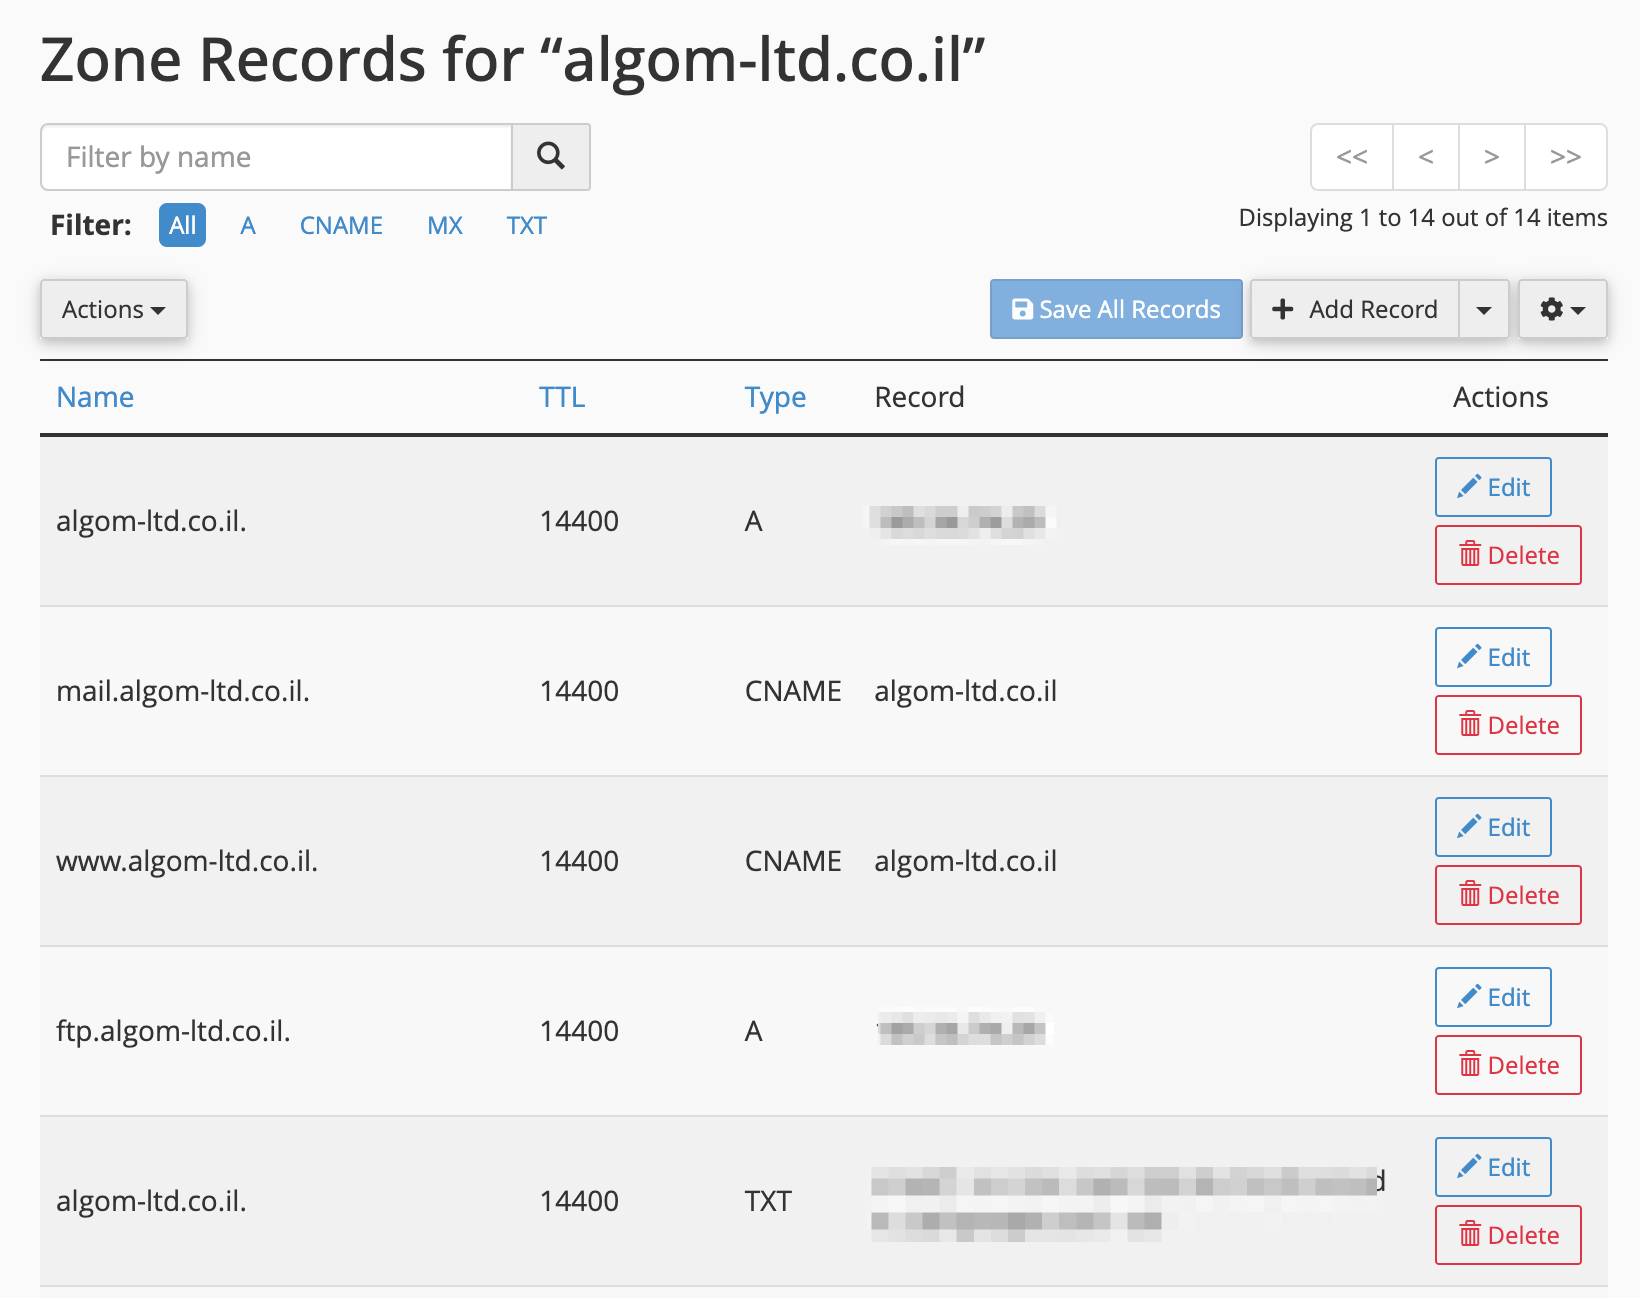
You can use the top filter to display only the MX records. Note that by default there will be an MX record in the list that will appear before you, we will delete this record later.
Step 2 – Adding the Relevant MX Records
Now we need to add the MX records that Google provides. You can find these records on Google Workspace help page. As noted in this post, if you signed up for Google Workspace before April 2023, you need to add the following records:
| Name/Host/Alias* | Priority | Value/Answer/Destination |
|---|---|---|
| Blank or @ | 1 | ASPMX.L.GOOGLE.COM |
| Blank or @ | 5 | ALT1.ASPMX.L.GOOGLE.COM |
| Blank or @ | 5 | ALT2.ASPMX.L.GOOGLE.COM |
| Blank or @ | 10 | ALT3.ASPMX.L.GOOGLE.COM |
| Blank or @ | 10 | ALT4.ASPMX.L.GOOGLE.COM |
Depending on your domain host, you can also use the domain name with a dot at the end instead of using ‘@’ under the column “Name | Host | Alias*” as we did in the examples in this post.
If you signed up for Google Workspace after April 2023, the process is simpler and you only need to add one record:
| Name/Host/Alias* | Priority | Value/Answer/Destination |
|---|---|---|
| Blank or @ | 1 | SMTP.GOOGLE.COM |
Either way, to add the records you need to click on “Add MX Record” in the Dropdown menu as shown in the following image:

Enter the priority and the destination in the relevant fields and click the “Add Record” button next to the MX record you created.
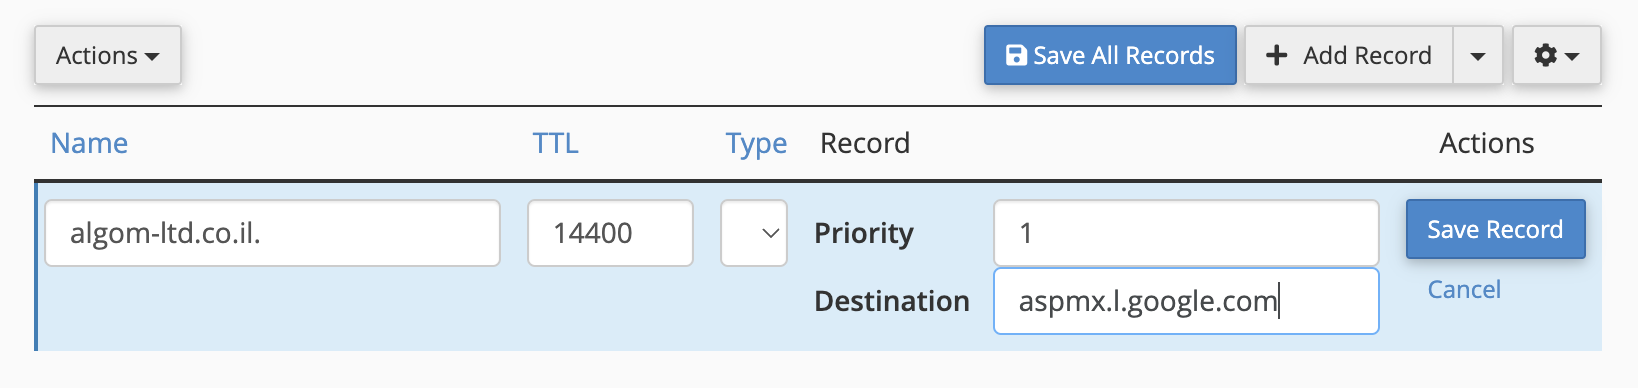
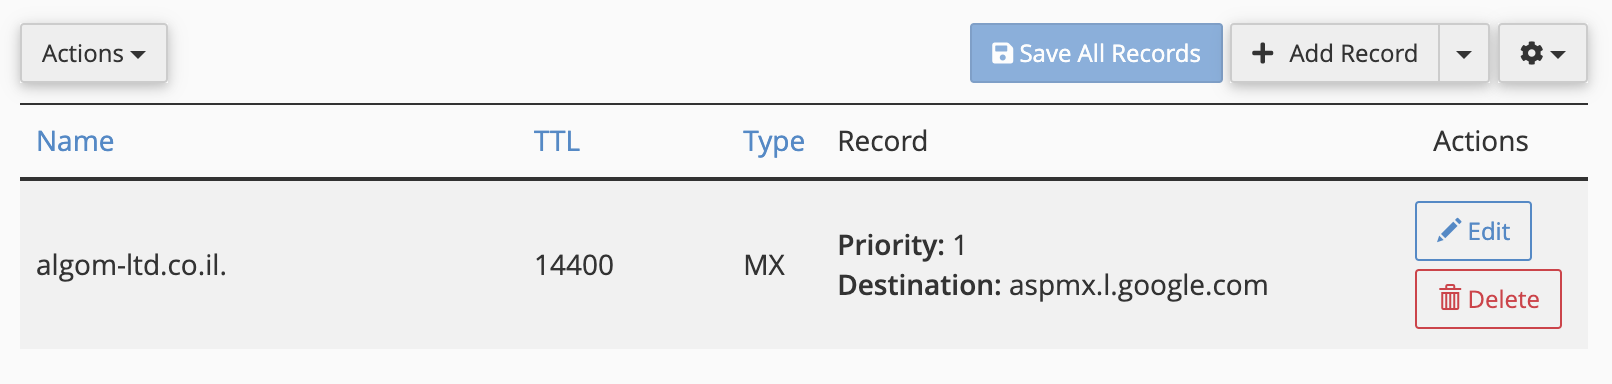
After you click on this button, a record similar to the one shown in the image below will appear. You need to repeat this action for each of the records if you need to enter more than one MX record.
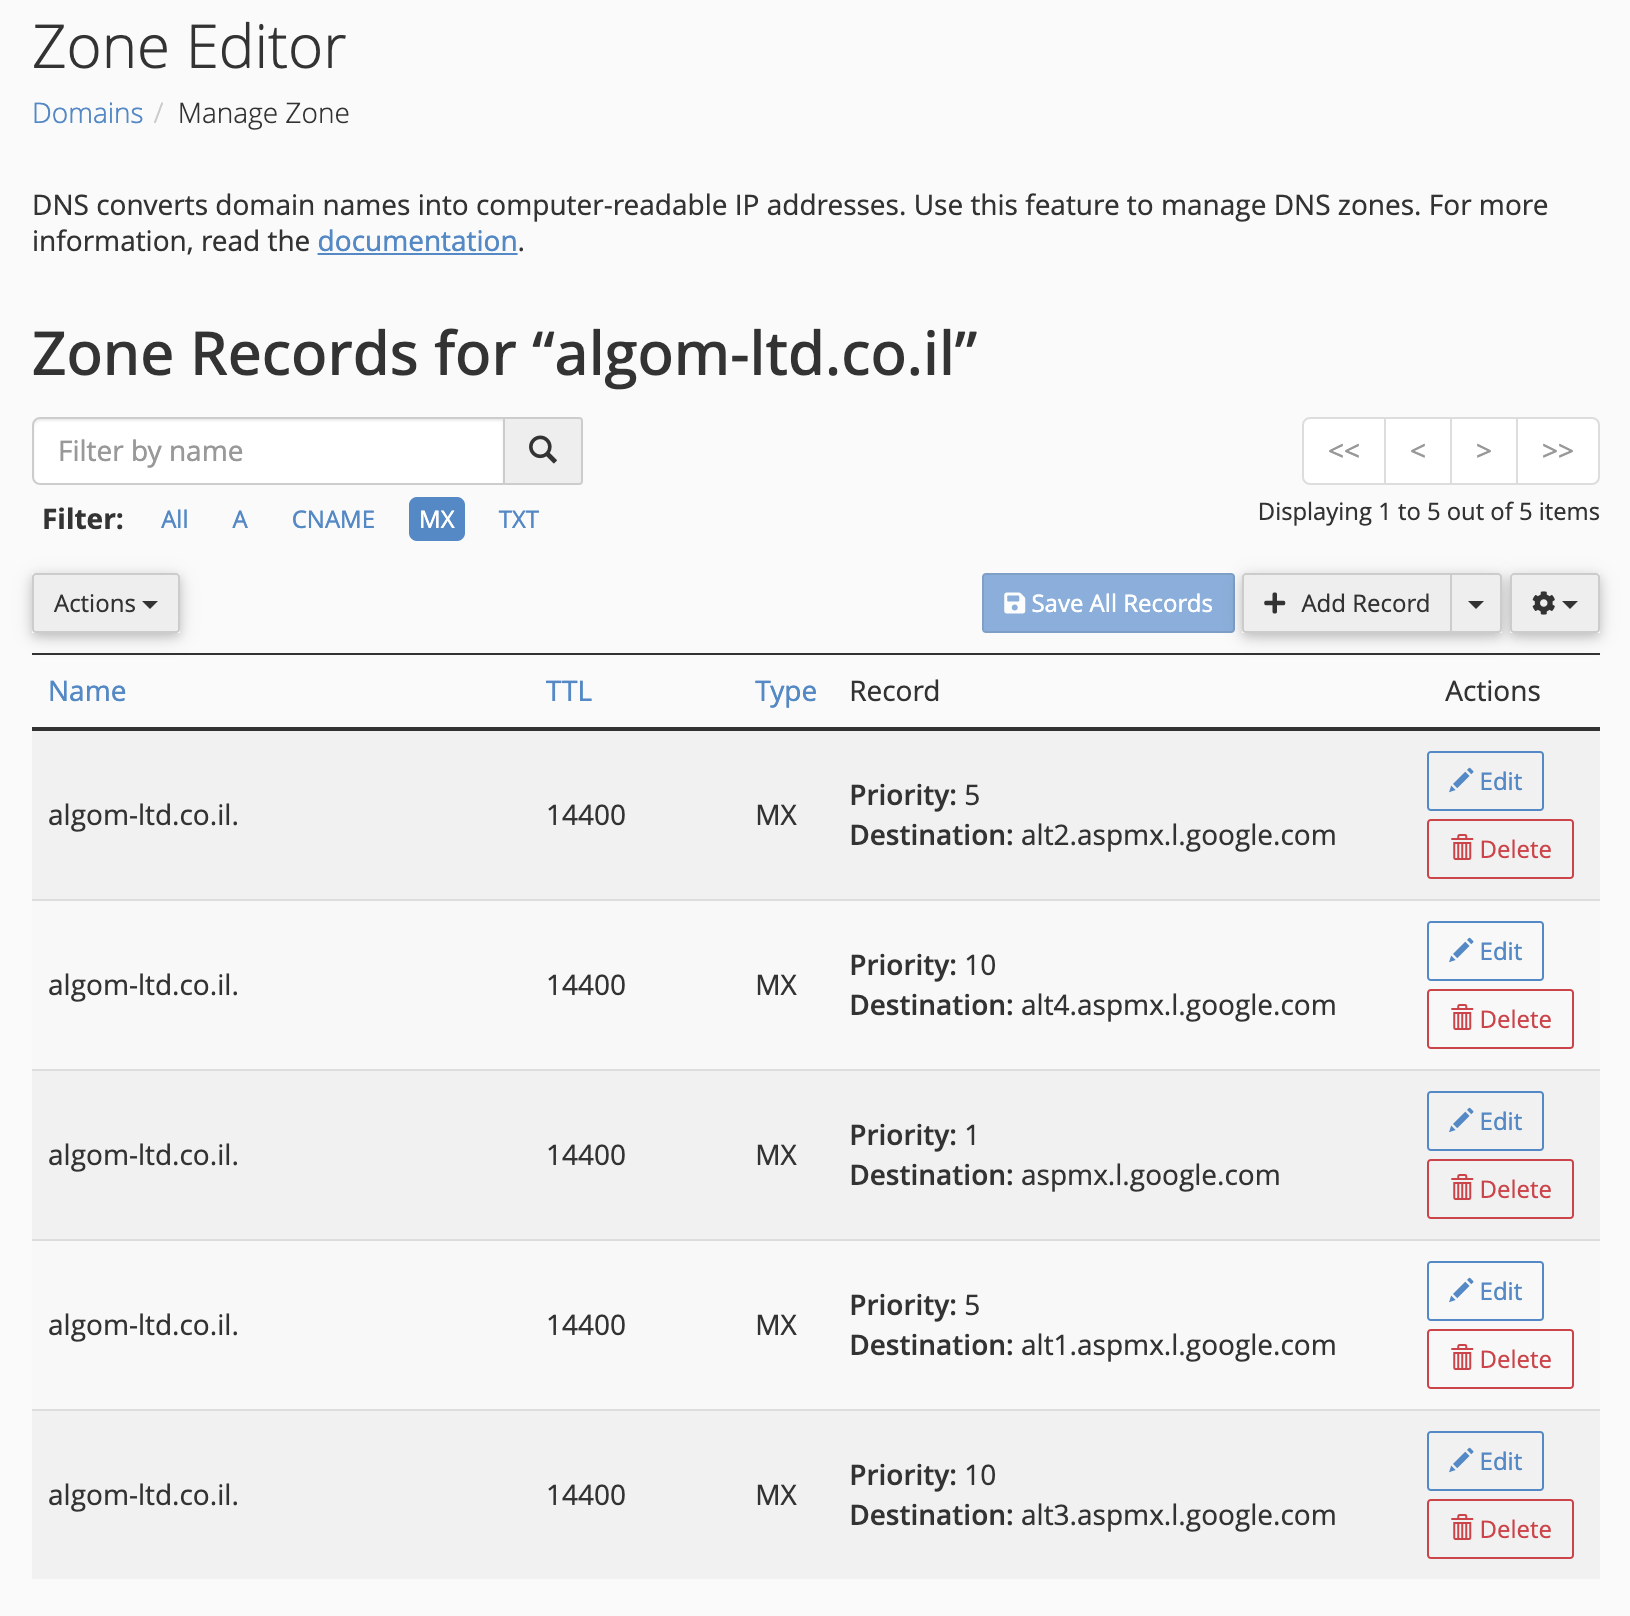
After you have added all of Google’s MX records, the list will look more or less like the following example:
The next action we need to perform is to delete the MX record that initially appeared as the default. You must click the “Delete” button next to this record and confirm the deletion.
Step 3 – Changing the Mail Exchanger
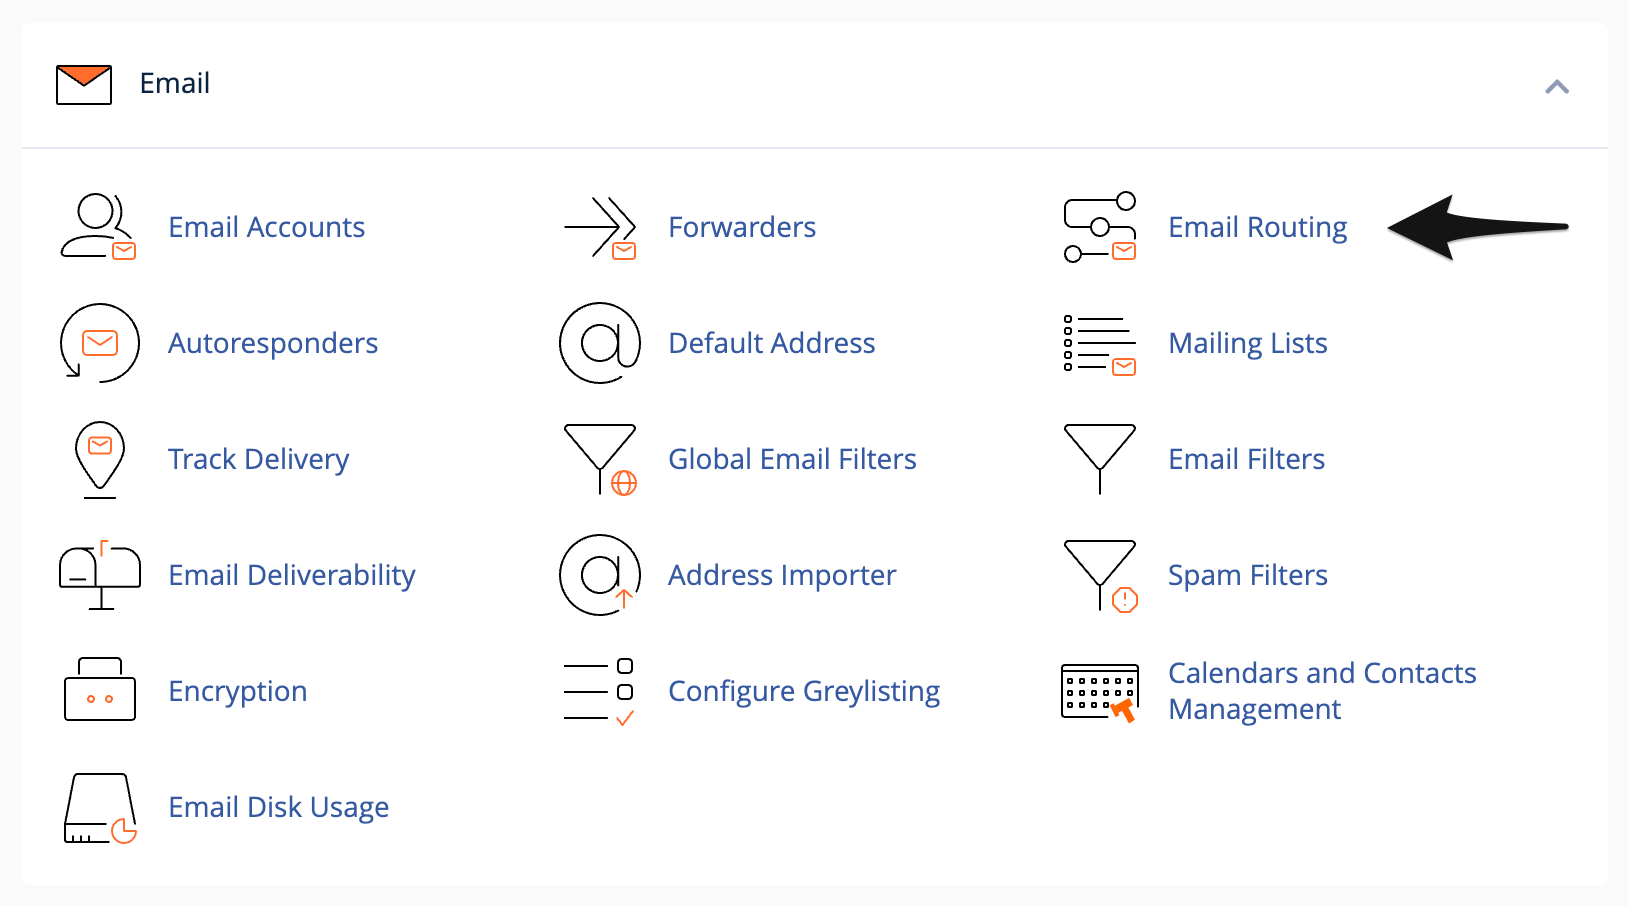
The last step in this guide is to ensure that the “Mail Exchanger” setting is set to the “Remote” option. Go back to the main page in the cPanel account and look for the “Email Routing” option under the “Email” tab.
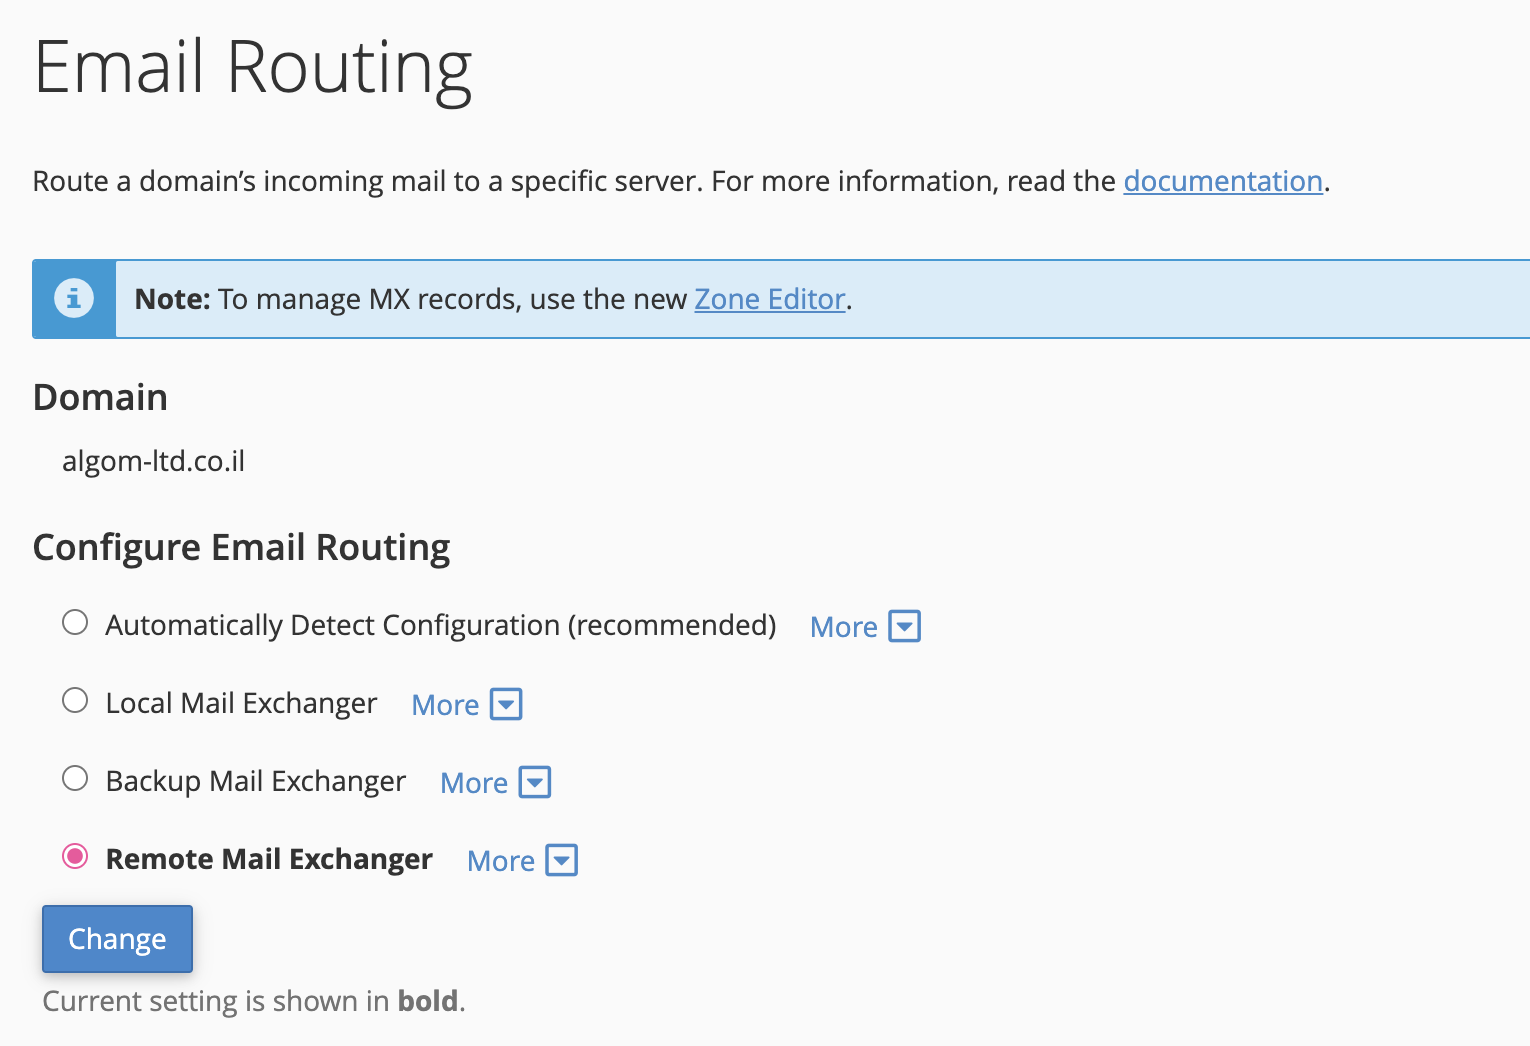
In this window, you need to change the option to “Remote Mail Exchanger” and click the “Change” button.
We’re done! We have made all the necessary settings in the cPanel account so that emails will be routed to your Google Workspace email. The propagation and updating process of the DNS records in practice can take up to 48 hours to complete fully, but usually, it takes less than that.
That’s it.