Advanced Custom Fields (ACF) is one of the most powerful WordPress plugins for creating custom fields and extending the capabilities of WordPress. One of the lesser-known but highly valuable features of ACF is the Clone Field.
The Clone field is available only in the PRO version of ACF.
This field allows you to “clone” other fields or field groups, providing a flexible way to reuse fields without duplicating their setup.
In this post, we’ll explore what the Clone Field is, how to configure and use it, and provide code examples for displaying cloned field data in your WordPress theme.
What is the ACF Clone Field?
The ACF Clone Field allows you to reuse existing fields or entire field groups within a new context. This means that instead of recreating similar fields across different field groups, you can simply “clone” those fields, ensuring consistency and making your field management more efficient.
The Clone Field supports two display formats:
- Group: Clones the selected fields and displays them as a nested container within the parent field group. You can optionally show the group label for a clear visual distinction.
- Seamless: Clones the selected fields and blends them directly into the parent field group without any visual grouping – as if the fields were defined there originally.
Benefits of Using the Clone Field
The Clone Field offers several benefits:
- Consistency: You can reuse existing fields without creating new ones, ensuring data consistency across different sections of your site.
- Efficiency: It reduces the time spent creating repetitive fields and ensures all fields are managed from a single place.
- Flexibility: You can clone individual fields or entire field groups, depending on your needs.
How to Set Up a Clone Field
To set up a Clone Field in ACF, follow these steps:
1. Create or edit a Field Group
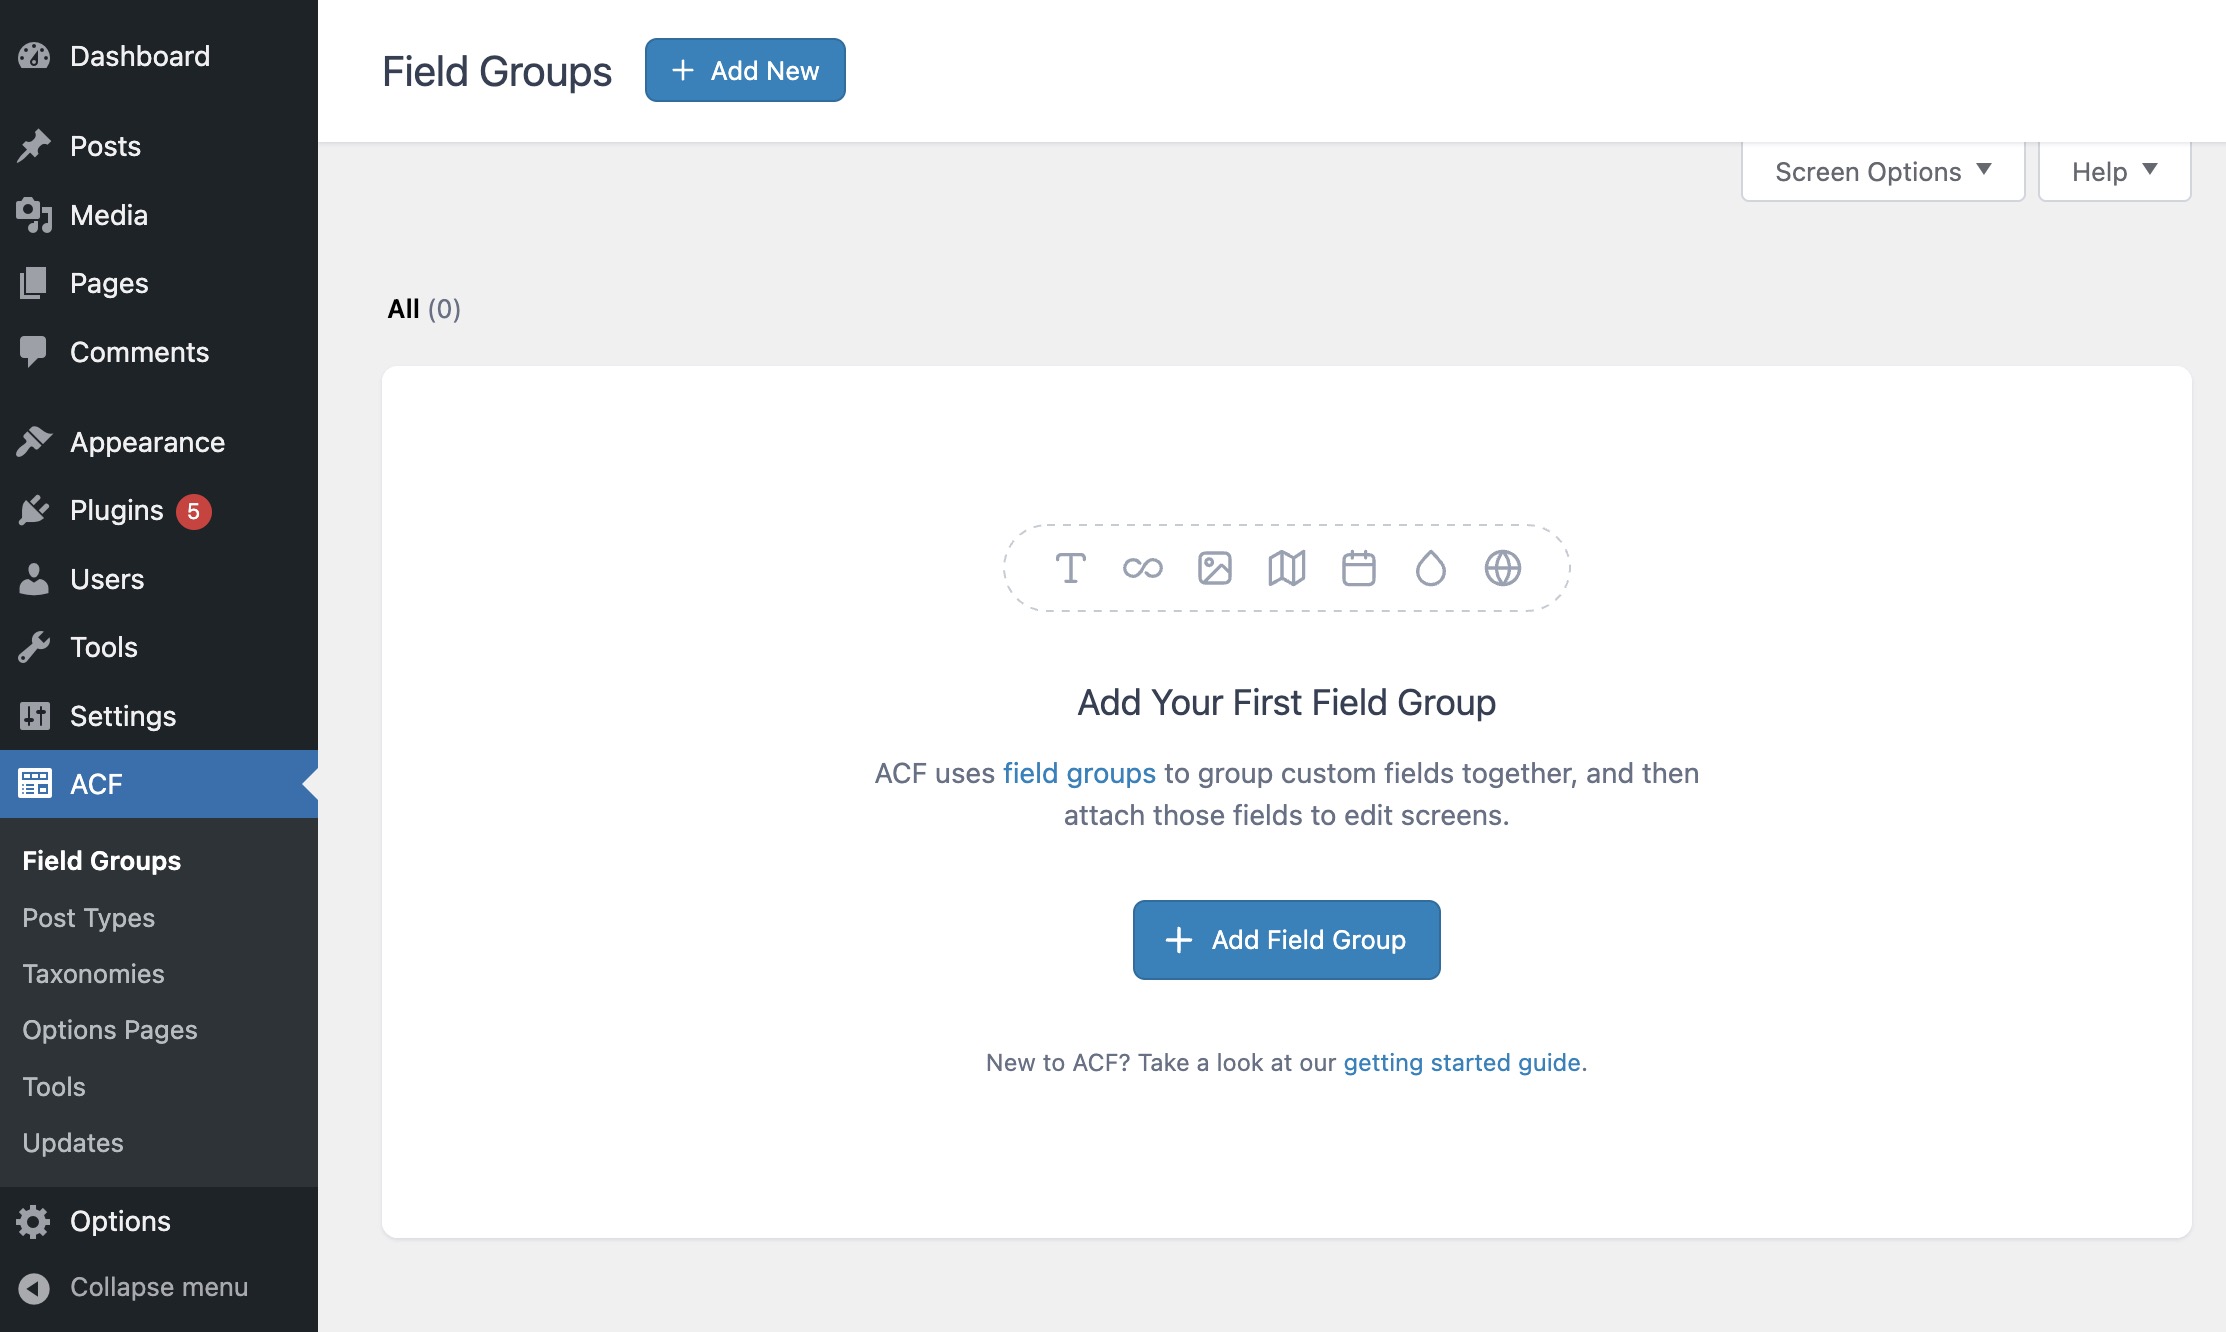
Go to ACF > Field Groups in the WordPress dashboard and click Add Field.
Add a title to the Field Group.
2. Add a Clone Field
Select the Clone Field from the field type dropdown.

Give the Clone field a descriptive name.
3. Choose what to clone
In the settings of the Clone Field, you’ll have the option to choose individual fields or entire field groups to clone.

4. Select Clone Display
Choose how the cloned fields will appear (group, seamless, or group with label).

5. Save the Field Group
Once the Clone Field is configured, save your changes.
Example: Cloning a Field Group
Let’s say you have a field group called “Contact Information” with fields like “Phone Number” and “Email Address.” You want to reuse this field group in multiple post types.
- Go to Custom Fields > Field Groups.
- Click Add New Field Group and create a new field group for another post type.
- Inside this new field group, add a Clone Field and select the “Contact Information” group to clone.
- Select the display option (e.g., seamless) to ensure it fits within your new field group layout.
Displaying Clone Field Data in the Frontend
Once you’ve set up the Clone Field, displaying the data on the frontend is straightforward. Since the cloned fields function like regular ACF fields, you can use the same ACF template tags to display the data.
Example Code to Display Clone Field Data
<?php
$phone = get_field('phone_number');
if ($phone) {
    echo 'Phone: ' . esc_html($phone);
}

$email = get_field('email_address');
if ($email) {
    echo 'Email: ' . esc_html($email);
}
?>
Since cloned fields behave like regular ACF fields, you retrieve them with
get_field()using the original field name. If you prefer to avoid an ACF frontend dependency, you can also useget_post_meta()– see Using ACF without Frontend Dependency.
Use Cases for ACF Clone Fields
The ACF Clone Field is useful in several scenarios:
- Reusable Data Blocks: Clone field groups like “Contact Information” or “Social Media Links” to ensure consistency across different post types.
- Repeating Elements: If you have repeating elements, such as FAQs or team member bios, you can clone the fields and apply them to different sections of your site.
- Flexible Content Layouts: Break down a large Flexible Content or Repeater setup into smaller, focused field groups and clone them where needed. This keeps the ACF editor responsive even on complex pages.
- Theme Options or Site Settings: Use the Clone Field in theme options or global settings panels to ensure consistent use of fields across the site.
Advanced Options for Clone Fields
The Clone Field comes with a few advanced options to tailor its behavior to your needs:
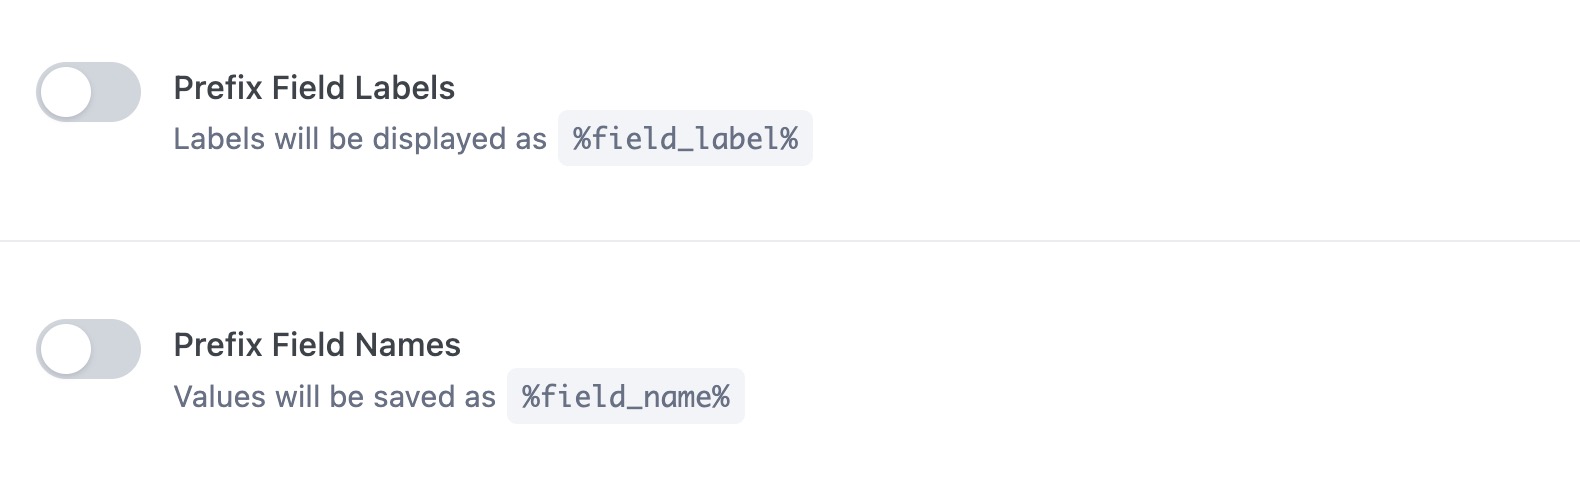
- Prefix Field Names: This option allows you to add a prefix to the cloned fields, preventing conflicts if you have similar fields elsewhere.
- Seamless Display: This hides the grouping of cloned fields and integrates them directly into the parent group for a cleaner, more cohesive look.
A. Prefix Field Names
The Prefix Field Names option in ACF Clone Fields is an important feature to help avoid conflicts between field names, especially when you are cloning fields that may already exist in the same context or across different field groups. By using a prefix, you ensure that cloned fields have unique identifiers without altering their core functionality.
Why Use Prefix Field Names?
When cloning fields or entire field groups, the original field names are preserved by default. If you clone a field group that contains fields with the same names as fields in the parent group (or any other cloned group), it can lead to data conflicts or overwriting. By adding a prefix, you create a unique identifier for each cloned field, preventing any collisions.
Example of Prefixing Field Names
Suppose you have a field group for “Contact Information” with fields like “phone_number” and “email_address.” If you clone this group within another field group, you can add a prefix such as “company_”. The field names would become “company_phone_number” and “company_email_address.”
Here’s how the code would look when retrieving the prefixed fields:
<?php
// Retrieving the phone number from the cloned group with a prefix
$phone = get_field('company_phone_number');
if ($phone) {
    echo 'Phone: ' . esc_html($phone);
}

// Retrieving the email address from the cloned group with a prefix
$email = get_field('company_email_address');
if ($email) {
    echo 'Email: ' . esc_html($email);
}
?>
B. Seamless Display
The Seamless Display option in ACF Clone Fields controls how the cloned fields are visually integrated into the parent field group. When you select the seamless option, the cloned fields are displayed inline with the parent fields without any grouping or visual separation.
Why Use Seamless Display?
Seamless display is particularly useful when you want the cloned fields to feel like they are part of the parent group, instead of appearing as a separate group of fields. This creates a more cohesive user experience in the WordPress admin and makes the fields blend together, especially when you’re using the same set of fields across multiple areas of the site.
Example of Seamless Display
Let’s say you have a “Product Details” field group that contains fields like “product_name” and “product_price.” You also have a separate field group for “Supplier Information.” By cloning the “Supplier Information” group with the seamless display option, the fields from the supplier group (e.g., “supplier_name”, “supplier_phone”) will appear directly inline with the product fields, without any visual separation.
The seamless option improves the user experience when adding data, as it keeps the form layout clean and without unnecessary field grouping.
Tips for Working with Clone Fields
Here are some tips to help you work more efficiently with ACF Clone Fields:
- Be Mindful of Field Name Conflicts: When cloning fields, ensure their names don’t conflict with other fields in the parent field group. Use the “Prefix Field Names” option to avoid any potential issues.
- Understand Complex Structures: If you’re cloning Flexible Content or Repeater fields, make sure you understand their hierarchy, because the nesting affects both admin layout and frontend output.
- Keep Field Groups Organized: Label your field groups clearly so they’re easy to find and clone. A consistent naming convention (e.g.,
Component - Button,Component - CTA) goes a long way.
FAQs
Common questions about the ACF Clone field:
get_post_meta(get_the_ID(), 'field_name', true) just like any other custom field. For details, see the guide on using ACF without frontend dependency.Summary
The ACF Clone field lets you reuse fields and field groups across your WordPress site without duplicating their setup. It keeps field management centralized – any change to the source group propagates to every location that clones it.
Use Seamless display when cloning inside Flexible Content or Repeater layouts, and Group display when you want a clear visual boundary. Add a prefix to avoid field-name collisions when the same group is cloned more than once.
Further reading at the ACF Clone Field documentation.


Nice article