In this guide, I’ll explain how to create product variations in WooCommerce (Variable Products). I’ll show you how to assign attributes, terms, and different variations to your products, as well as how to set images for each product variation.
Before we start, if you’re unfamiliar with setting up and configuring WooCommerce, you may want to check out our post on Creating a Virtual Store in WordPress with WooCommerce (it was recently updated). Let’s get started…
Creating New Product Attributes
Before you create a product with variations, you first need to create attributes. In the WordPress dashboard, go to Products > Attributes, create two new attributes, and give them names. In this example, we’ll create the attributes “Color” and “Size”.
Note that you can also add new attributes on the single product edit page itself…
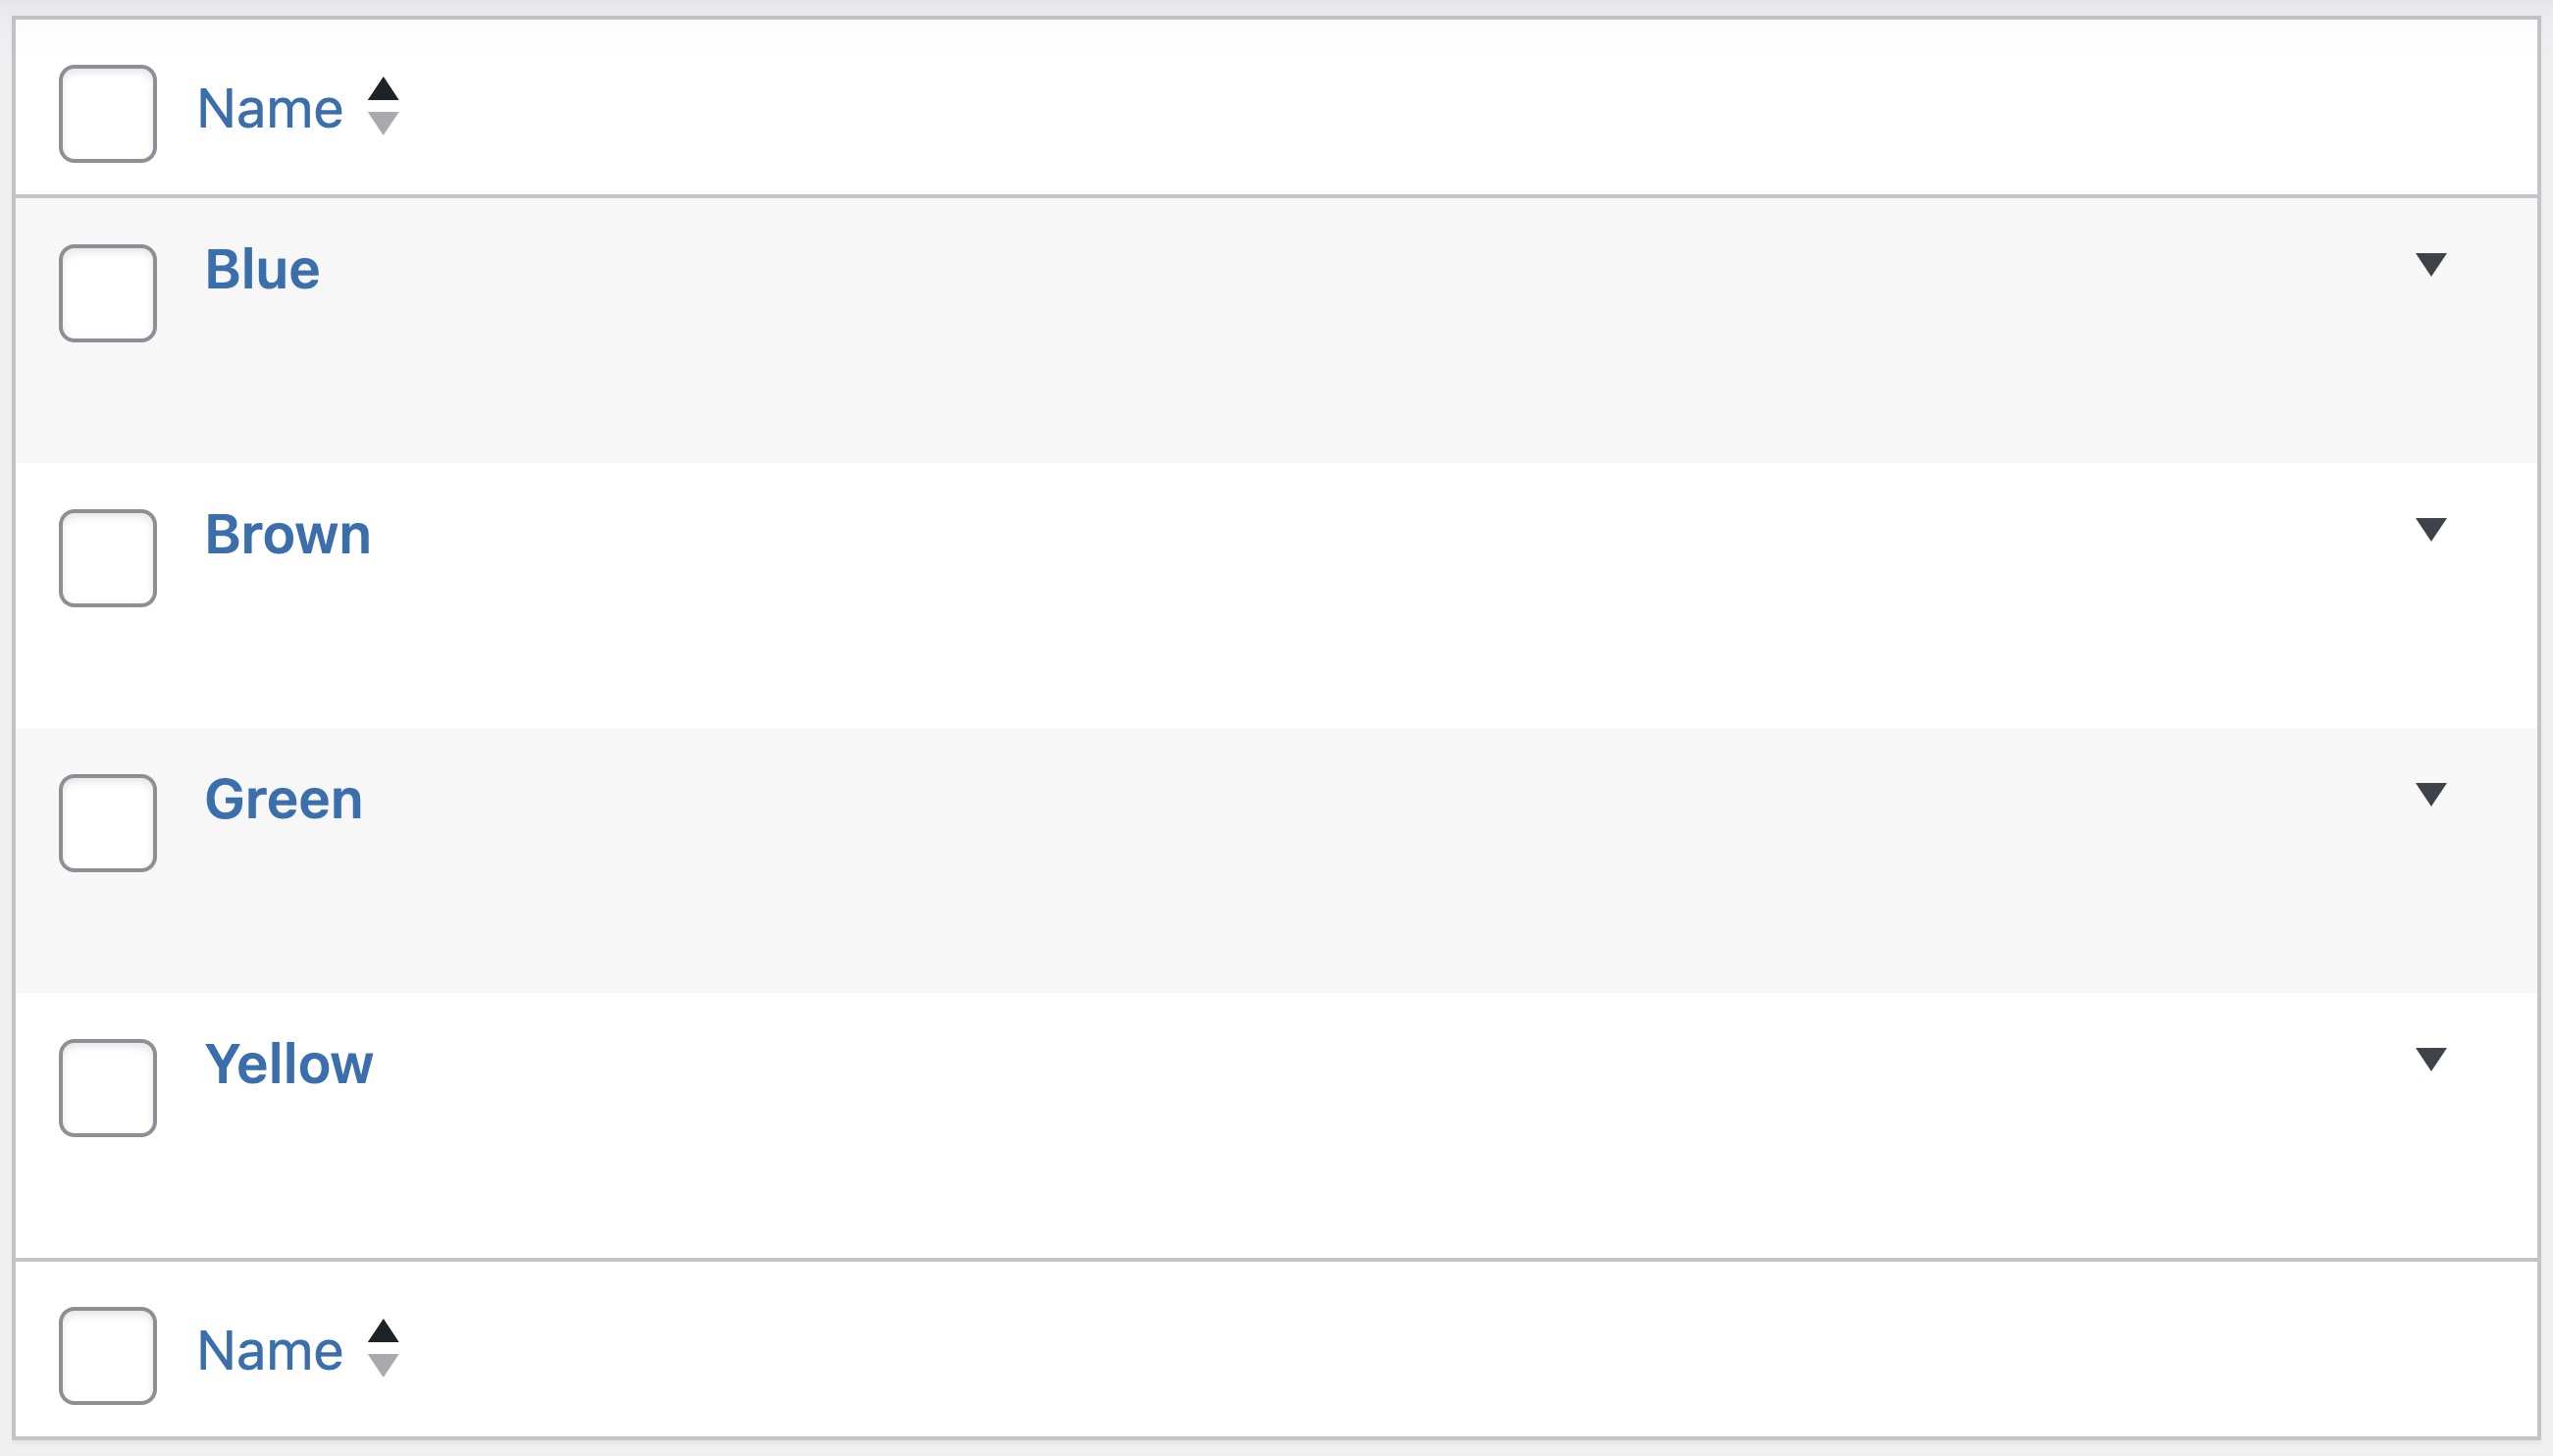
After creating the attributes, click Configure Terms next to each attribute to create terms for those attributes. For example, under Color, create terms like “Green,” “Yellow,” and “Brown,” and under Size, create terms like “Large,” “Medium,” and “Small.” Here’s how it will look (in my case i used numbers to represent the size):
It’s important to understand that the combination of any attribute (like “Color”) with a specific term (like “Green”) forms a variation.
Creating a Product with Variations
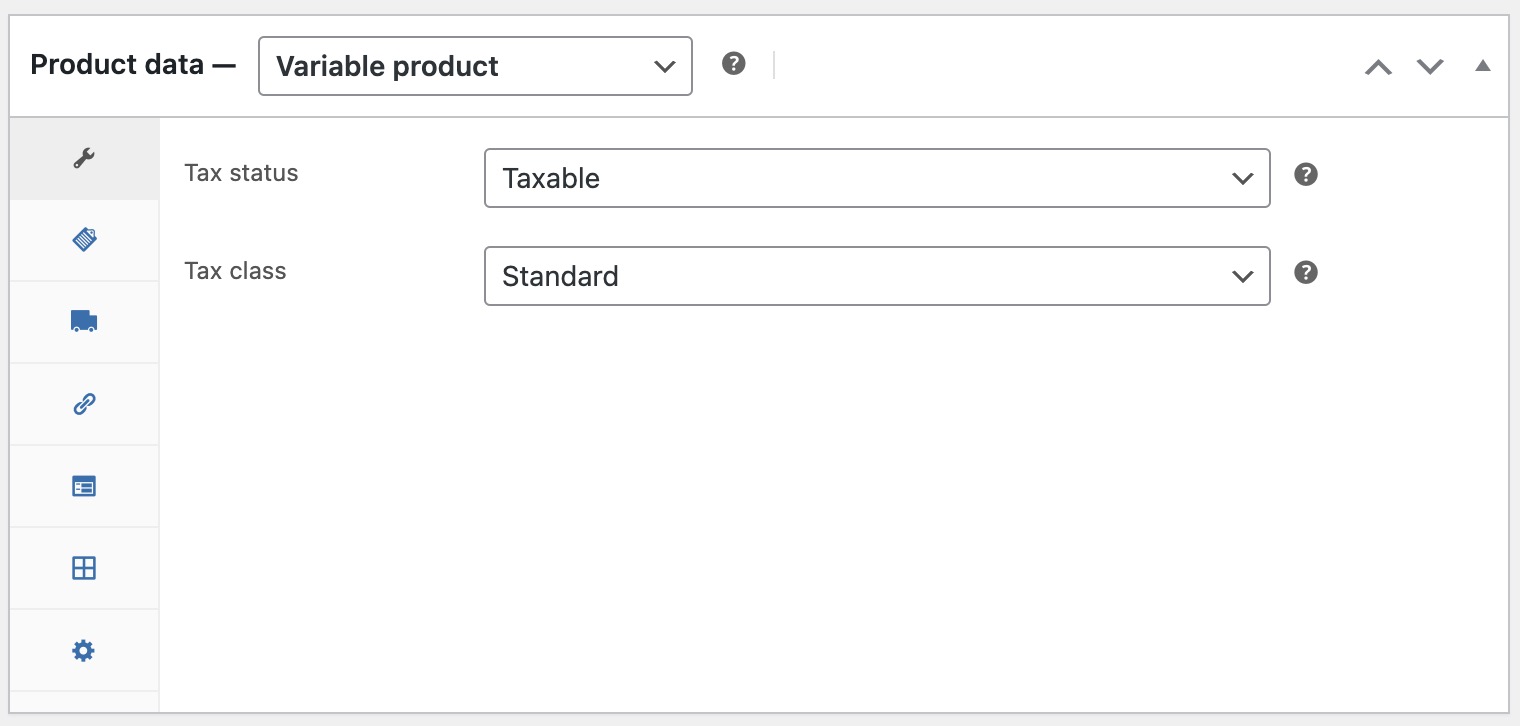
Now let’s create the product. Under Products in the WordPress dashboard, click Add New. In the Product Data section, select Variable Product. Of course, you’ll need to add all relevant details about your product, but for this guide, I’ll focus on the steps for adding product variations.
Assigning Attributes to the Product
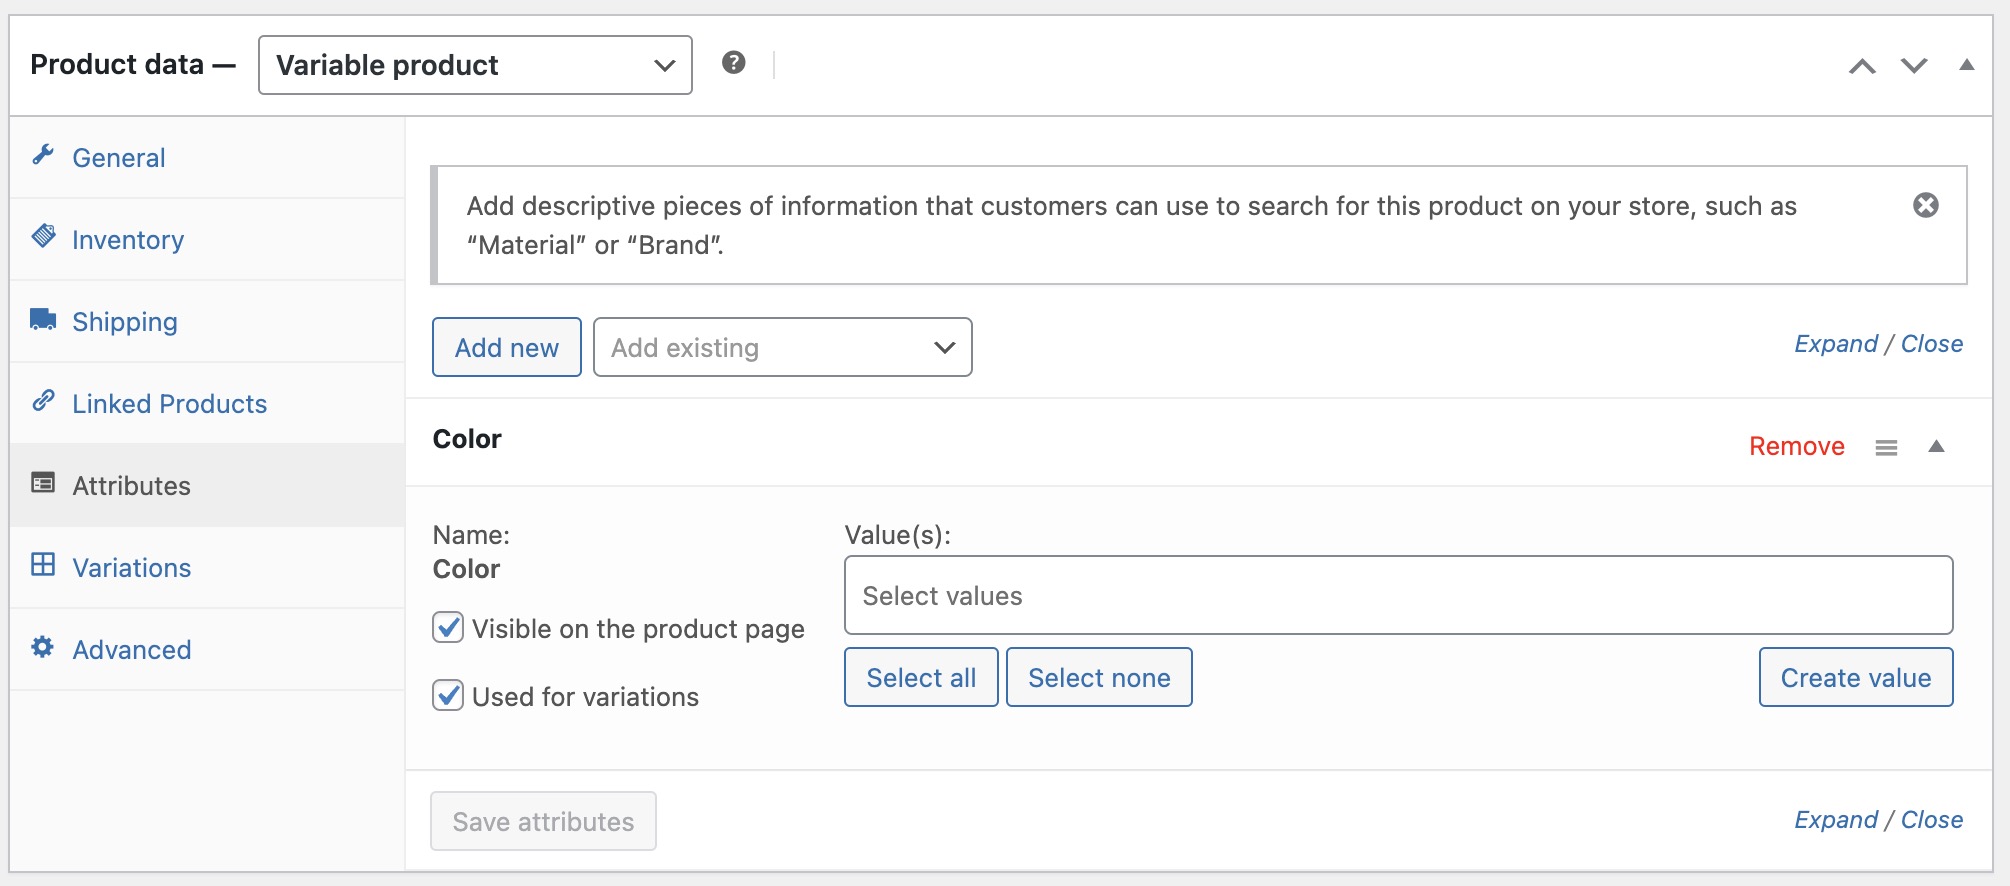
Under the Attributes tab, select the attribute(s) you want to assign to the product and click Add.
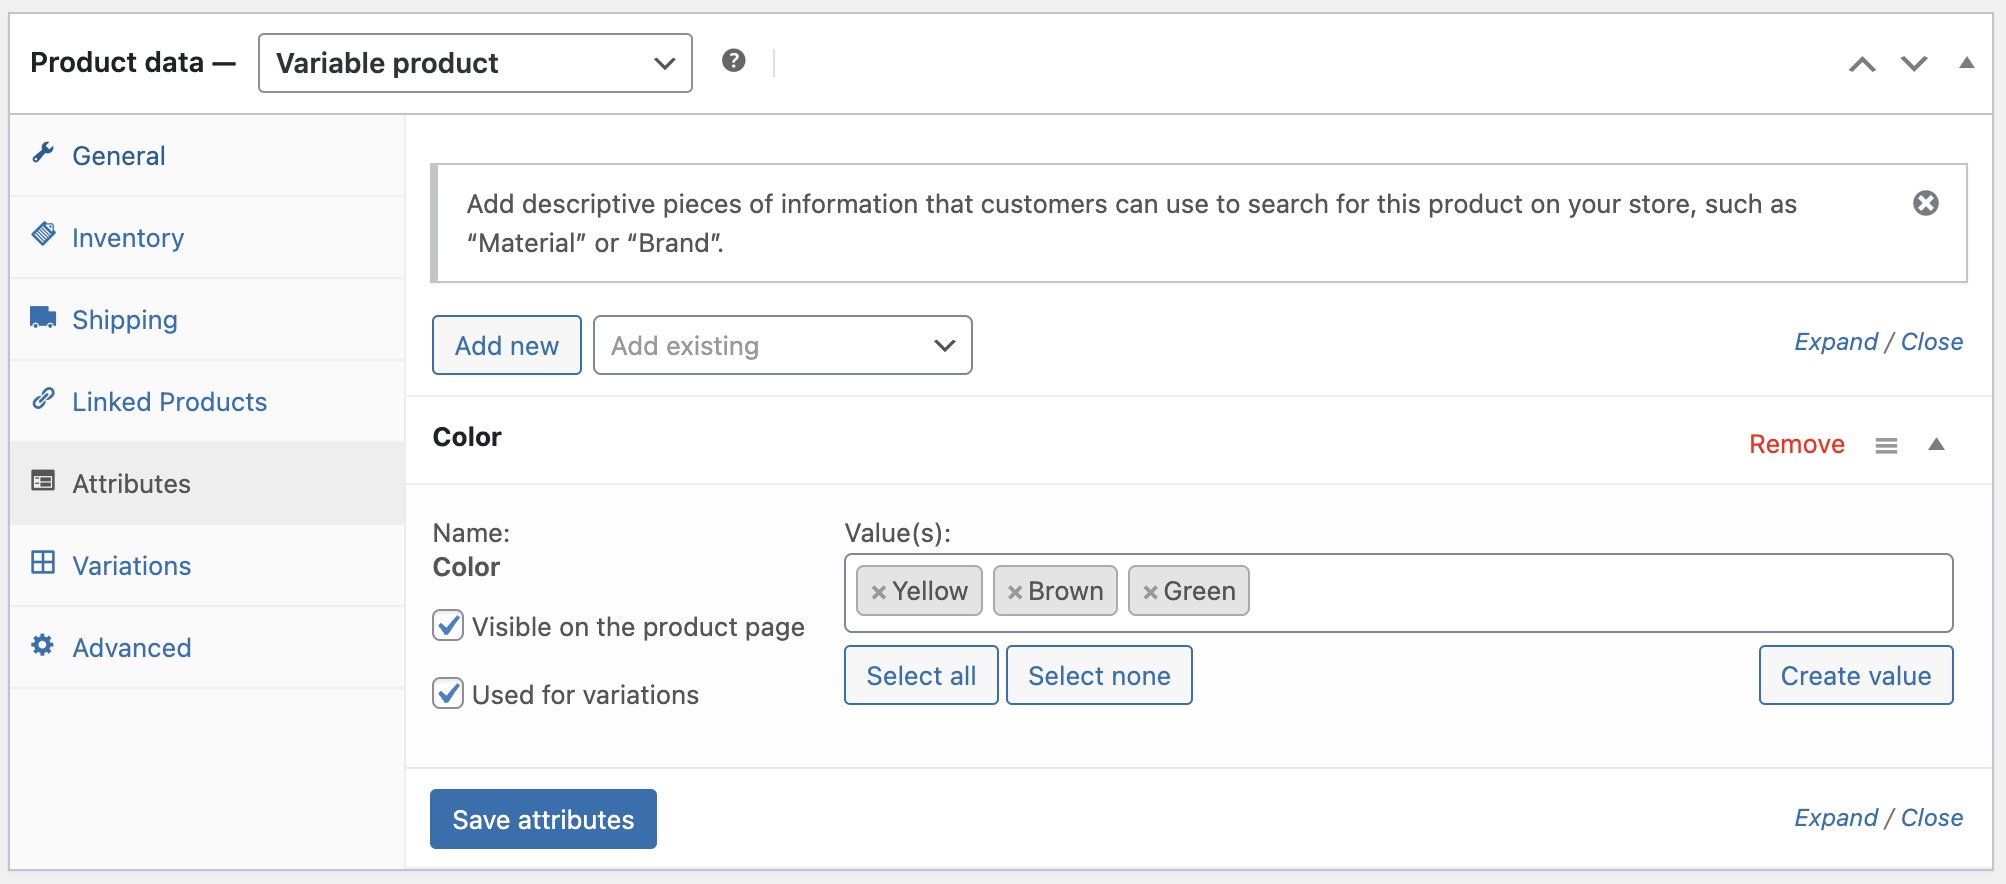
Now, choose the terms you want for the product:
Important Points to Remember
- Ensure both Visible on the product page and Used for variations are checked.
- Select the terms relevant to the product. For instance, if a product is only available in Medium size, add only that term for the product. Click Save Attributes when done.
- You can click Select All to add all terms assigned to a specific attribute for the product.
- You can add additional terms (not created previously) to the product by clicking the Add New button.
Setting Specific Variations for the Product
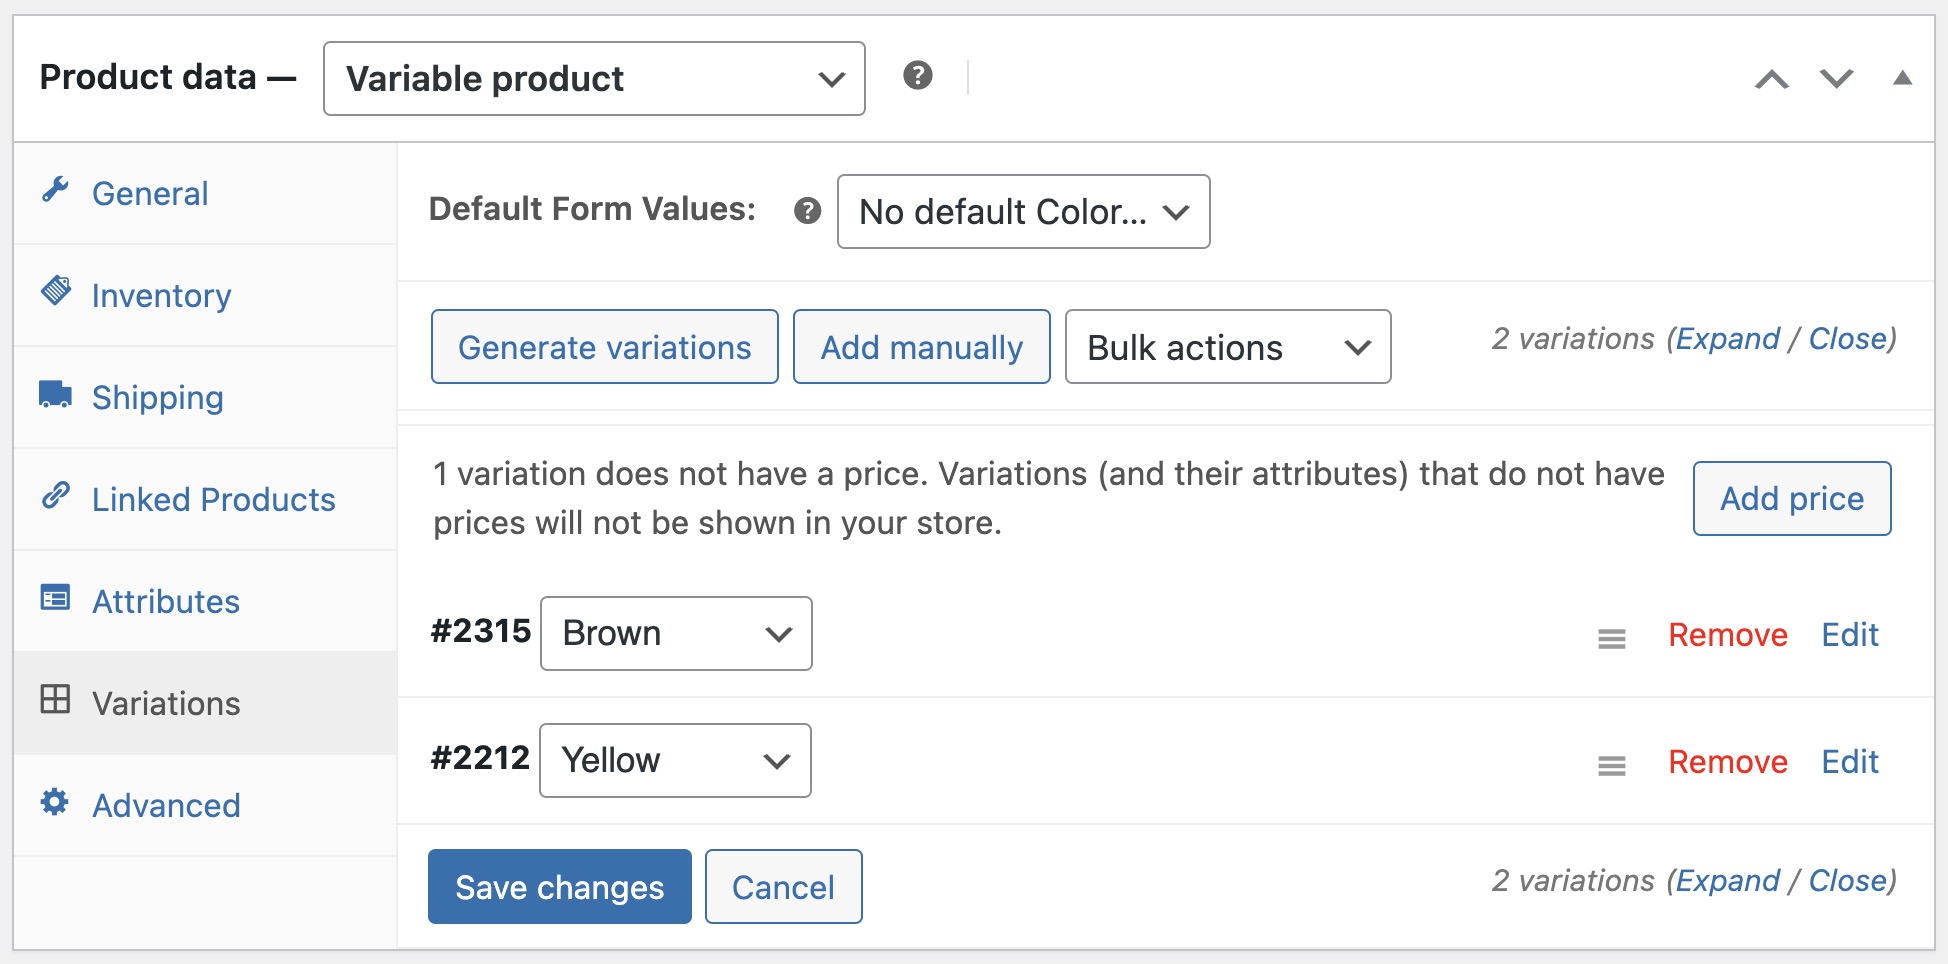
Now let’s define the specific variations for this product. Remember, a variation is a combination of an attribute and a specific term for a product. Go to the Variations tab in the product page:
Additional Tips
- Under the Default Form Values field, you can choose a default attribute that will appear on the product page when viewed by the customer.
- When adding variations, bulk editing can simplify the process if there are many variations. The dropdown field allows you to perform actions on all variations added to the product or add a specific variation. For instance, Add variations from all attributes will automatically create every possible variation based on the attributes and terms you chose for the product. This is the quickest way to add variations.
Setting Variation Options for a Specific Product
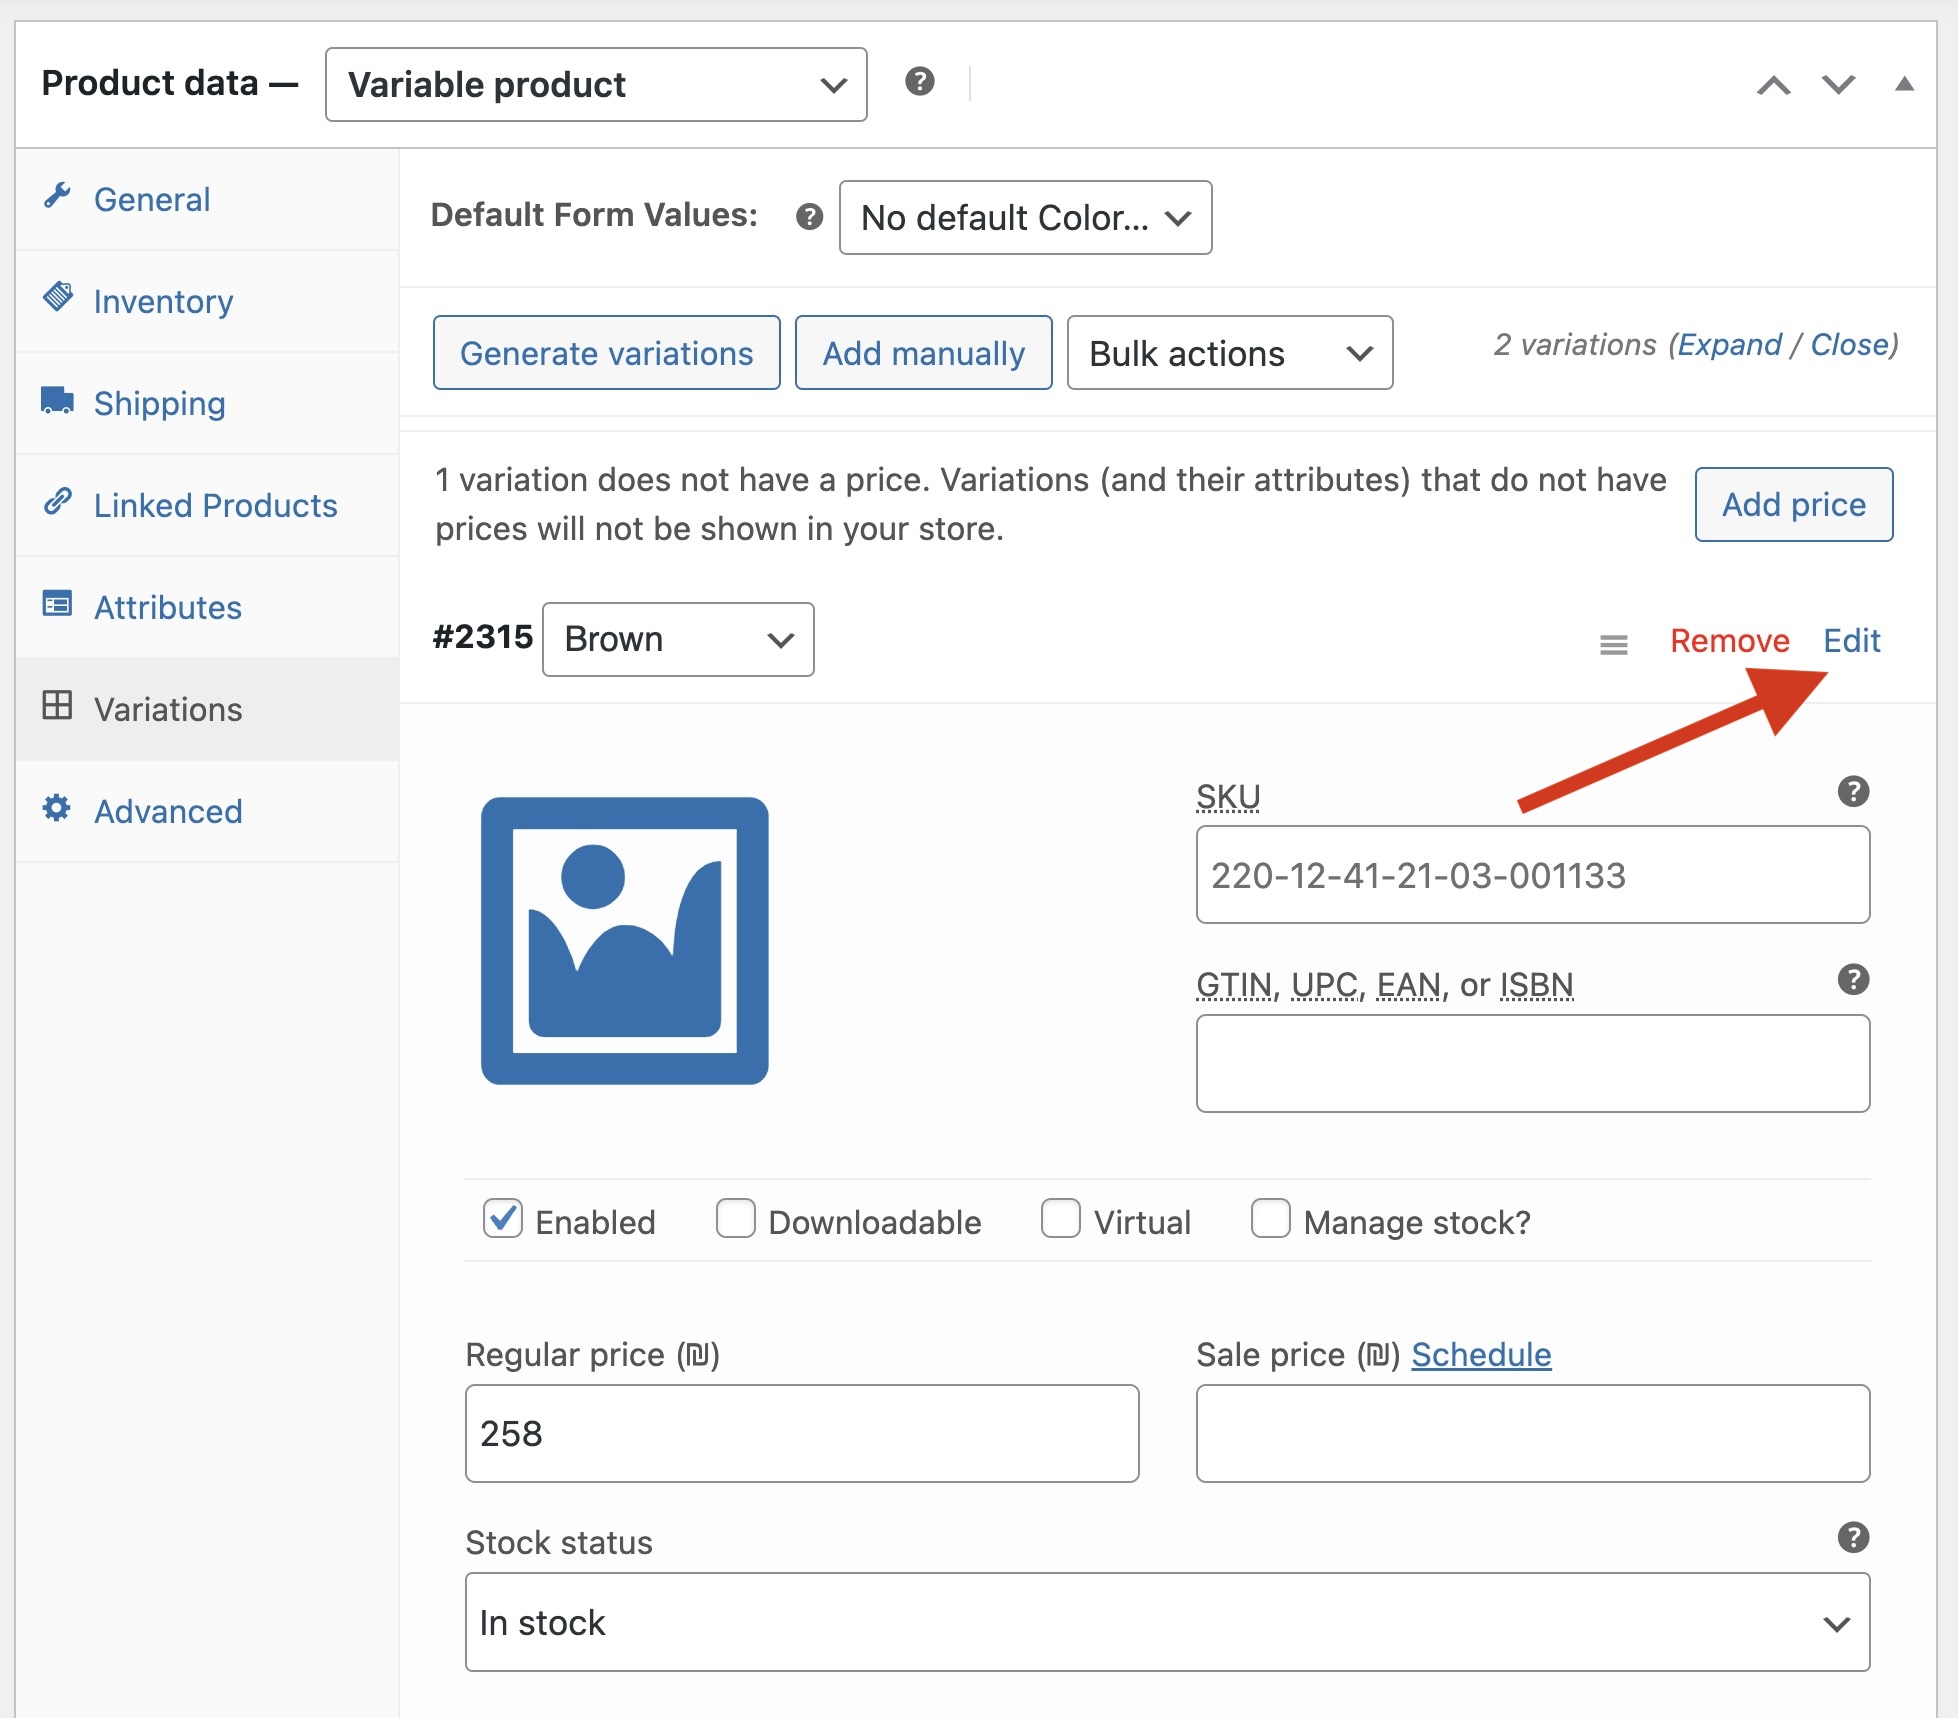
You can edit details for each variation, such as price, stock status, and SKU, by clicking the Edit button next to the variation in the Variations tab.
The following image shows the settings for a single variation. In this window, you’ll find all settings you can add to this specific variation. In the image below, these are the settings for a product attribute of “Color” with the term “Yellow” for a specific watch:
This window opens when you click the small triangle (highlighted in the image) next to the variation you added.
The settings in this section are generally self-explanatory, and some fields may be auto-filled due to previous choices. You can set a price, sale price, product type (downloadable, virtual), product dimensions, and more.
Save changes, publish the product and you’re done.
Want to Expand Product Variation Options?
The following extension lets you replace the variation dropdowns (in the frontend of the site) with images and color swatches. It’s an excellent way to display all available colors for a product, or its size, patterns, or anything else that could benefit from a visual representation.
There are many other interesting WooCommerce extensions available, especially for product variations. Take a look at the WooCommerce extensions store to explore more options you can add to your store.
In Conclusion
Though brief, I hope this guide makes it easier to add variable products to your WooCommerce store. As you can see, no special knowledge is required, so anyone can do this. Have any ways to make this process more efficient? Feel free to comment and share your ideas if you find this helpful… 🙂


