If you want to see how your website perform on Google, you may want to use Google Search Console to do so. Google Search Console, or GSC, allows you to track the presence and performance of your website in Google search results.
You can link your Google Analytics account with Google Search Console to analyze your site’s ranking and SEO alongside Analytics data. It’s a smart step from a data collection perspective.
If Google Analytics 4 is not yet installed on your site, here is a post about Google Analytics 4 and how to install it on WordPress sites (in several different ways).
Linking Google Analytics 4 to Google Search Console
The process of linking Google Analytics 4 to Search Console is slightly different. Here’s how to do it, but before you start, make sure you have set up properties in both GA4 and GSC, and that you are authenticated in GSC with edit permissions.
Now, log in to your Analytics account and follow these steps:
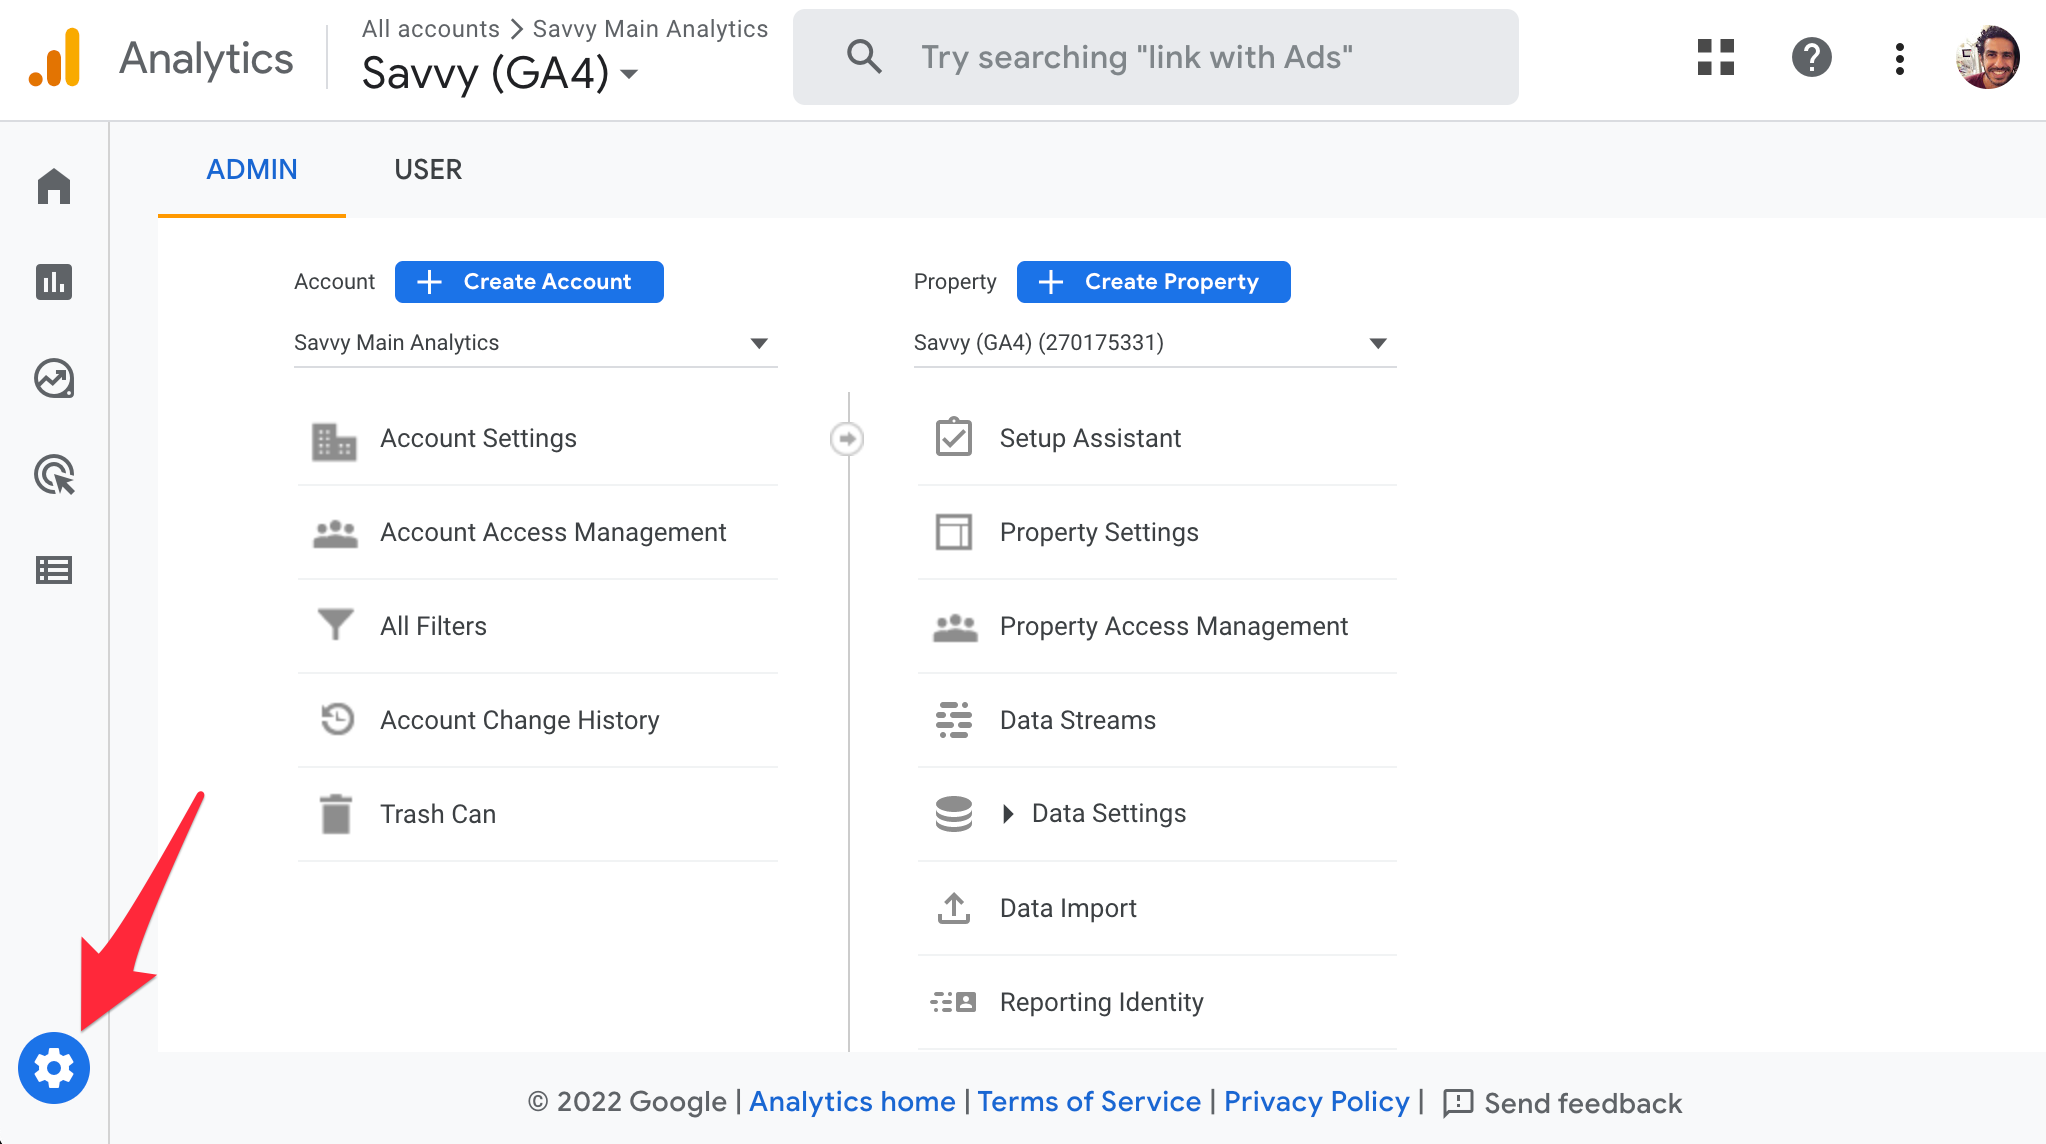
1. Open the Settings screen of Google Analytics 4
Make sure you select the Analytics account you want to link before clicking on the Admin button as shown in the image below:
2. Click on Search Console Links
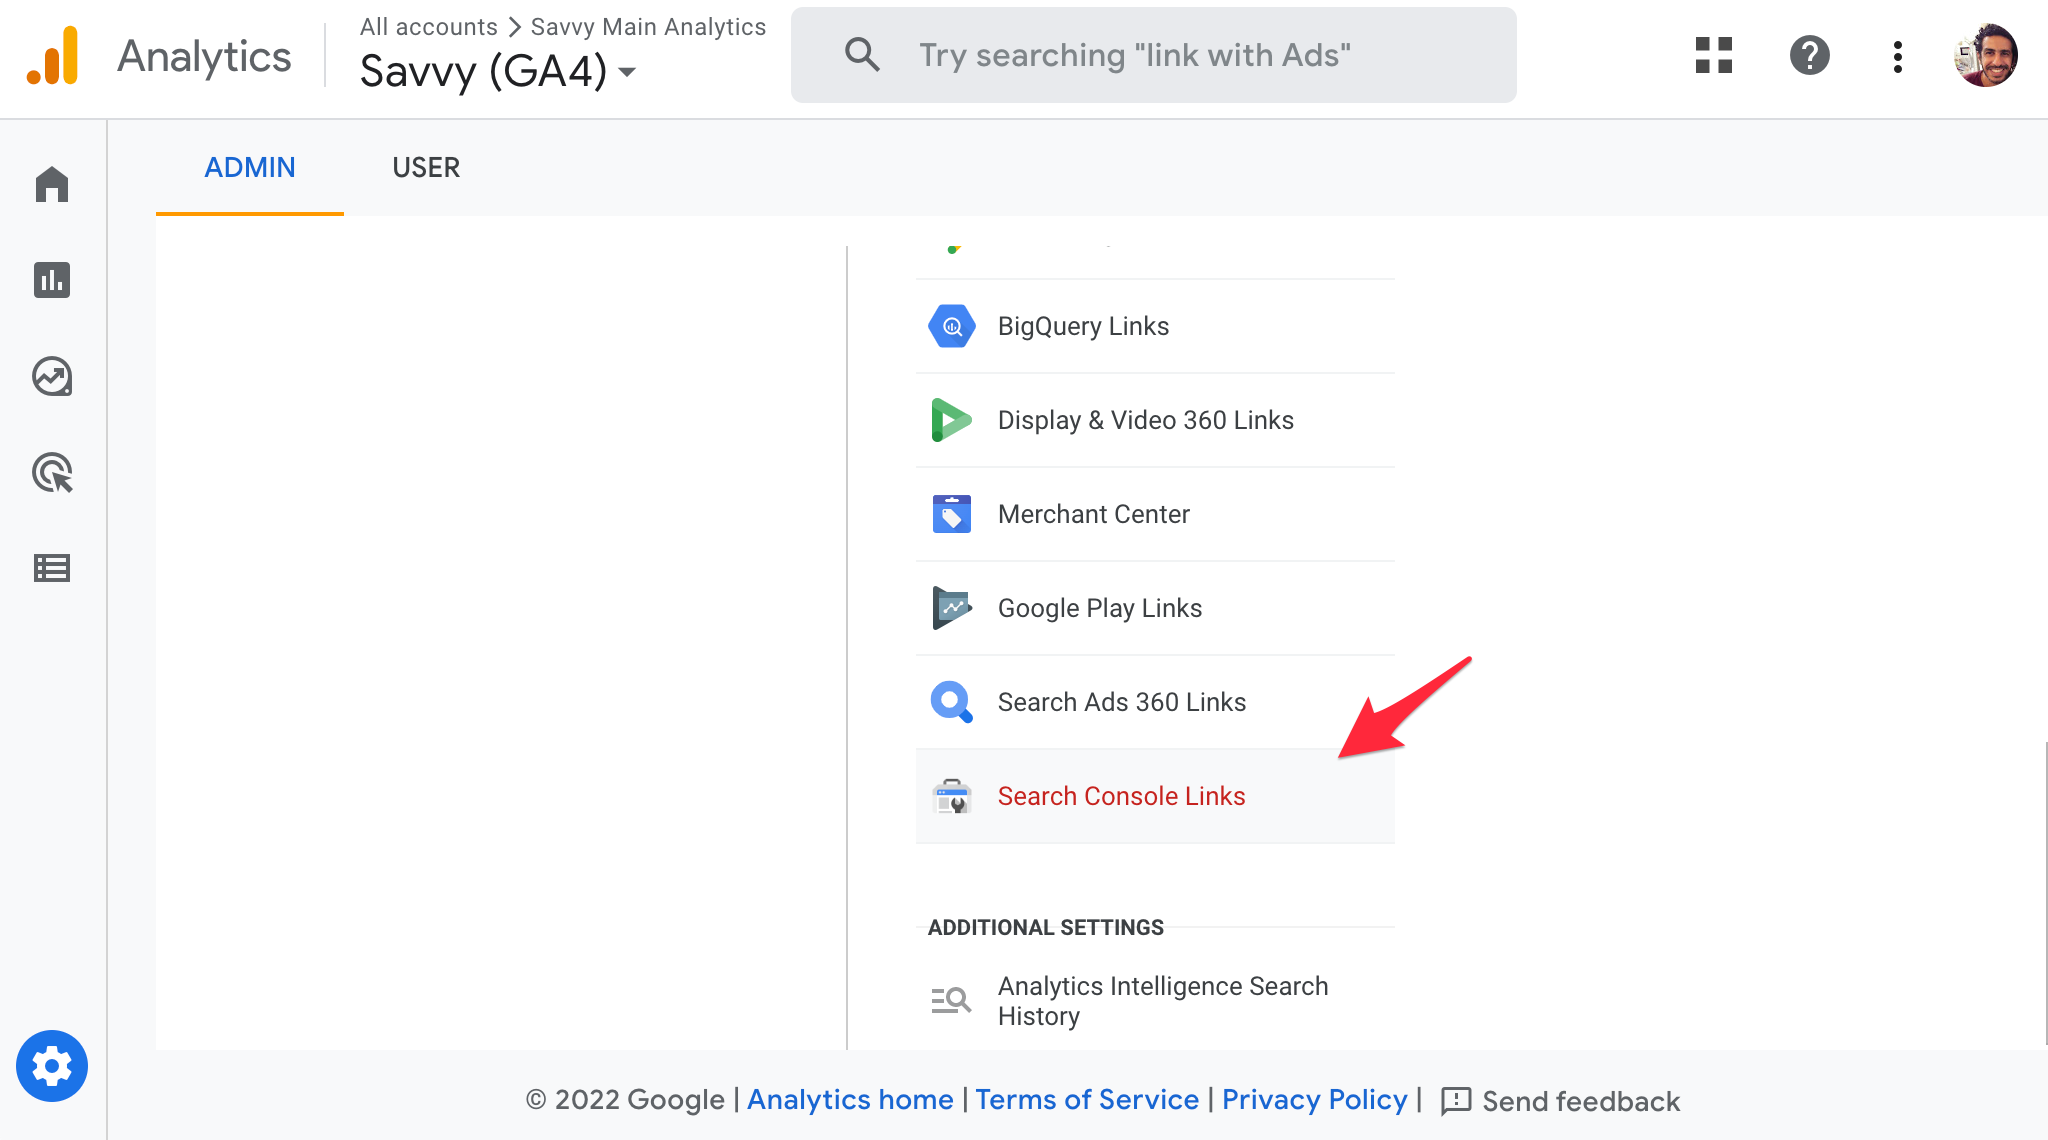
In the Settings screen, scroll down a bit and click on Search Console Links under the Property column.
3. Create a link with Search Console
Click on the blue Link button. This action will open a screen with configuration in three steps.

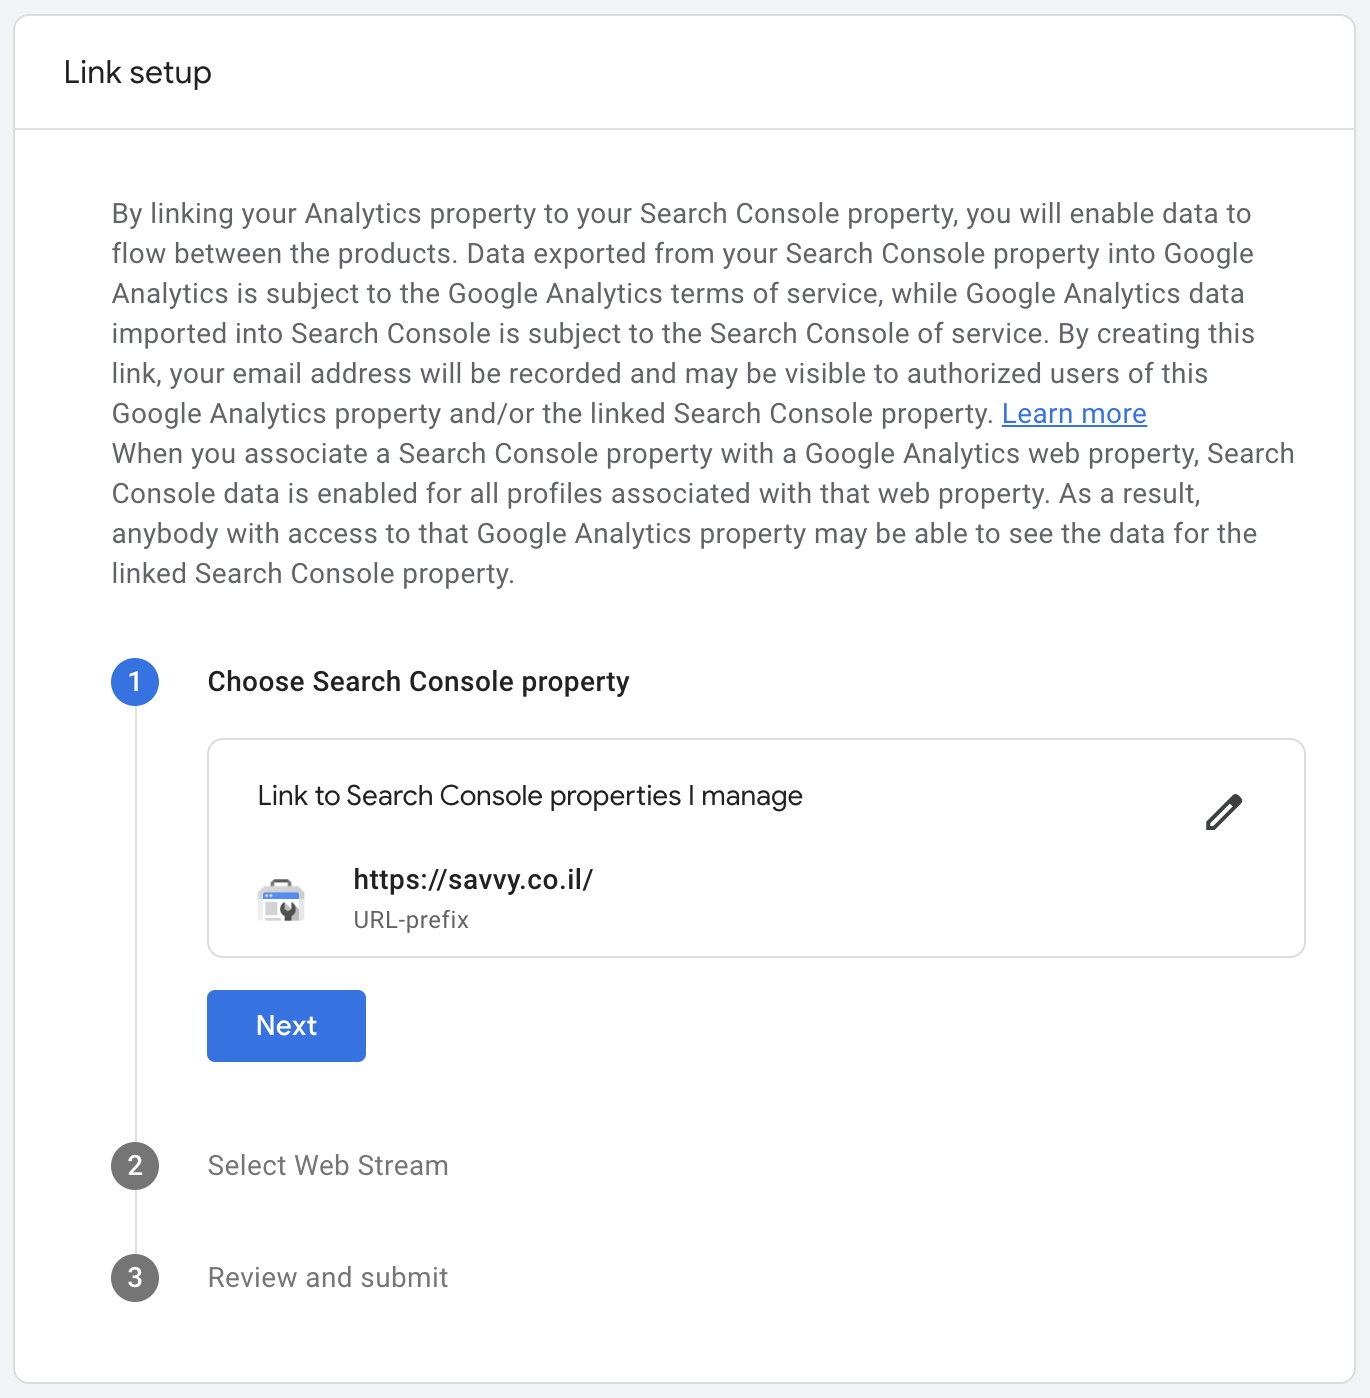
4. Choose the relevant property in Search Console
Click on Choose accounts to open the list of GSC accounts you can link to the Analytics 4 account. Needless to say, you need to choose the right account. Then click on the blue Confirm button in the top right corner of the screen.
5. Choose Web Stream
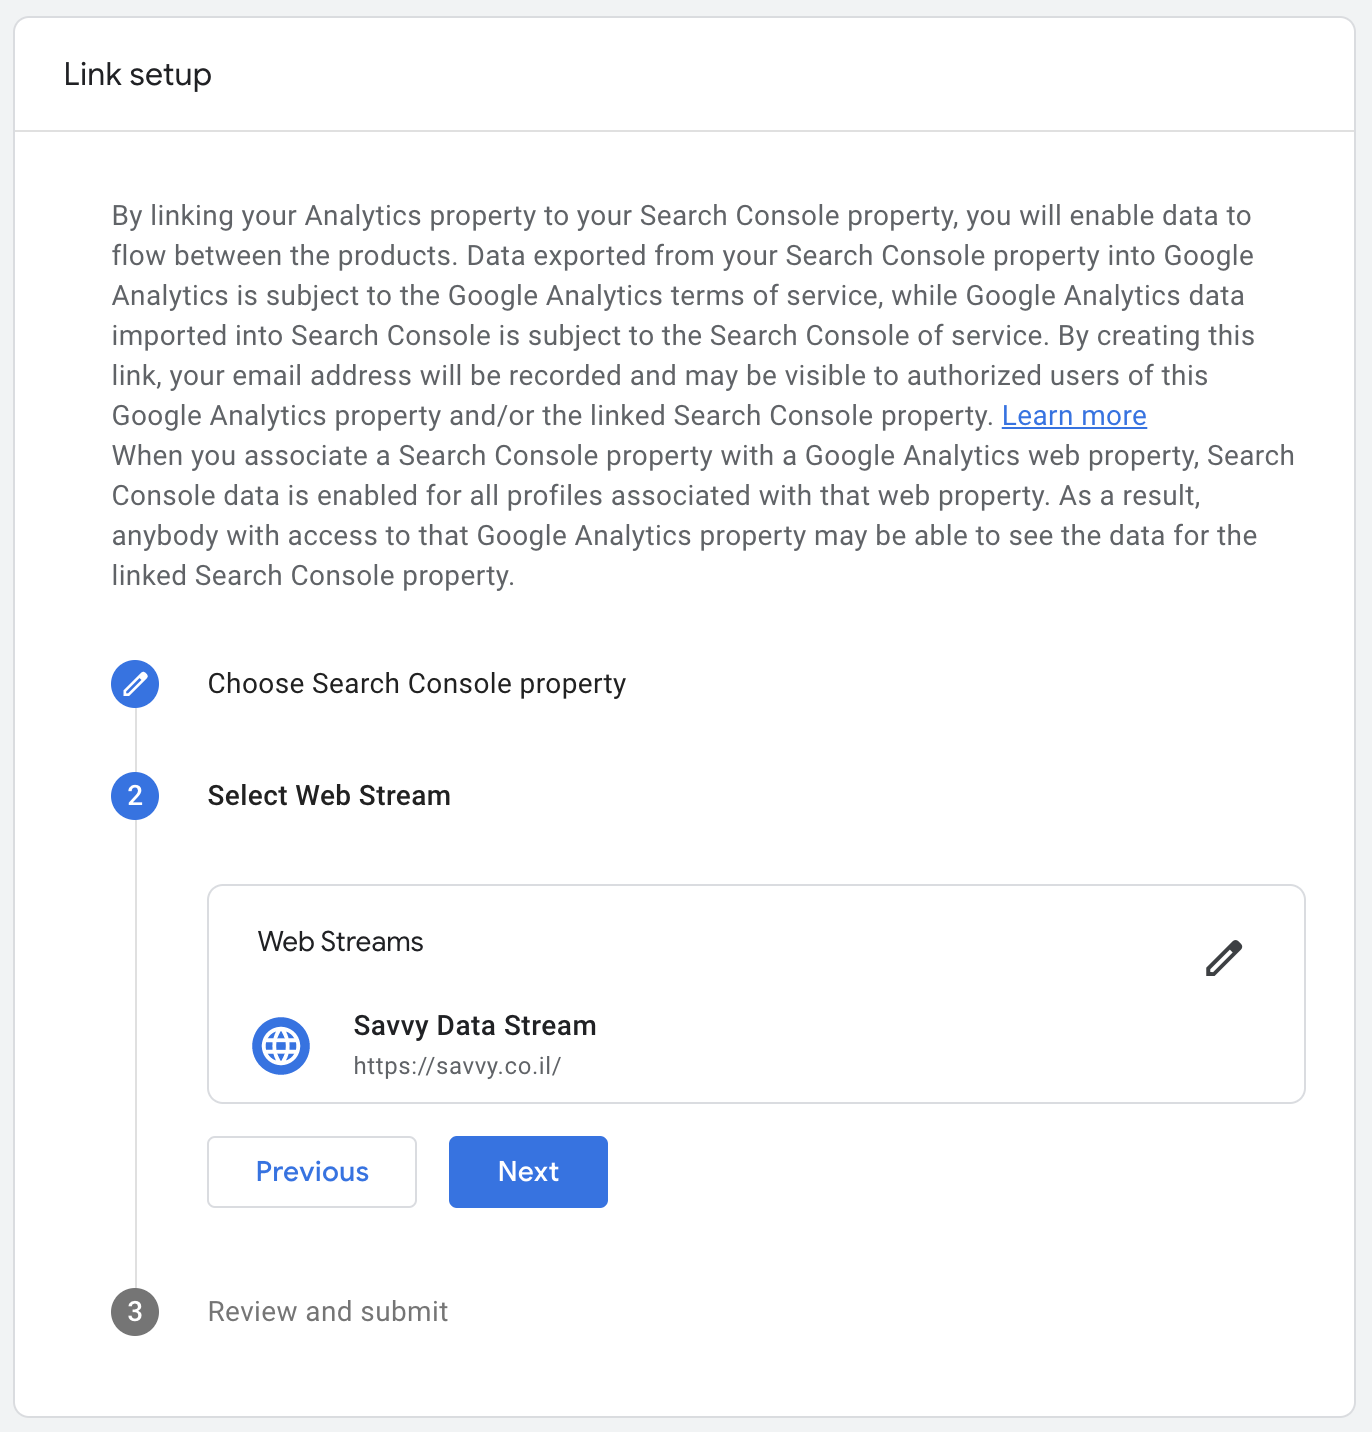
Click on the Next button to choose the relevant Web Stream in the current Analytics 4 account. After you make your selection, click on the Next button again.
6. Review and Submit – Make sure the information is correct
You can click on Previous to change your choice or click on the blue Submit button to link the property in Search Console to the property you selected in Google Analytics 4.
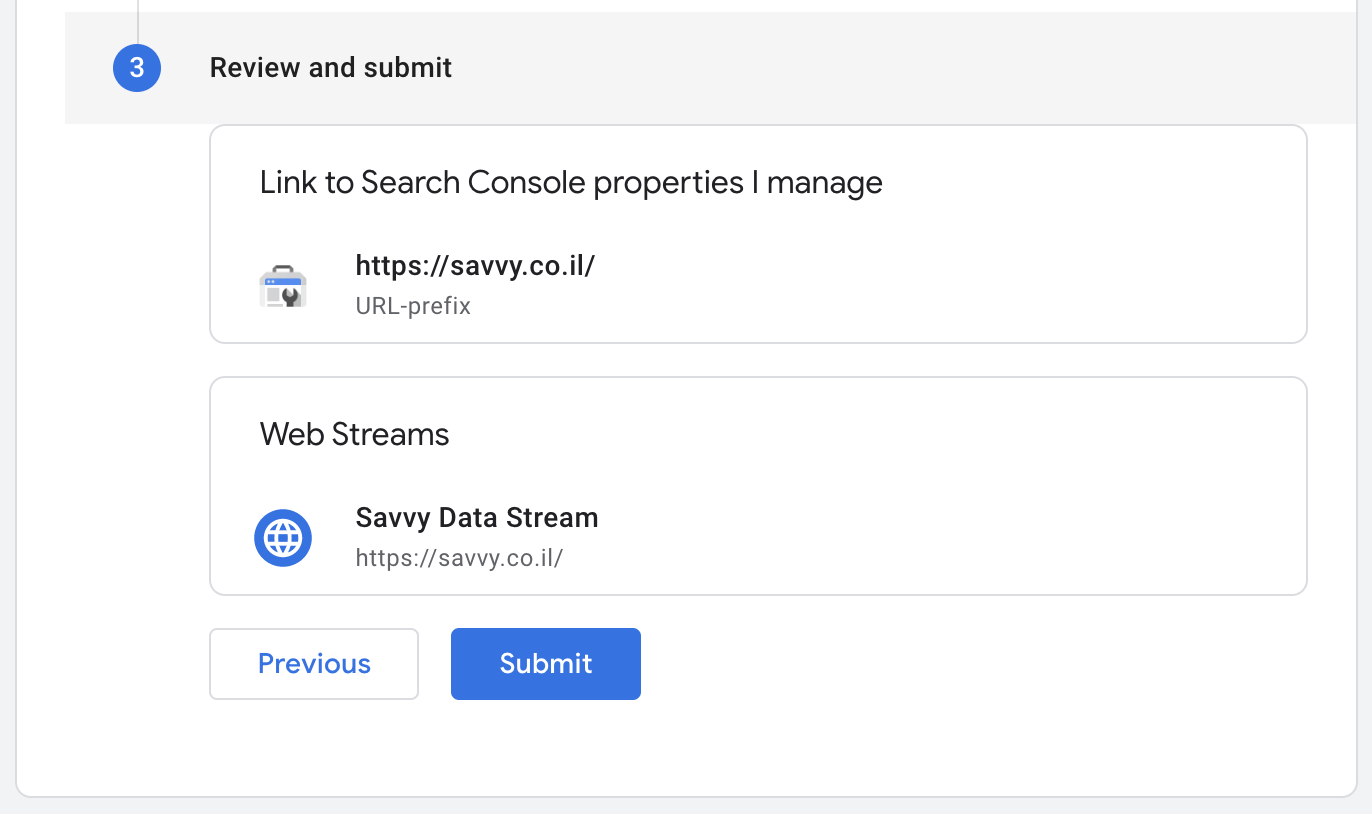
Practically, you have completed linking the two properties at this stage…
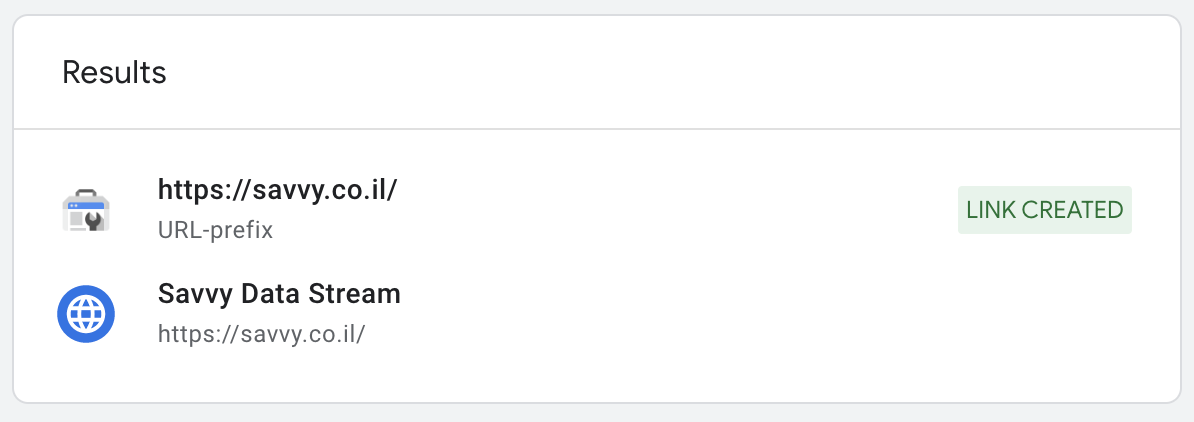
Creating a Search Console Report in Google Analytics 4
Now that we’re (almost) done, if you don’t know how to create and view reports from Search Console in Analytics, then everything we did so far is irrelevant. Here’s how to do it…
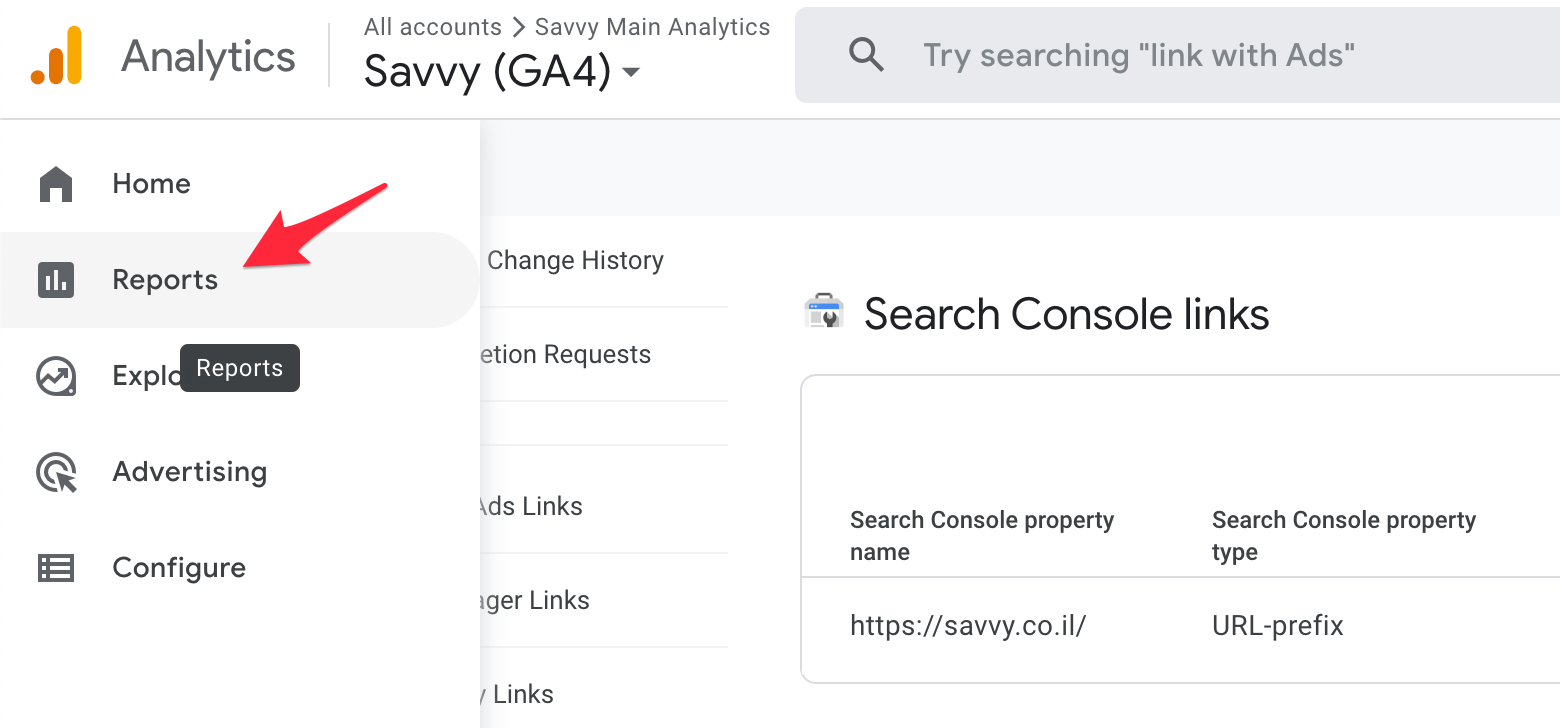
7. Click on Reports in Google Analytics 4
You can find the Reports page on the left side of the screen.
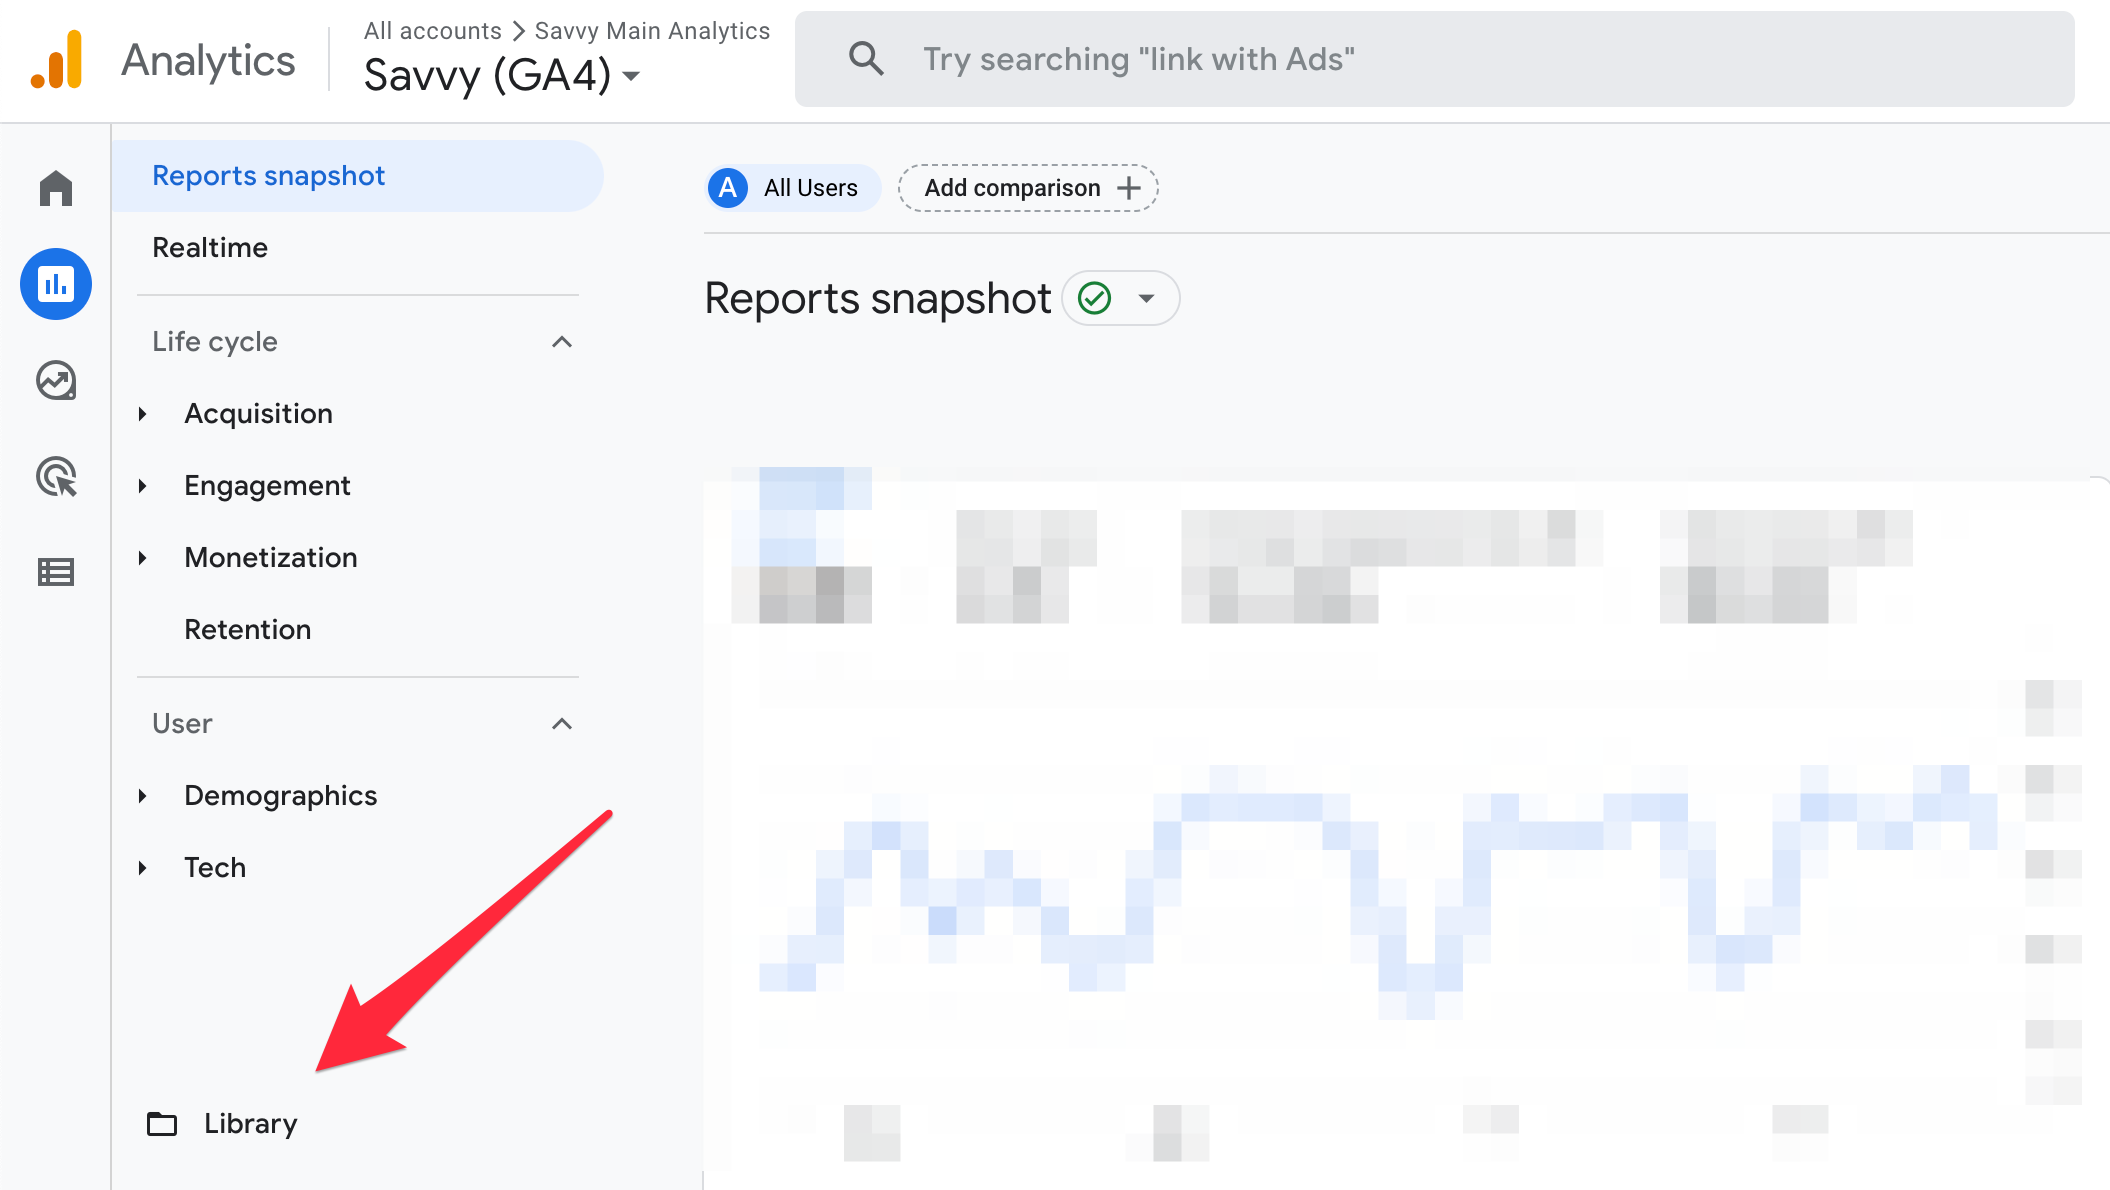
8. Open the Library
Scroll down and find the Library button on the left menu.
9. Create a New Report
Click on the Create New Report button, then click on Create detail report.
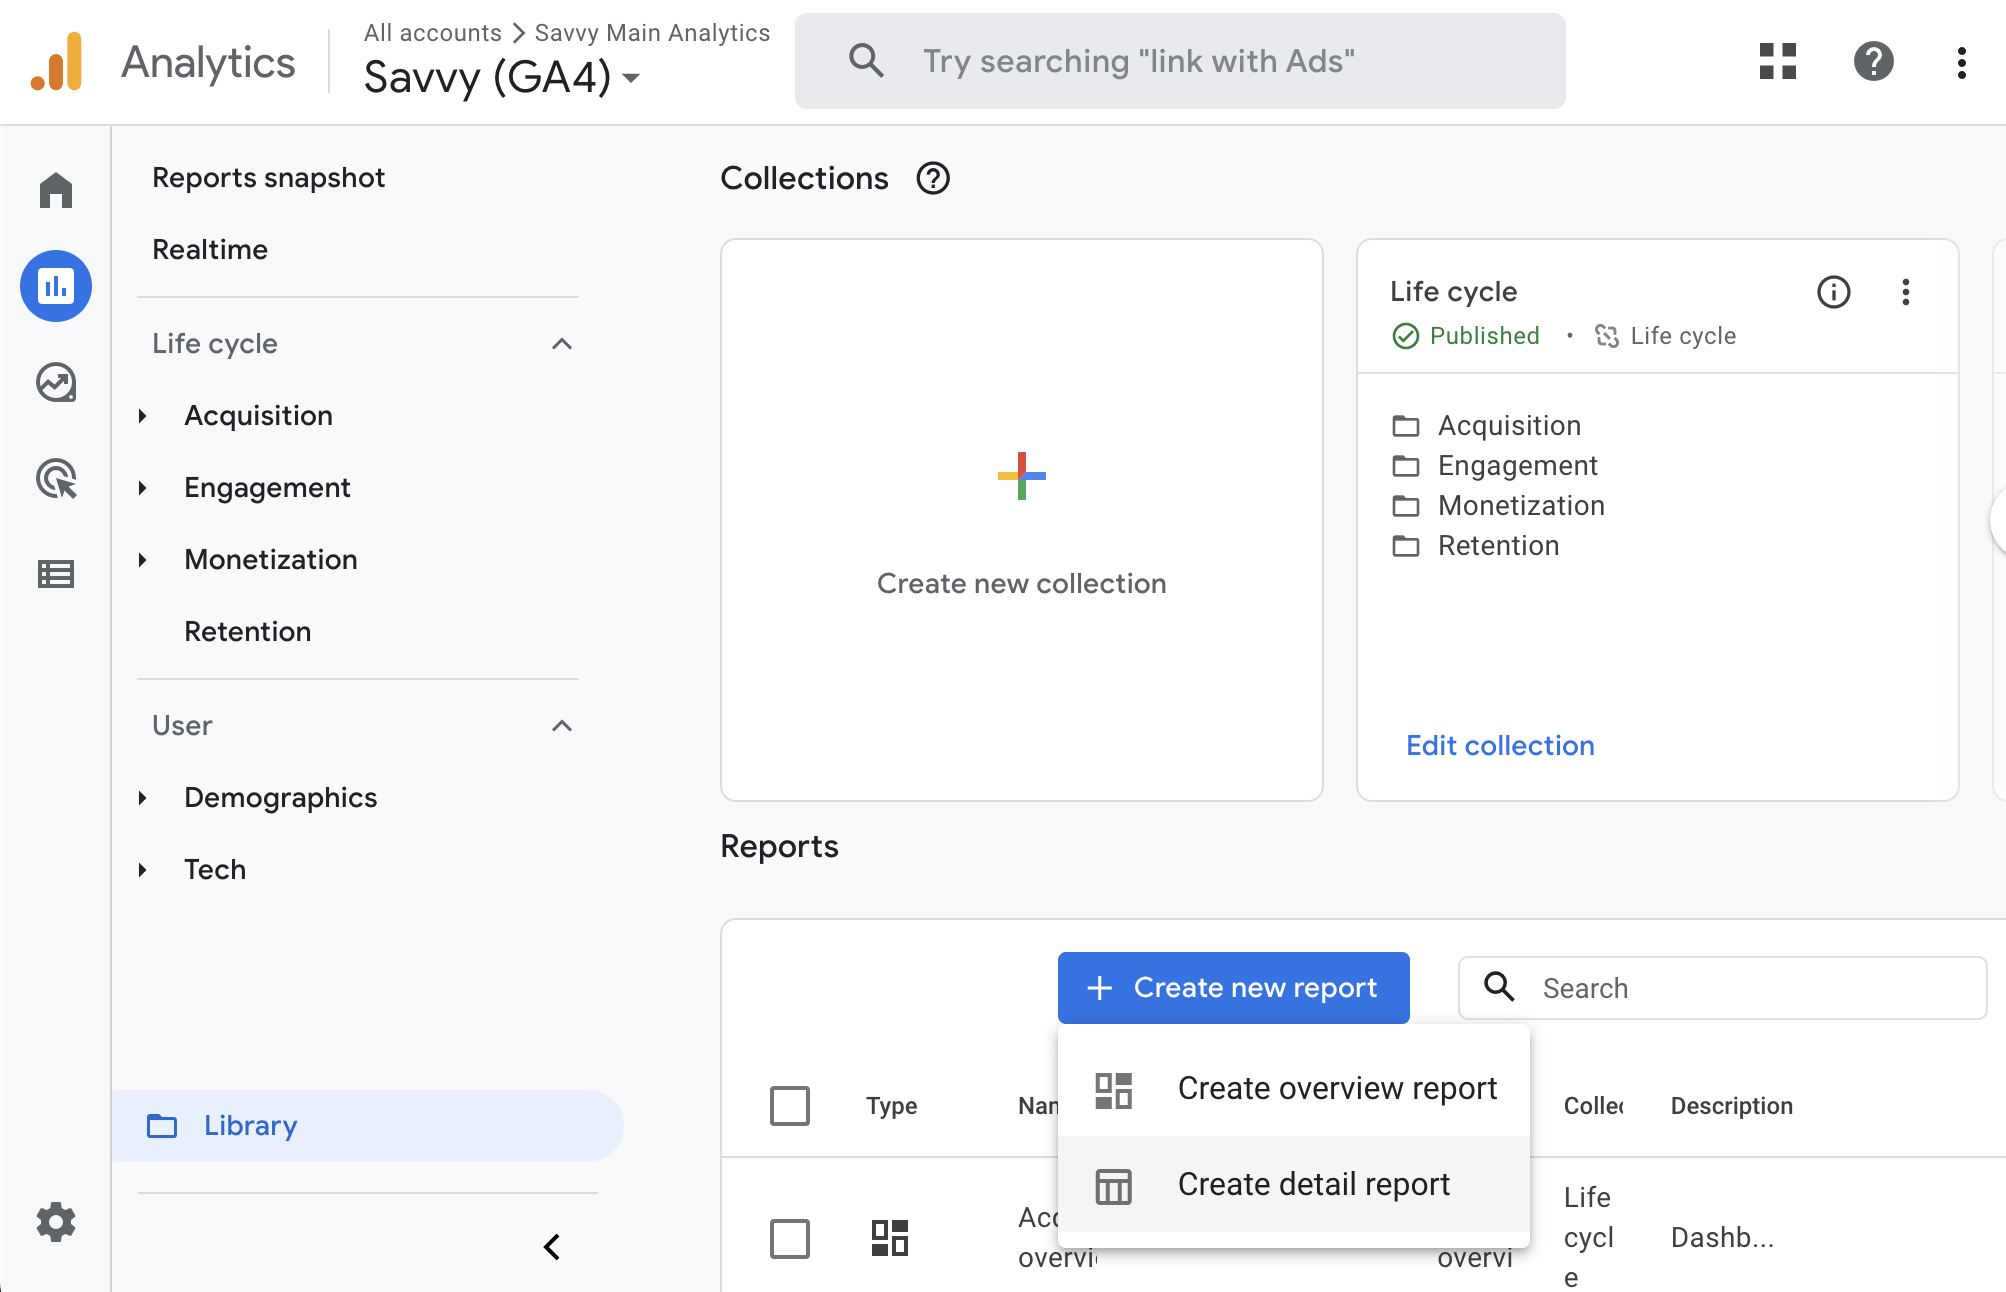
10. Choose the Search Console Template
On the Report creation page, you can choose one of the options related to Search Console – the first is Queries, and the second is Google Search Console Traffic. These templates contain useful information regarding GSC with graphs and tables.
Of course, after saving, you can perform the same action with the second option.

11. Save the Report You Created
Certainly, you can make additional customizations to GSC reports, but for the purpose of this guide, click on the save button.
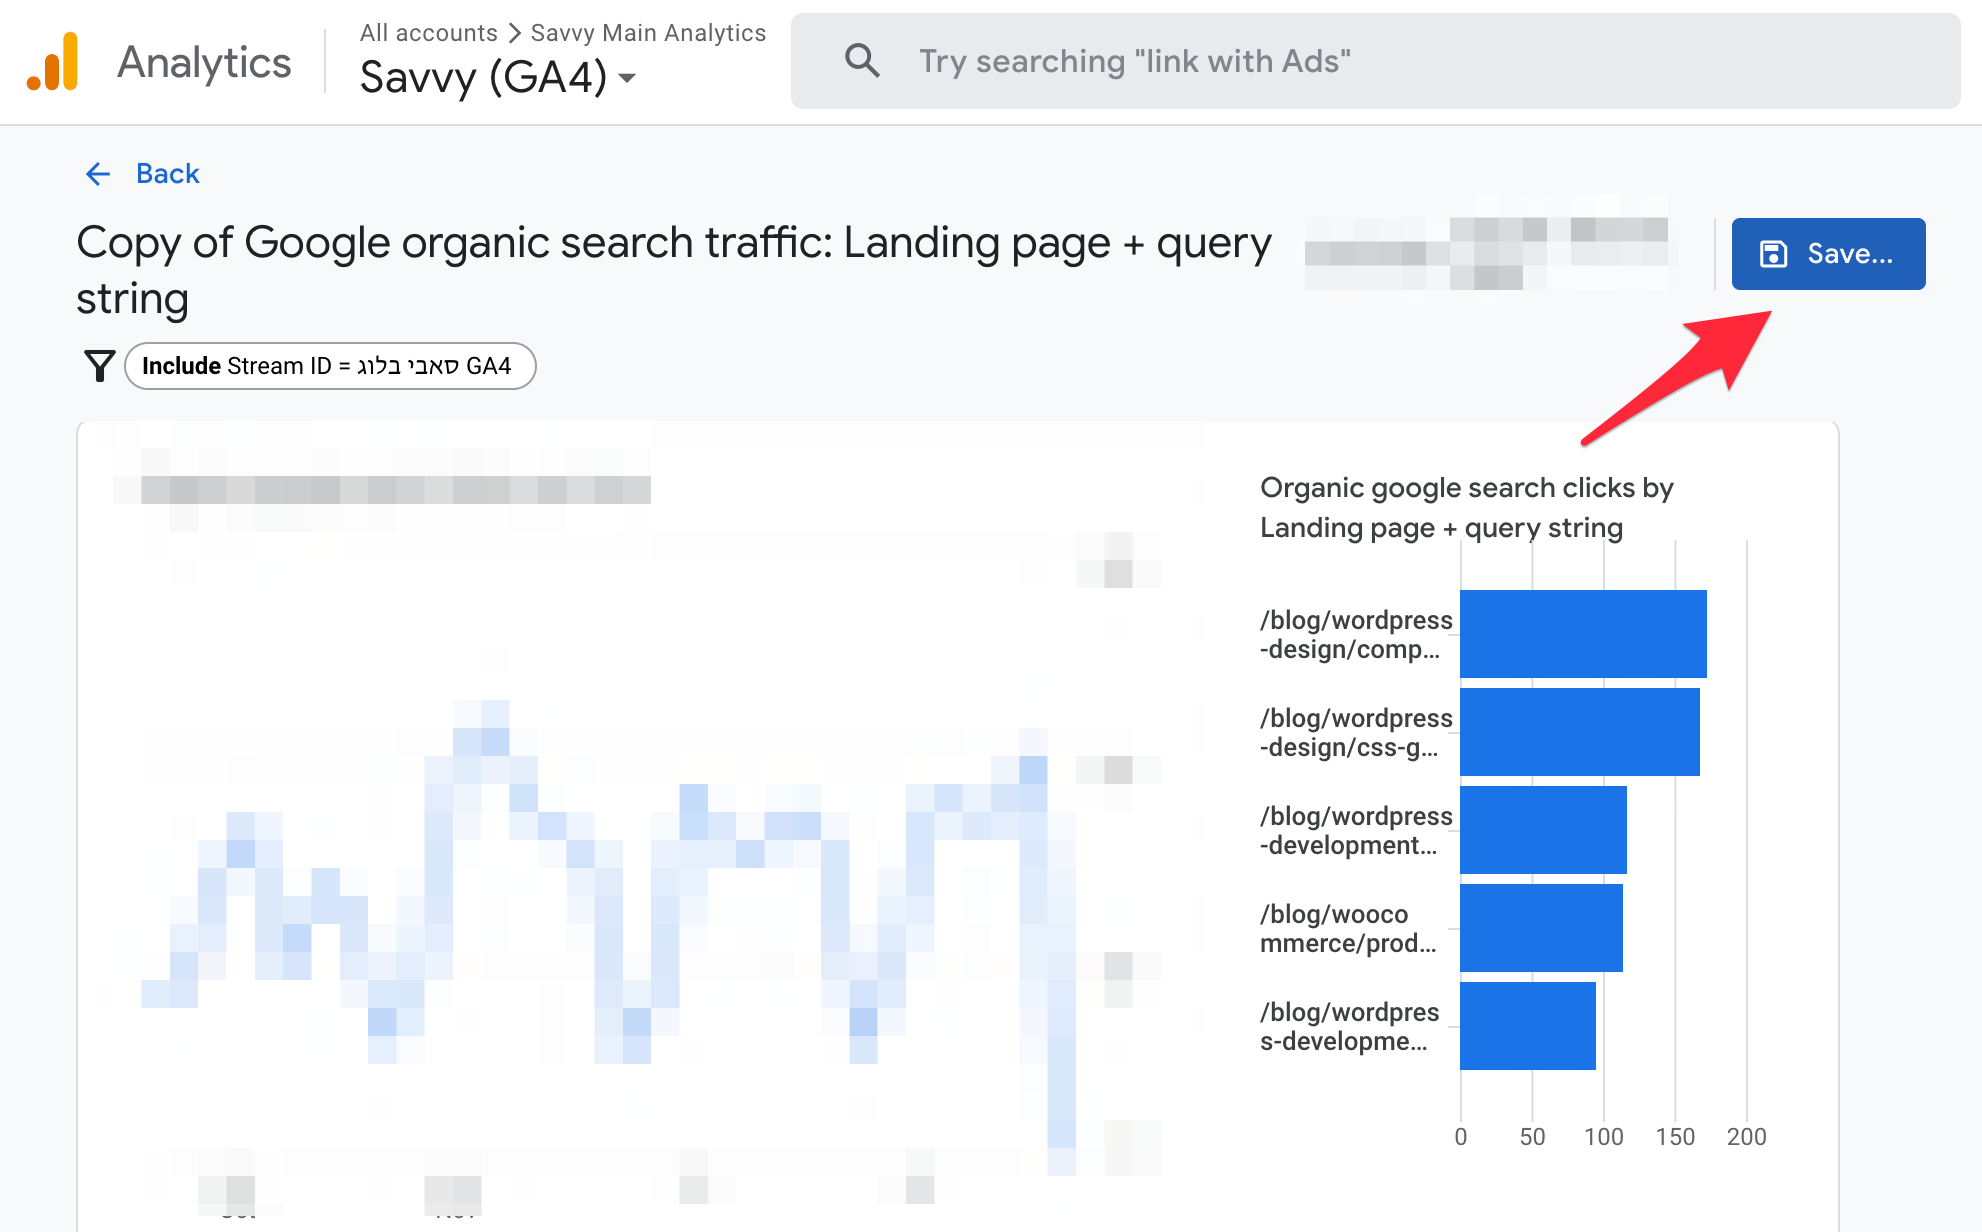
12. Ensure the Reports Appear
Make sure you see the GSC reports you created on the main Reports page of Google Analytics 4.
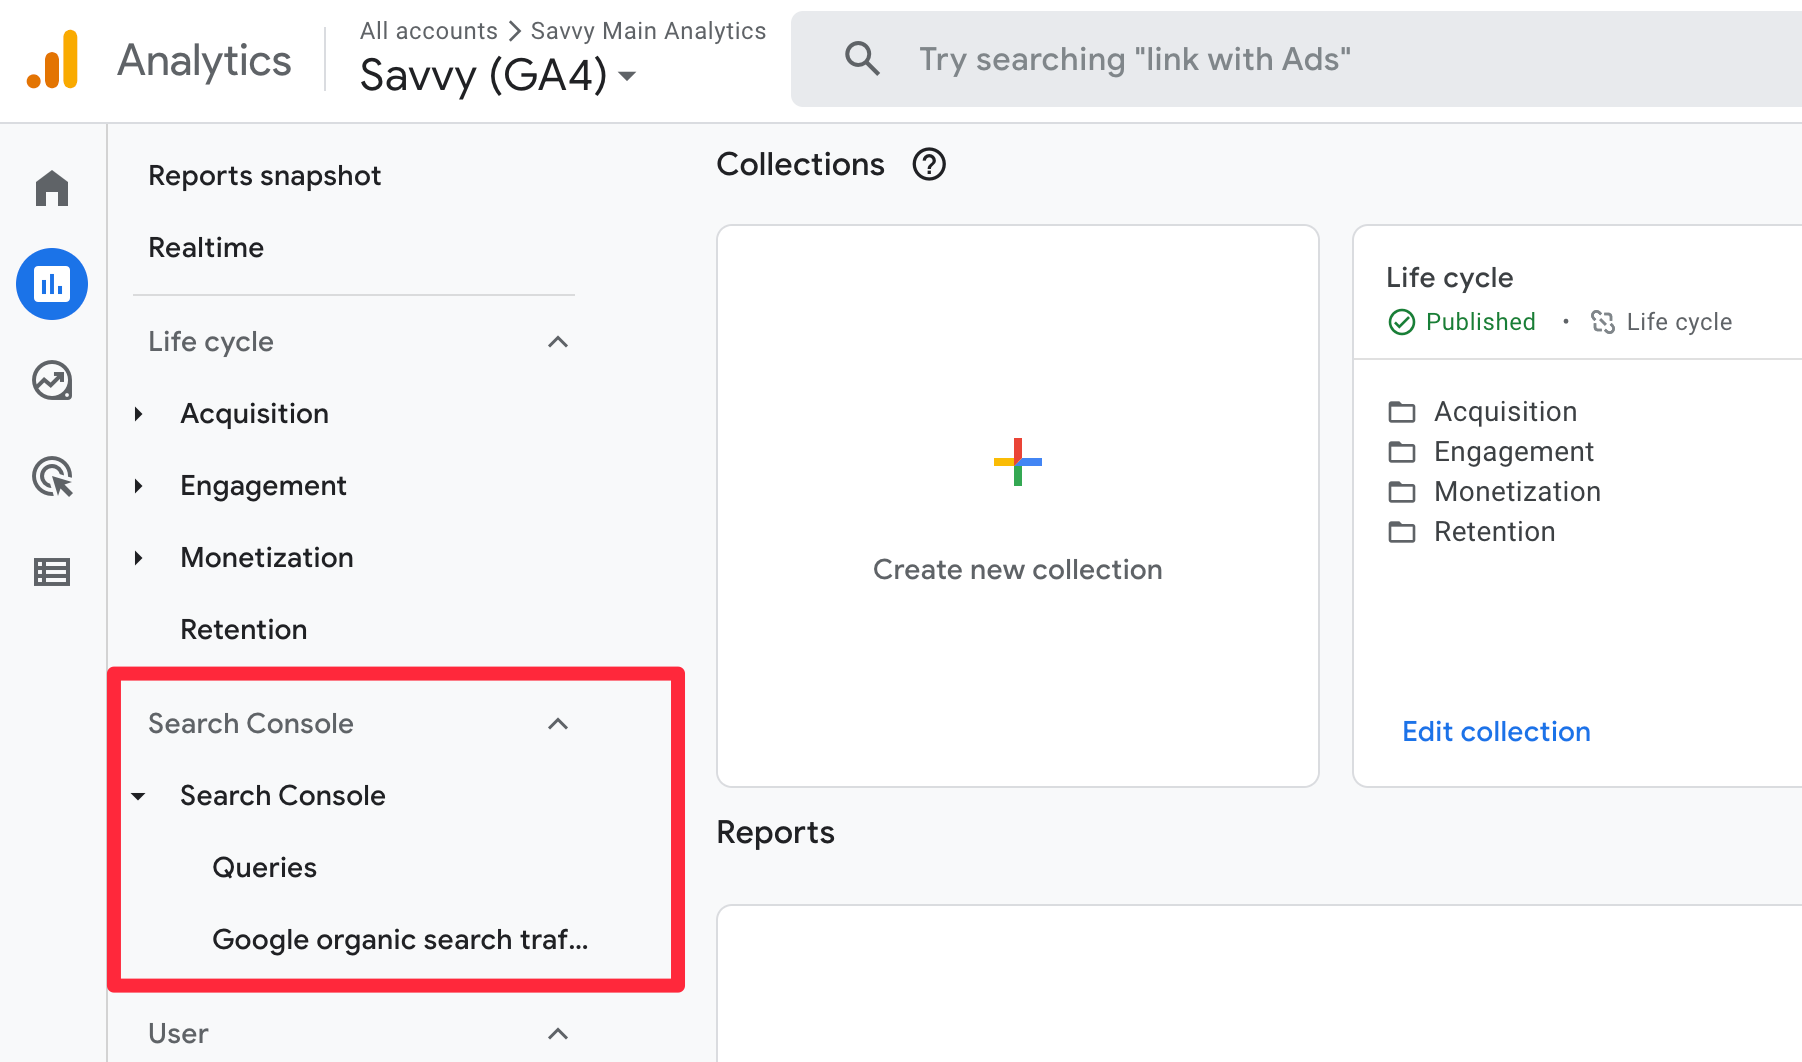
If you don’t see them, click again on the Library button and check if you see the report in the Collections row. If it exists, make sure that collection is published. If it’s not published, clicking on the three black dots at the top of that section will allow you to publish it.
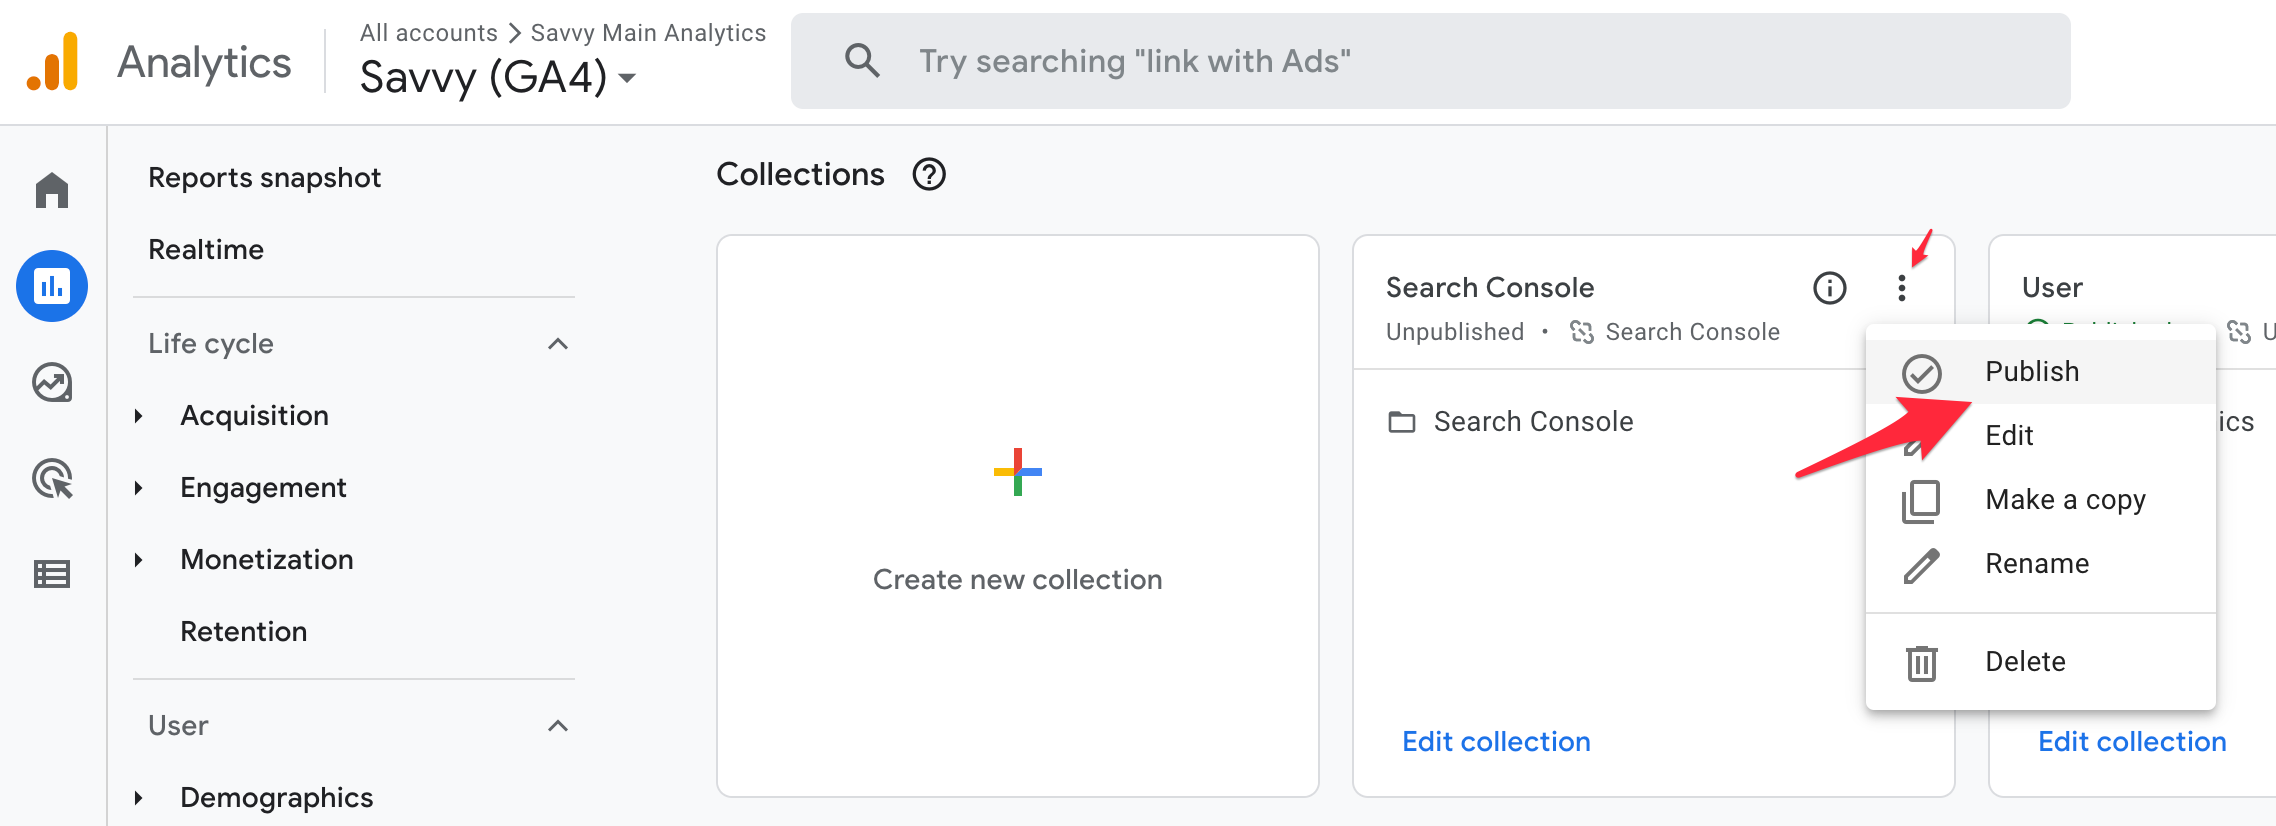
If you still don’t see the GSC reports, or you don’t see the collection at all, click on Create New Collection and add the Search Console reports you created. Make sure then that the collection is published to see the GSC reports under Reports in Google Analytics 4.
Anyway, if you have any questions on this topic, feel free to ask in the comments, and I promise to respond as quickly as possible! 🙂


