HubSpot and WordPress are two of the most powerful platforms for digital marketing and website management. Integrating HubSpot with WordPress can help you streamline your marketing efforts, capture more leads, and create a seamless experience for your users.
In this guide, you will learn how to integrate HubSpot with WordPress step by step, including forms, live chat, pop-ups, and troubleshooting common issues.
Why Integrate HubSpot with WordPress?
WordPress is a robust content management system (CMS) that powers over 40% of the web, while HubSpot offers industry-leading marketing, sales, and customer service tools. By integrating HubSpot with WordPress, you can:
- Capture and manage leads: Use HubSpot’s forms, live chat, and pop-ups directly on your WordPress site to collect leads and manage them in your HubSpot CRM.
- Enhance website analytics: Track user behavior on your site with HubSpot’s analytics tools to optimize your marketing strategy.
- Automate marketing tasks: Send automated follow-up emails, personalized messages, and create custom workflows based on user actions on your WordPress site.
- Create personalized experiences: With HubSpot’s Smart Content feature, deliver personalized content to your WordPress site visitors based on their behavior and segmentation in HubSpot.
One of the biggest advantages of integrating HubSpot with WordPress is that all leads collected via your website (through forms, chat, or pop-ups) are automatically added to your HubSpot CRM. You can then manage these contacts, segment them based on behavior, and nurture them using HubSpot’s marketing automation tools.
Step-by-Step Guide to Integrating HubSpot with WordPress
Integrating HubSpot with WordPress is straightforward, thanks to HubSpot’s free WordPress plugin. Follow these steps to get started:
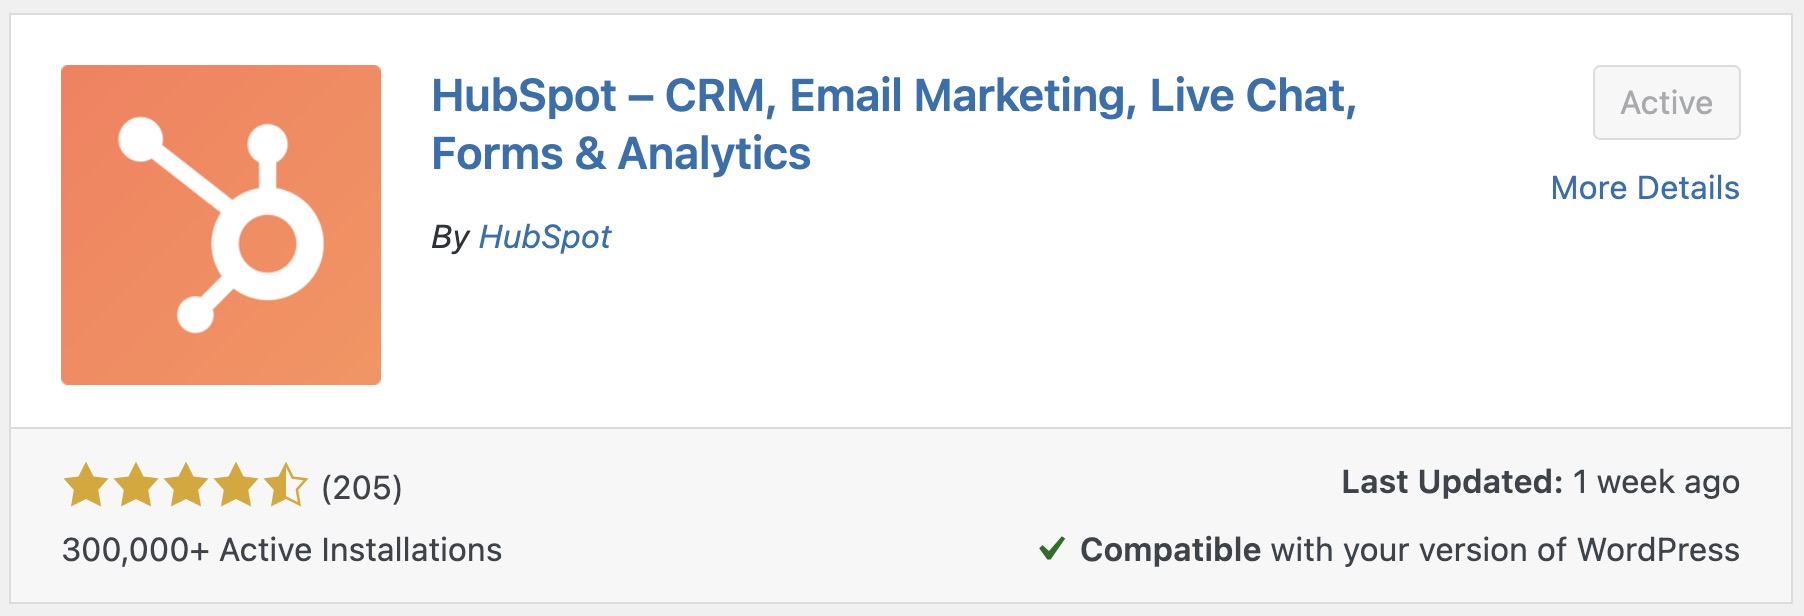
Step 1: Install the HubSpot Plugin for WordPress
The easiest way to integrate HubSpot with WordPress is through HubSpot’s free WordPress plugin:
- Log in to your WordPress dashboard.
- Go to Plugins > Add New in the sidebar.
- In the search bar, type “HubSpot.”
- Click Install Now next to the HubSpot All-In-One Marketing plugin and then click Activate.
Installing the HubSpot Plugin for WordPress
Alternatively, Use a Header/Footer Plugin to Add the HubSpot Tracking Code
If you prefer to install the tracking code manually, use a plugin like Insert Headers and Footers or Header Footer Code Manager. This ensures your tracking remains active even after theme updates.
Add the following code snippet in the footer section of your site (before the closing </body> tag):
<!-- HubSpot Tracking Code -->
<script type="text/javascript">
  (function(d, s, i, r) {
    if (d.getElementById(i)) { return; }
    var n = d.createElement(s), e = d.getElementsByTagName(s)[0];
    n.id = i; n.src = 'https://js.hs-analytics.net/analytics/' + (Math.ceil(new Date() / r) * r) + '/your-hubspot-id.js';
    e.parentNode.insertBefore(n, e);
  })(document, 'script', 'hs-analytics', 300000);
</script>
<!-- End HubSpot Tracking Code -->
Replace your-hubspot-id with your actual HubSpot tracking ID, which you can find in your HubSpot account under Settings > Tracking & Analytics > Tracking Code.
If you are using a WordPress child theme, add the tracking code via functions.php using wp_enqueue_script() or a header/footer plugin. Do not paste it directly into a parent theme file – your changes will be lost on the next theme update.
Step 2: Connect HubSpot to Your WordPress Site
After installing the plugin, connect it to your HubSpot account:
- After activating the plugin, you will see a new menu item labeled “HubSpot” in your WordPress dashboard.
- Click on HubSpot and follow the on-screen prompts to either log into your existing HubSpot account or create a new one.
- Once connected, you will have access to HubSpot’s tools directly from your WordPress site.
Connecting HubSpot to WordPress
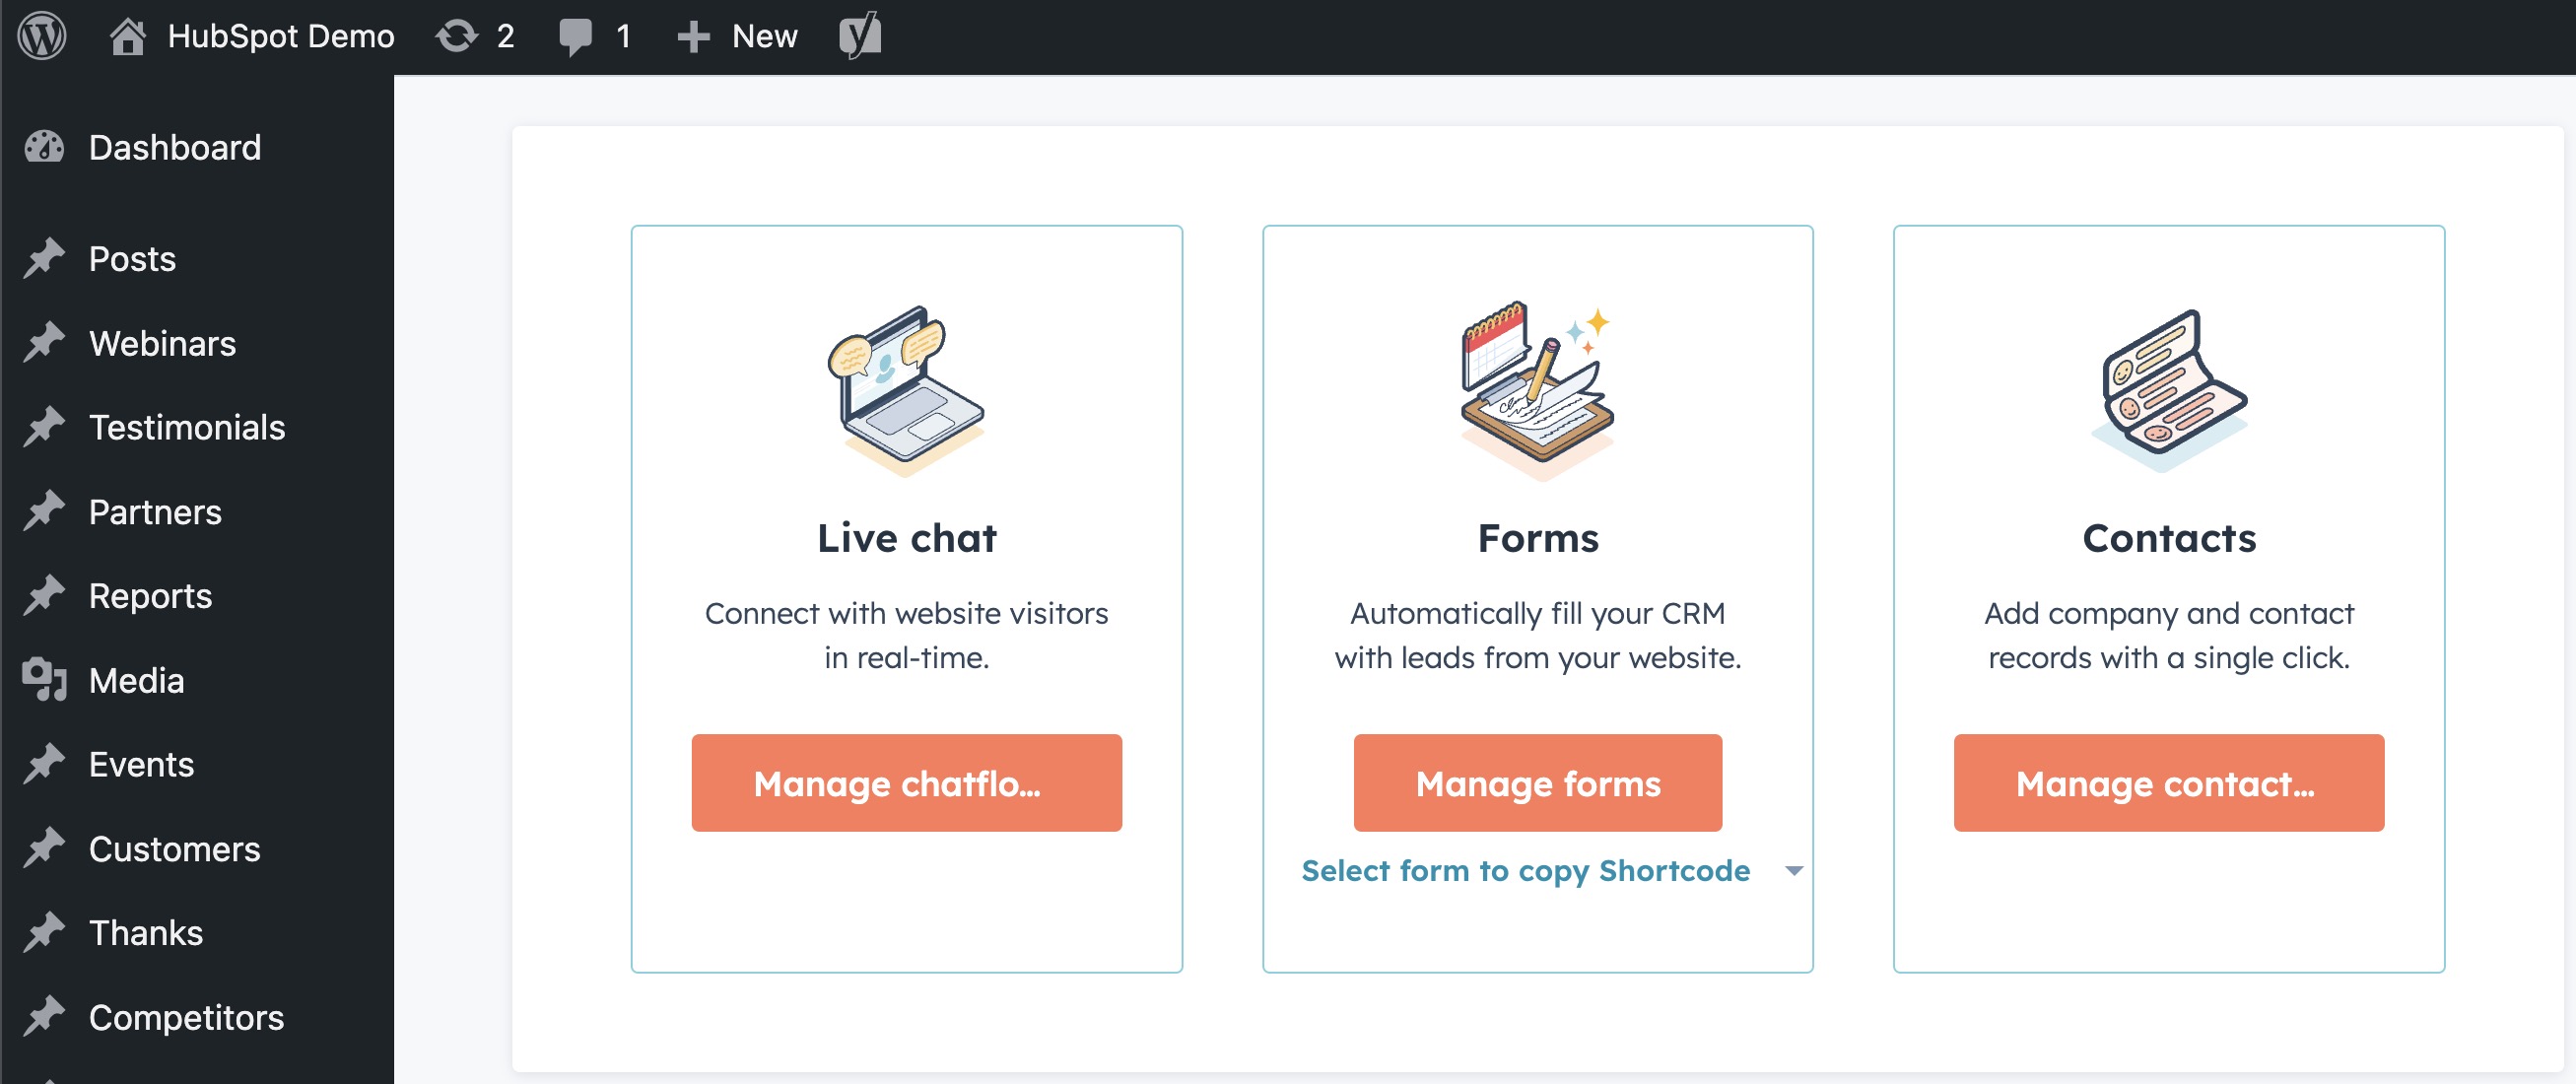
Step 3: Add HubSpot Forms, Live Chat, and Pop-ups to Your WordPress Site
With the integration complete, you can use HubSpot’s marketing tools to engage with your visitors and collect leads:
To add a HubSpot form to your WordPress site:
- In your WordPress dashboard, click HubSpot > Forms.
- Click Create Form and design your form in HubSpot.
- Once you have created your form, you can embed it in any WordPress page or post using the HubSpot shortcode.
Adding Live Chat to Your WordPress Site
- Navigate to HubSpot > Live Chat in your WordPress dashboard.
- Set up your live chat widget and customize the appearance and behavior.
- Once activated, the chat widget will appear on your WordPress site, allowing visitors to engage with your team in real-time.
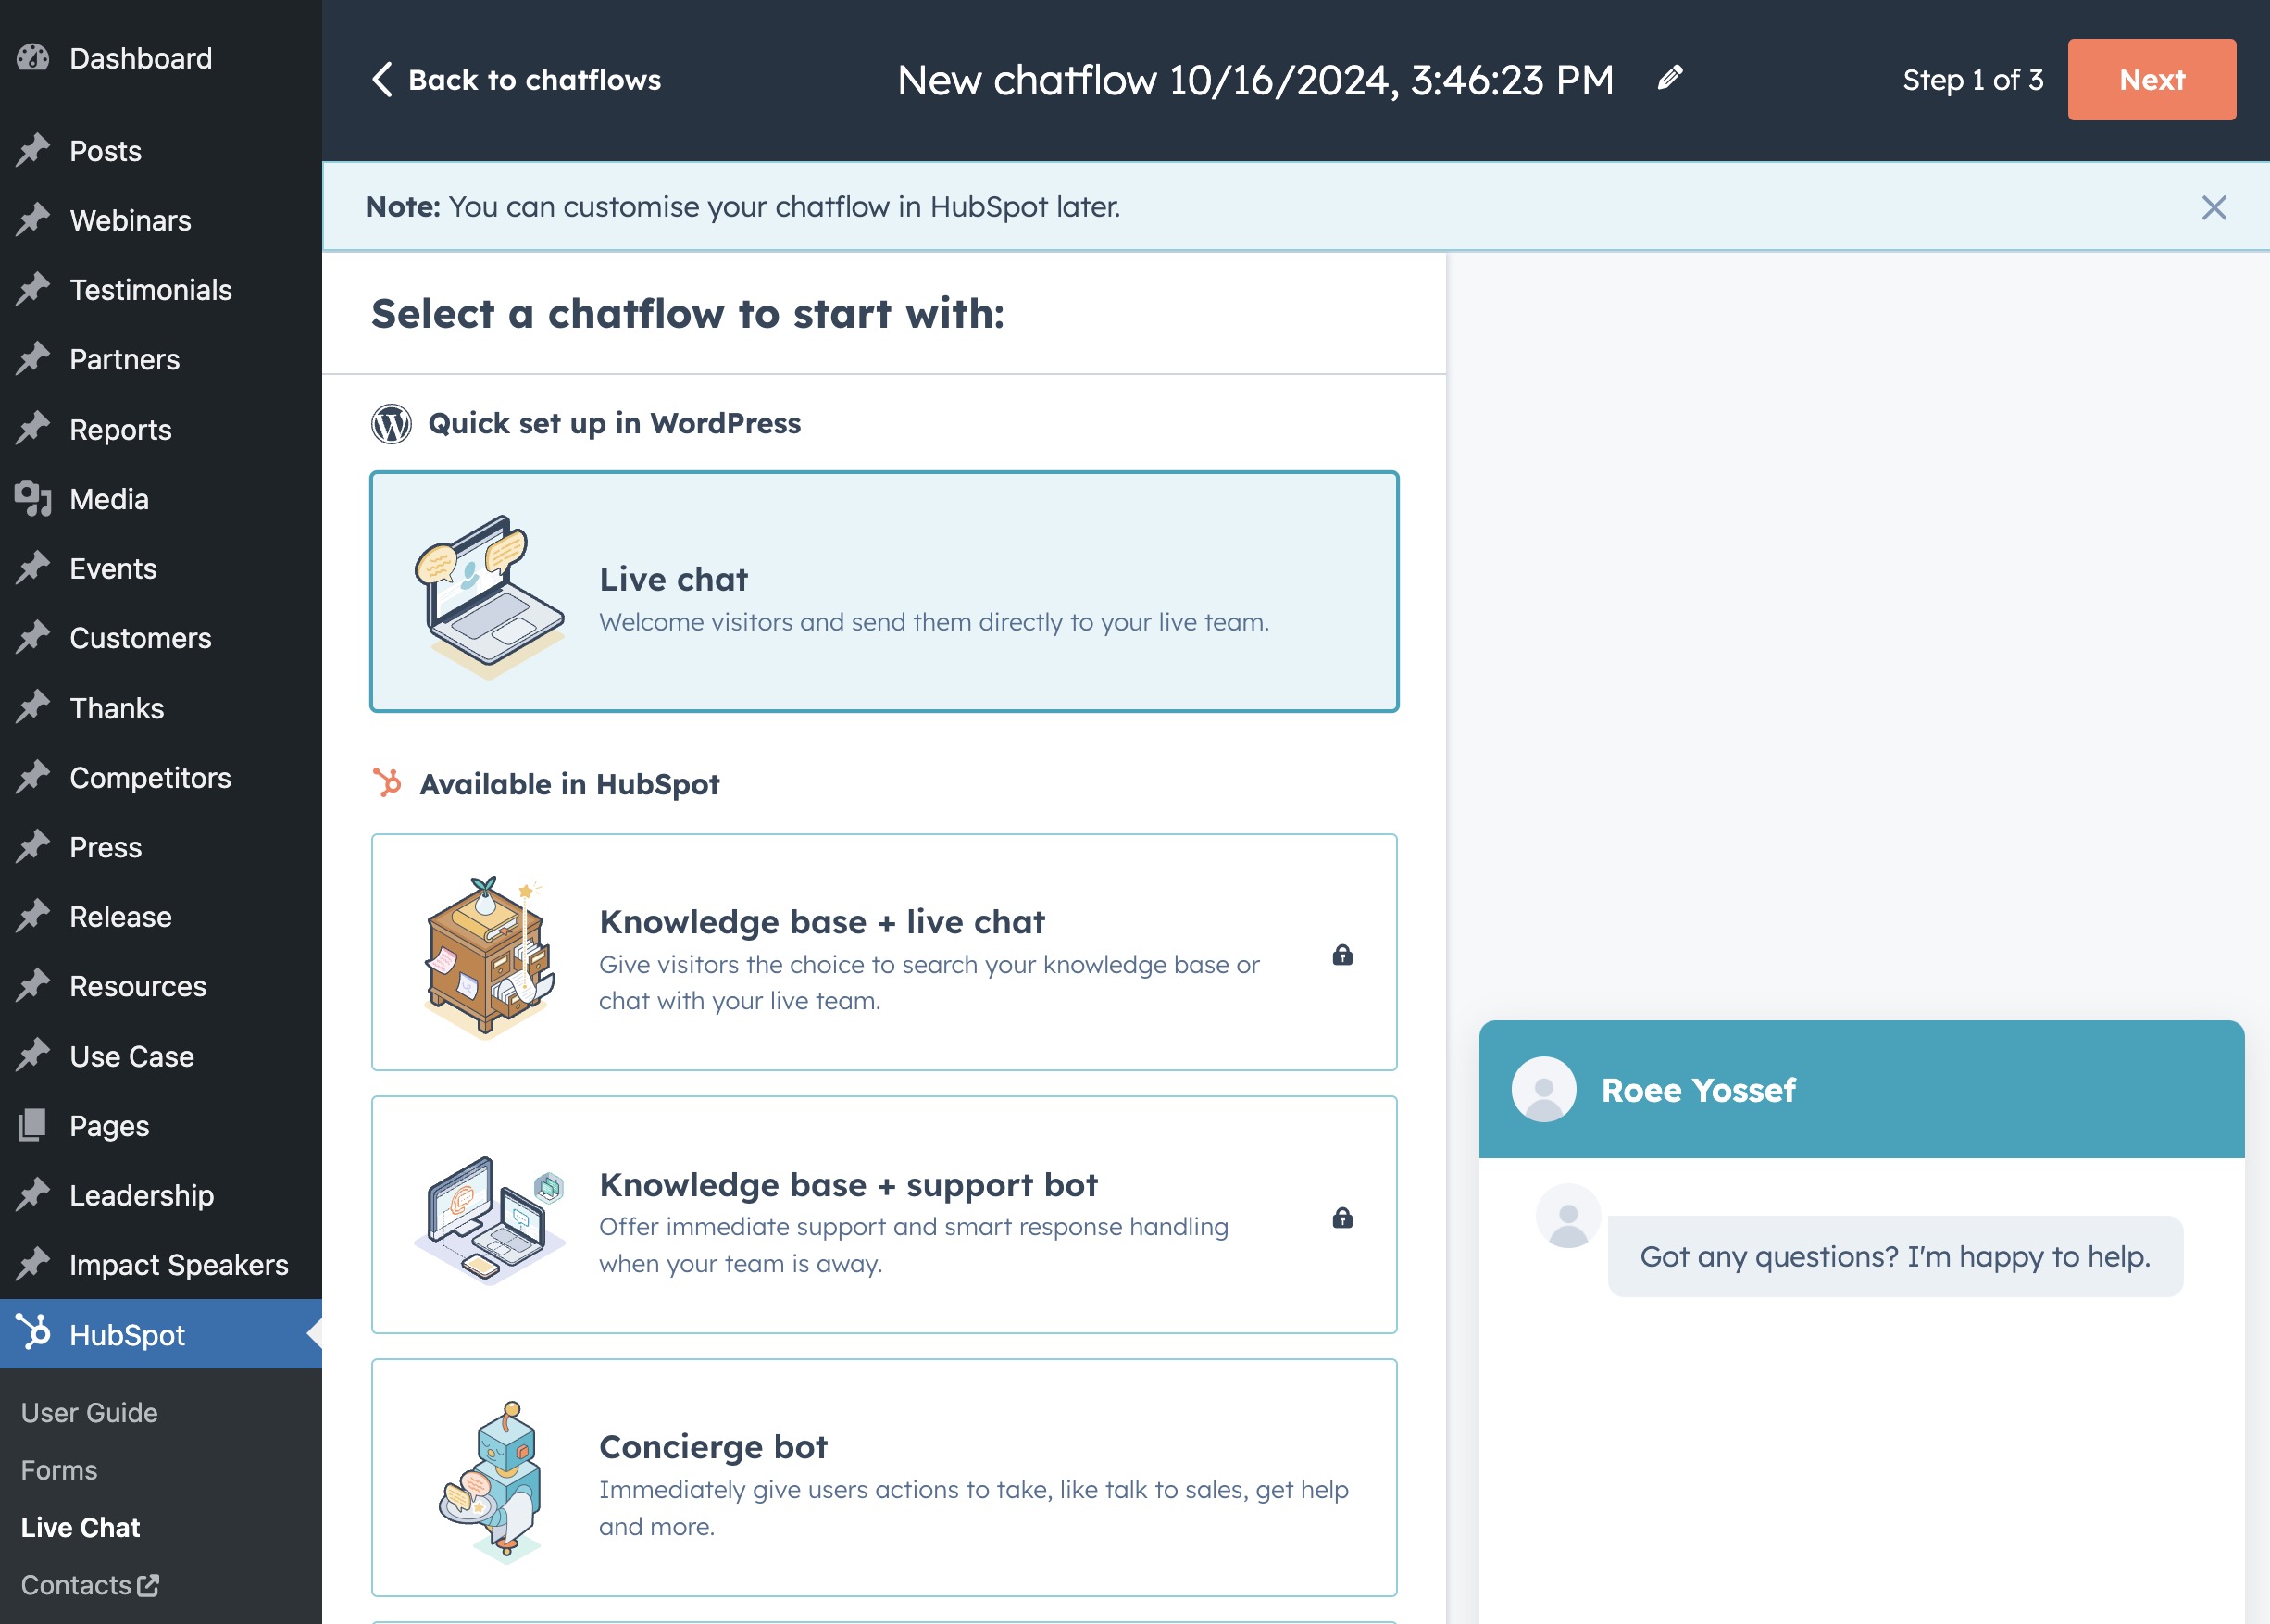
Adding Live Chat to Your WordPress Site
How to Add HubSpot Forms to Your WordPress Site
Once you have created a form inside HubSpot, you can embed it on your website in a few different ways depending on your workflow. Here is how to do it using the standard WordPress editor, Elementor, or directly inside your theme’s template files:
Method 1: Embedding a HubSpot Form Using the WordPress Block Editor
- In the HubSpot dashboard, go to Marketing > Lead Capture > Forms.
- Find the form you want to embed, click Actions next to it, and select Share.
- Copy the embed code provided (an HTML
<script>snippet). - In your WordPress admin, edit the page or post where you want the form to appear.
- Click the + icon to add a new block, search for and select the Custom HTML block.
- Paste the HubSpot form embed code into the block and save the page.
Method 2: Adding a HubSpot Form Using Elementor
- Copy the embed code from HubSpot as explained above.
- Edit the desired page with Elementor.
- Drag a HTML widget to the section where you want the form to display.
- Paste the HubSpot embed code into the widget’s content box.
- Update the page to save your changes.
Method 3: Inserting a HubSpot Form Directly in Your Theme Template
- Go to your HubSpot account and open Marketing > Lead Capture > Forms.
- Click Actions > Share on the form you want, and copy the embed code.
- Open the relevant template file in your WordPress theme – for example,
single.php,page.php, or a custom template. - Paste the embed code inside a PHP section:
<?php
echo '<script type="text/javascript" id="hs-script-loader" async defer src="https://js.hsforms.net/forms/embed/v2.js"></script>';
echo '<script>
  hbspt.forms.create({
    region: "na1",
    portalId: "YOUR_PORTAL_ID",
    formId: "YOUR_FORM_ID"
  });
</script>';
?>
Replace YOUR_PORTAL_ID and YOUR_FORM_ID with the actual values from your HubSpot embed settings.
If you are using HubSpot’s WordPress plugin, you can also insert forms directly using the HubSpot block in the editor without copying any code – just search for “HubSpot” in the block inserter.
Want to customize the appearance of your HubSpot forms? Check out our full guide on styling HubSpot forms using custom CSS.
Creating Pop-ups with HubSpot
To create engaging pop-ups for lead generation, set them up directly in your HubSpot dashboard:
- In your HubSpot account, go to Marketing > Lead Capture > Forms.
- Click Create Form and choose the Pop-up Form option.
- Customize the pop-up’s design, triggers, and target pages.
- Publish the form, and it will automatically display on your WordPress site.
Troubleshooting Common HubSpot-WordPress Integration Issues
1. HubSpot Plugin Not Syncing Leads Properly
- Ensure that your HubSpot account is connected properly by going to HubSpot > Settings in WordPress.
- Double-check that the forms are configured correctly in HubSpot and are embedded using the correct shortcode.
- Clear any caching plugins that might be preventing updates from syncing.
2. Live Chat Not Appearing on WordPress Site
- Check your live chat settings in HubSpot to ensure it is enabled on the correct pages.
- Disable other chat or widget plugins that might be conflicting with HubSpot’s live chat tool.
- Test the live chat in a private or incognito window to rule out browser caching.
3. HubSpot Analytics Not Tracking Properly
- Verify that the HubSpot tracking code is installed properly by checking your site’s source code.
- Disable other analytics plugins temporarily to check for conflicts.
- Clear your website cache and test the site in an incognito browser window.
4. Pop-ups Not Displaying on the Website
- Ensure that pop-ups are set to trigger on the desired pages and that the settings in HubSpot are correct.
- Check if any ad-blocking browser extensions are preventing pop-ups from being displayed.
FAQs
Common questions about integrating HubSpot with WordPress:
<script> snippet) directly into any page, post, or template file. The plugin is not required for embedding forms, but it simplifies the process and adds CRM features like contact tracking and list segmentation..hs-form class and its child selectors. See our dedicated guide on styling HubSpot forms with CSS for detailed examples.Summary
Integrating HubSpot with WordPress gives you a powerful stack for lead generation, marketing automation, and visitor analytics. You can install the HubSpot plugin, connect your account, and start capturing leads with forms, live chat, and pop-ups in minutes.
For embedding forms, choose the method that fits your workflow – the block editor for simple placements, Elementor for visual editing, or direct template integration for full control. All leads flow into HubSpot CRM automatically.
Whether you are a small business or a large enterprise, this integration provides you with the flexibility and control needed to optimize your marketing efforts.