The Document Object Model (DOM) is the programming interface browsers use to represent a web page as a tree of objects. You use it whenever JavaScript reads or changes what’s on the page.
The DOM turns the document into a tree of nodes. Each node is an element, attribute, or piece of text. JavaScript can then manipulate the content, structure, and styling of the page without a full reload.
Below we cover the DOM structure, how it works with JavaScript, and the main methods you need for interactive pages.
The DOM was designed to be independent of any specific programming language, making it accessible through interfaces that languages like JavaScript can use.
What is DOM? Understanding the DOM Structure
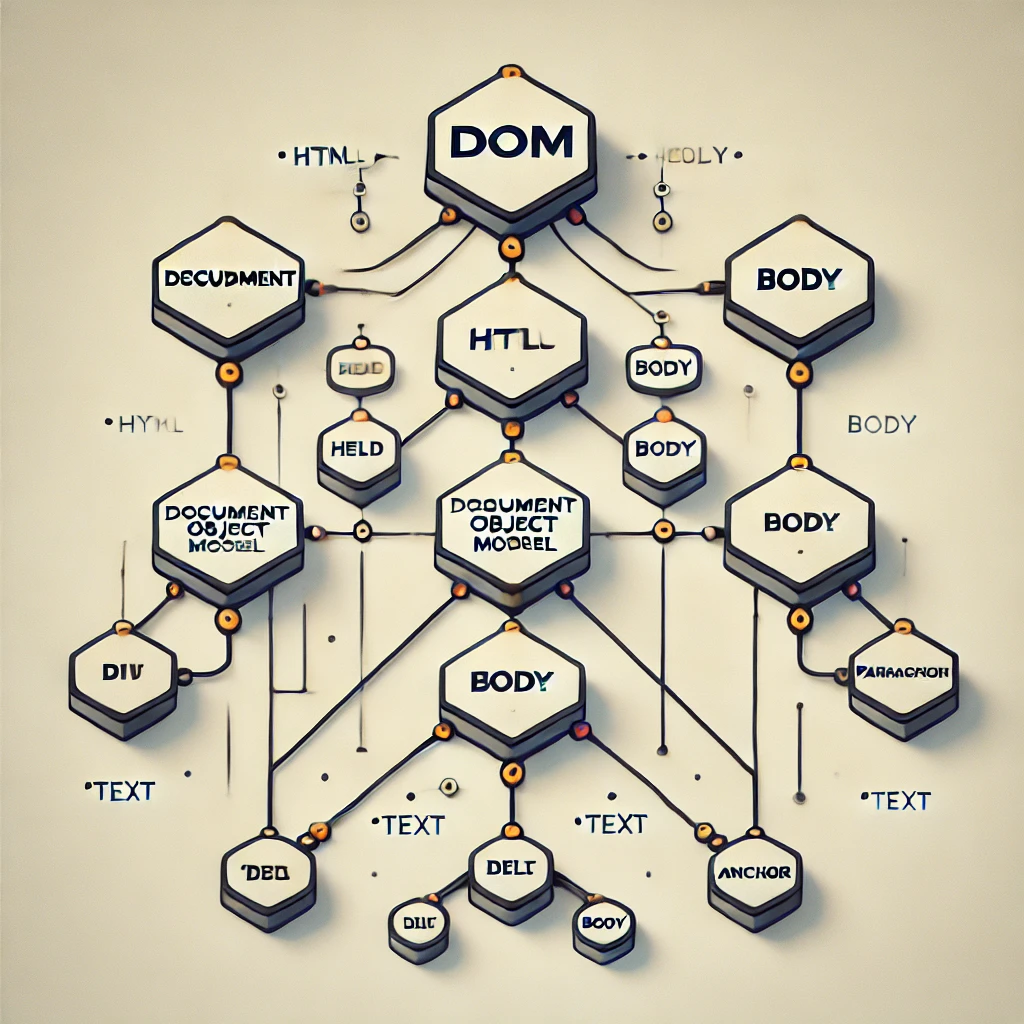
The DOM organizes a web document as a tree of nodes. That structure makes it straightforward to navigate and change the page with JavaScript.
Key Node Types
- Document Node: The root of the tree. It represents the whole document.
- Element Nodes: HTML or XML elements. They can contain other elements, text nodes, and attributes.
- Text Nodes: The text inside elements. They are leaf nodes and cannot have children.
- Attribute Nodes: Belong to element nodes but are not children. They define things like
idorclass. - Comment Nodes: Comments in the HTML. They appear in the DOM tree but are not rendered.
Tree Structure
The DOM tree has parent, child, and sibling relationships:
- Parent Nodes: Nodes that have children.
- Child Nodes: Nodes nested inside another node. For example, an
<li>inside a<ul>. - Sibling Nodes: Nodes that share the same parent. Two
<div>elements inside the same<body>are siblings.
This structure lets you target and change elements efficiently. That’s what makes dynamic updates and interactions possible.
Differences Between HTML DOM and DOM
People often use “HTML DOM” and “DOM” interchangeably, but they are not the same.
The HTML DOM is built for HTML documents and adds HTML-specific methods. The DOM is a more general interface for any document type (HTML, XML, etc.).
HTML DOM
The HTML DOM is a version of the DOM tailored for HTML. It adds methods like getElementById() and innerHTML for working with HTML elements and events.
DOM
The DOM (Document Object Model) is a broader interface for different document types. It gives you a generic way to access and change document content, but it does not include HTML-specific features.
Key Differences
- The HTML DOM is a subset of the DOM, built for HTML documents.
- The DOM is generic; the HTML DOM adds methods for HTML manipulation.
Note: The HTML DOM extends the DOM, providing more tools for web development.
DOM and JavaScript
JavaScript uses the DOM to make pages dynamic. By using JavaScript, developers can access and manipulate the DOM to update content, style, and structure without reloading the page. That interaction is what makes responsive, interactive apps possible.
Accessing the DOM
You can use several DOM methods to select and manipulate elements:
// Select an element by its ID
const element = document.getElementById('myElement');

// Select elements by their class name
const elements = document.getElementsByClassName('myClass');

// Select elements by their tag name
const tags = document.getElementsByTagName('div');

// Select elements using a CSS selector
const selectedElement = document.querySelector('.myClass');

// Select multiple elements using a CSS selector
const selectedElements = document.querySelectorAll('.myClass');
For modern development, querySelector() and querySelectorAll() are generally preferred over older methods like getElementsByClassName() because they accept any CSS selector and return static NodeLists. For a detailed comparison, see the guide on querySelector vs. querySelectorAll.
Fundamental Data Types
The DOM uses several data types to represent parts of a document:
- Document: The entire HTML or XML document.
- Element: An element in the document (e.g.
<div>,<p>). - Attribute: An attribute of an element (e.g.
class,id). - Text: The text content of an element.
- Node: Any single node in the DOM tree (elements, attributes, text, etc.).
DOM Interfaces
The DOM API exposes interfaces for working with the document:
- Document: The entry point to the DOM. It represents the whole document.
- Element: Represents an element and provides methods like
getElementByIdandgetElementsByClassName. - Node: Represents a single node and provides methods such as appendChild and
removeChild. - Event: Represents DOM events (clicks, key presses, etc.).
Examples
Here are five practical examples of working with the DOM in JavaScript:
Example 1: Changing the Content of an Element
<div id="content">Original Content</div>
<button onclick="changeContent()">Change Content</button>

<script>
function changeContent() {
    const contentDiv = document.getElementById('content');
    contentDiv.textContent = 'Updated Content';
}
</script>
When the button is clicked, the content inside the <div> changes to “Updated Content”.
Example 2: Adding a New Element to the DOM
<div id="container">
    <p>This is the container.</p>
</div>
<button onclick="addElement()">Add Element</button>

<script>
function addElement() {
    const container = document.getElementById('container');
    const newElement = document.createElement('p');
    newElement.textContent = 'This is a new paragraph.';
    container.appendChild(newElement);
}
</script>
Clicking the button adds a new <p> element with the text “This is a new paragraph” to the container.
Example 3: Removing an Element from the DOM
<div id="container">
    <p id="paragraph">This paragraph will be removed.</p>
</div>
<button onclick="removeElement()">Remove Element</button>

<script>
function removeElement() {
    const paragraph = document.getElementById('paragraph');
    paragraph.remove();
}
</script>
Clicking the button removes the <p> element with id “paragraph”.
Example 4: Replacing an Element in the DOM
<div id="container">
    <p id="oldParagraph">This paragraph will be replaced.</p>
</div>
<button onclick="replaceElement()">Replace Element</button>

<script>
function replaceElement() {
    const container = document.getElementById('container');
    const oldParagraph = document.getElementById('oldParagraph');
    const newParagraph = document.createElement('p');
    newParagraph.textContent = 'This is the new paragraph.';
    container.replaceChild(newParagraph, oldParagraph);
}
</script>
Clicking the button replaces the <p> with id “oldParagraph” with a new paragraph.
Example 5: Cloning and Appending an Element
<div id="container">
    <p id="original">Original paragraph.</p>
</div>
<button onclick="cloneElement()">Clone Element</button>

<script>
function cloneElement() {
    const container = document.getElementById('container');
    const original = document.getElementById('original');
    const clone = original.cloneNode(true);
    clone.textContent = 'Cloned paragraph.';
    container.appendChild(clone);
}
</script>
Clicking the button clones the original paragraph, changes its text, and appends it to the container.
Using Developer Tools to Inspect the DOM
Browser developer tools let you inspect and experiment with the DOM directly.
1. Opening the Elements Panel
Right-click any element on the page and choose “Inspect” (or press F12). The Elements panel shows the live DOM tree. You can expand and collapse nodes to explore the structure.
2. Editing the DOM Live
Double-click any element or its text in the Elements panel to edit it. Changes appear immediately on the page. This is useful for quick layout tests without touching your code.
3. Adding and Removing Elements
Right-click a node and choose “Edit as HTML” to add or remove elements. You can paste new HTML or delete nodes. The page updates as you edit.
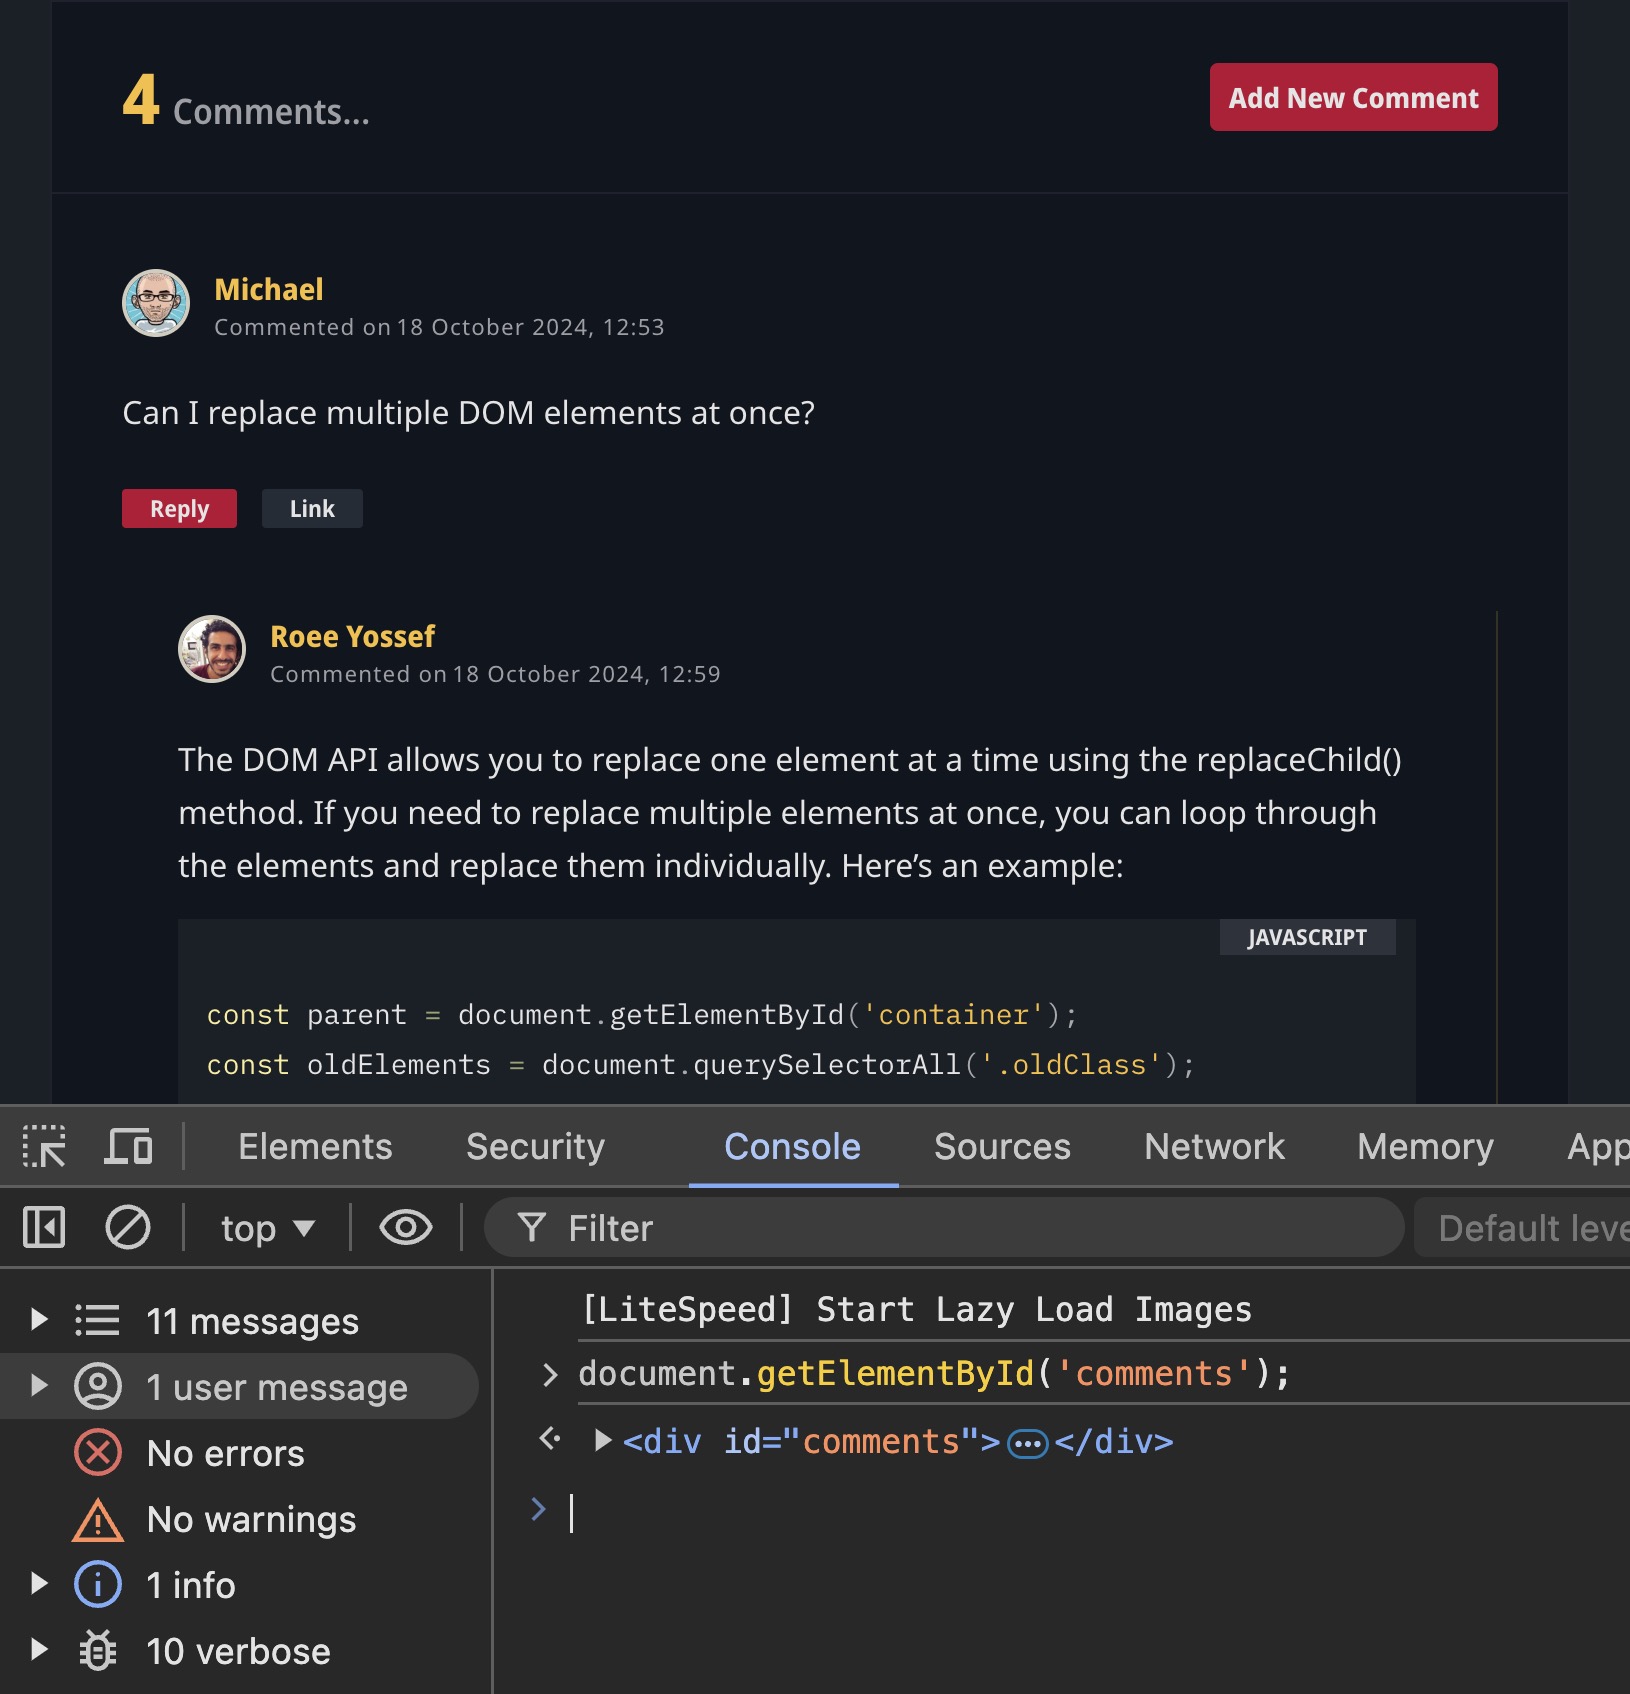
4. Using the Console to Interact with the DOM
Open the Console tab and run JavaScript against the current page. You can select elements, change content, add classes, and remove nodes.
// Select an element by its ID
document.getElementById('myElement');

// Change the content of an element
document.getElementById('myElement').textContent = 'Updated content';

// Add a new class to an element
document.getElementById('myElement').classList.add('new-class');

// Remove an element from the DOM
document.getElementById('myElement').remove();
The console is a fast way to try DOM code and see the result immediately.
Using the Console to Interact with the DOM
5. Monitoring Events
Developer tools also let you monitor DOM events:
- Right-click an element in the Elements panel and choose “Break on…” to pause JavaScript when the element is modified or removed.
- Use the Event Listeners panel to see all listeners on an element (clicks, hover, etc.).
This helps when debugging event-driven JavaScript.
Appendix: The DOM and PageSpeed Insights Warnings
PageSpeed Insights often warns about large or inefficient DOM structures. A big DOM can slow rendering, use more memory, and make interactions sluggish, especially on mobile.
The warning usually appears as Avoid Excessive DOM Size when the DOM has too many nodes or is deeply nested.
How to Address This Warning
- Minimize DOM depth: Use simpler HTML and avoid deep nesting.
- Remove unnecessary elements: Drop
<div>or<span>tags that do not add structure or style. - Lazy-render off-screen content: Use CSS Containment or JavaScript lazy loading for content outside the viewport.
- Use virtual DOM or batch updates: In frameworks, a virtual DOM or batched updates can reduce direct DOM churn.
Example: Simplifying a Deep DOM Structure
<!-- Inefficient DOM -->
<div class="outer">
  <div class="inner">
    <div class="content">
      <p>Deeply nested structure</p>
    </div>
  </div>
</div>

<!-- Optimized DOM -->
<div class="content">
  <p>Simplified structure</p>
</div>
Simplifying the DOM can reduce PageSpeed warnings and improve performance.
For more on this, see how to address Excessive DOM Size. It explains how to optimize the DOM structure and reduce the chance of PageSpeed warnings.
FAQs
Common questions about the Document Object Model:
Summary
The DOM is how JavaScript talks to the page. Once you can select elements and change them, you can build the interactions users expect. The examples above cover the basics: changing text, adding nodes, removing them. From there you can move on to events and more complex updates.

Can I replace multiple DOM elements at once?
The DOM API allows you to replace one element at a time using the replaceChild() method. If you need to replace multiple elements at once, you can loop through the elements and replace them individually. Here’s an example:
Hope that helps…
Thanks for the quick reply! and if I want to replace multiple elements conditionally, like only replacing elements that contain specific text?
Pretty similar answer… you can loop through the elements and check their text content or any other condition before replacing them: